

How about a carved box in plain-sawn northern red oak? Perhaps one, ten and one half inches deep, seventeen and one half inches wide, and about nine and one half inches high. You might be curious about these particular measurements. After carefully planing, edging, and squaring the ends, I have a board that measures around nine inches wide, fifty-seven inches long, and about three-quarters of an inch thick. This gives me just the right amount of material for shaping the front, two sides, and a back, while also allowing for the three saw kerfs needed to separate the parts neatly.
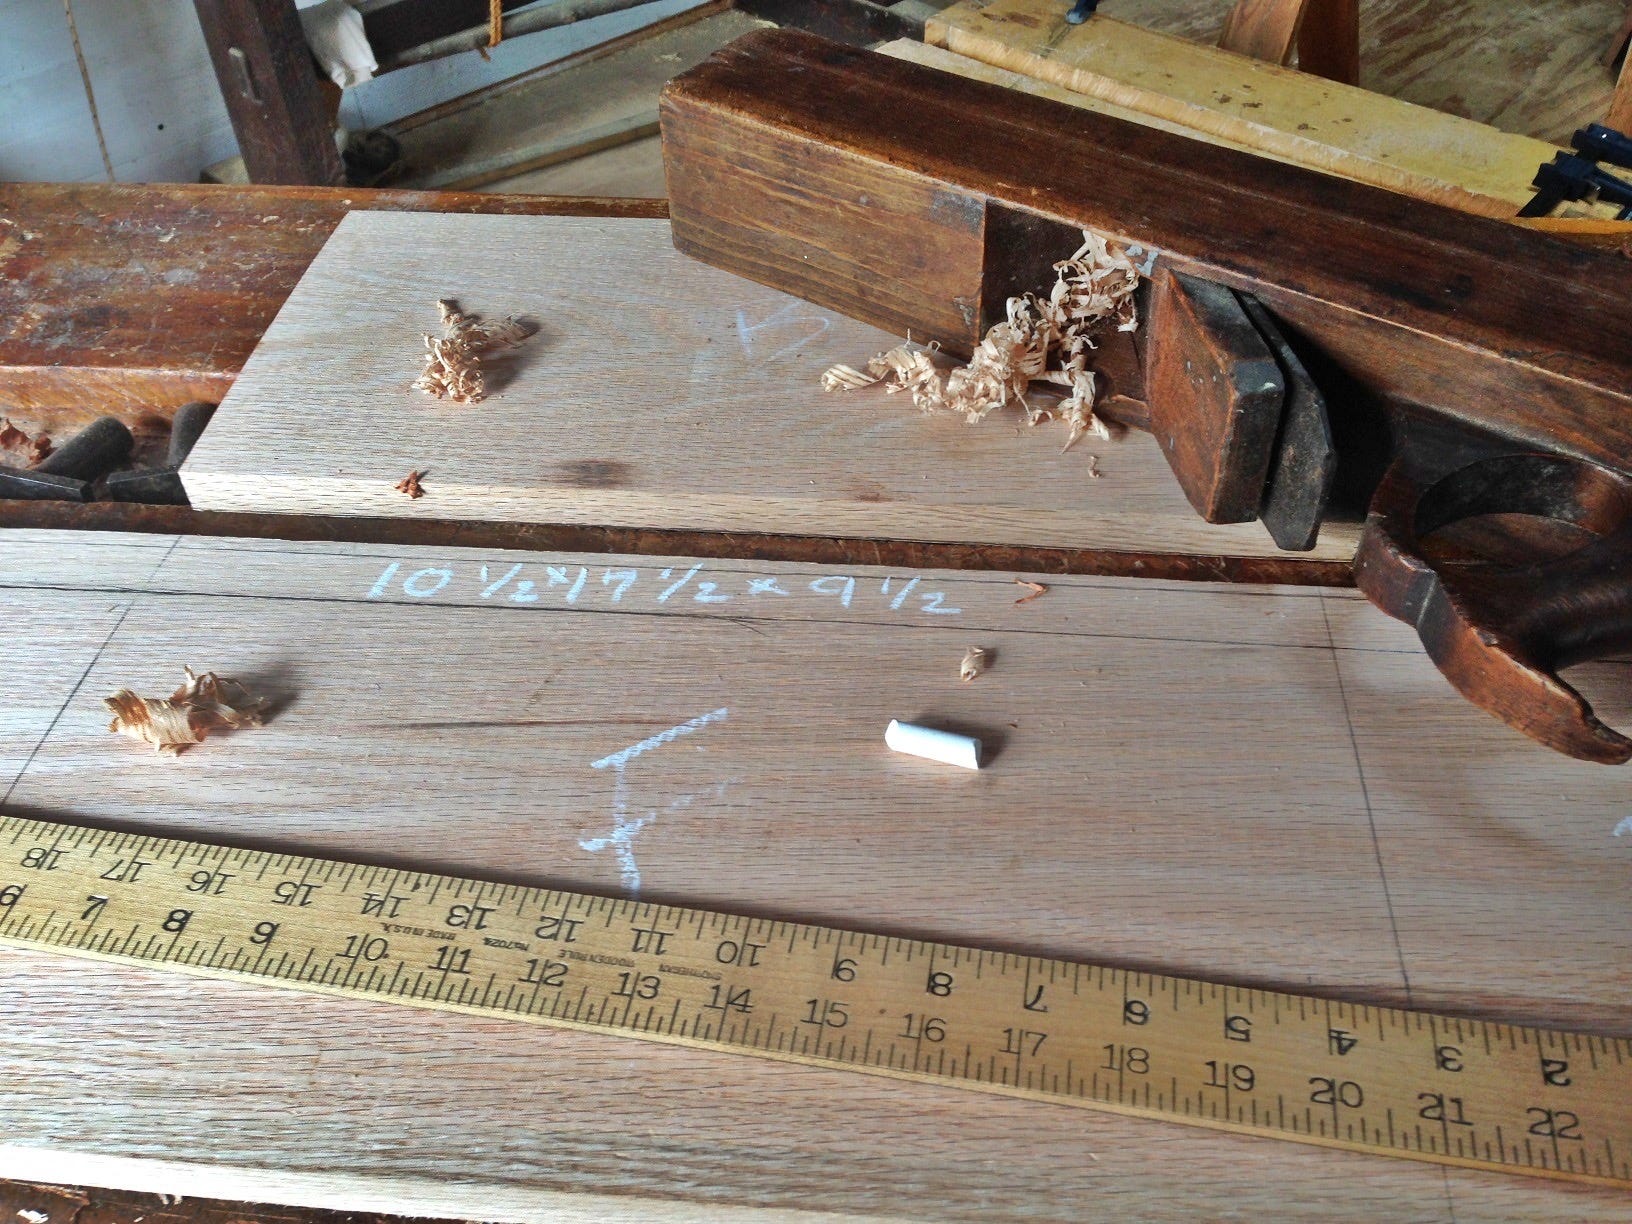
To kick things off, I separated the back from the board. Just keep in mind that the back is an intriguing three-quarters of an inch longer than the front. I’m excited to dive deeper into this aspect later on!
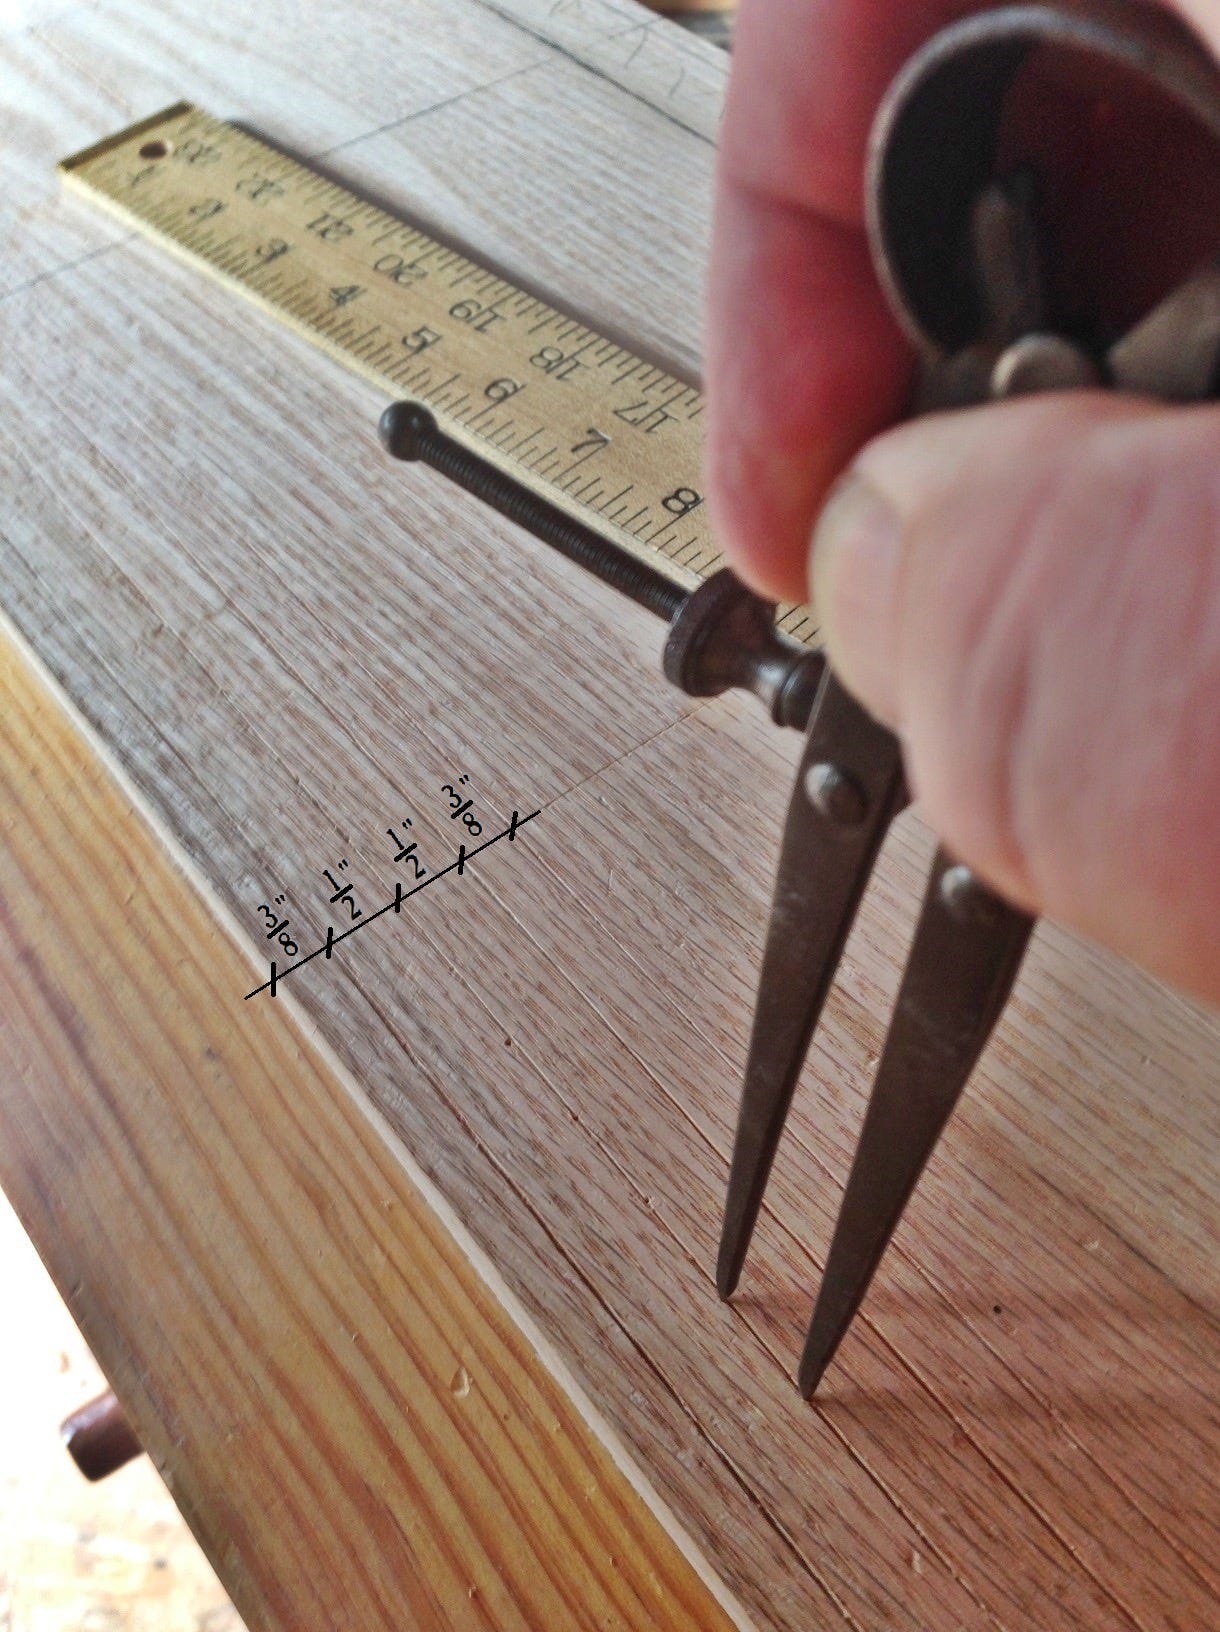
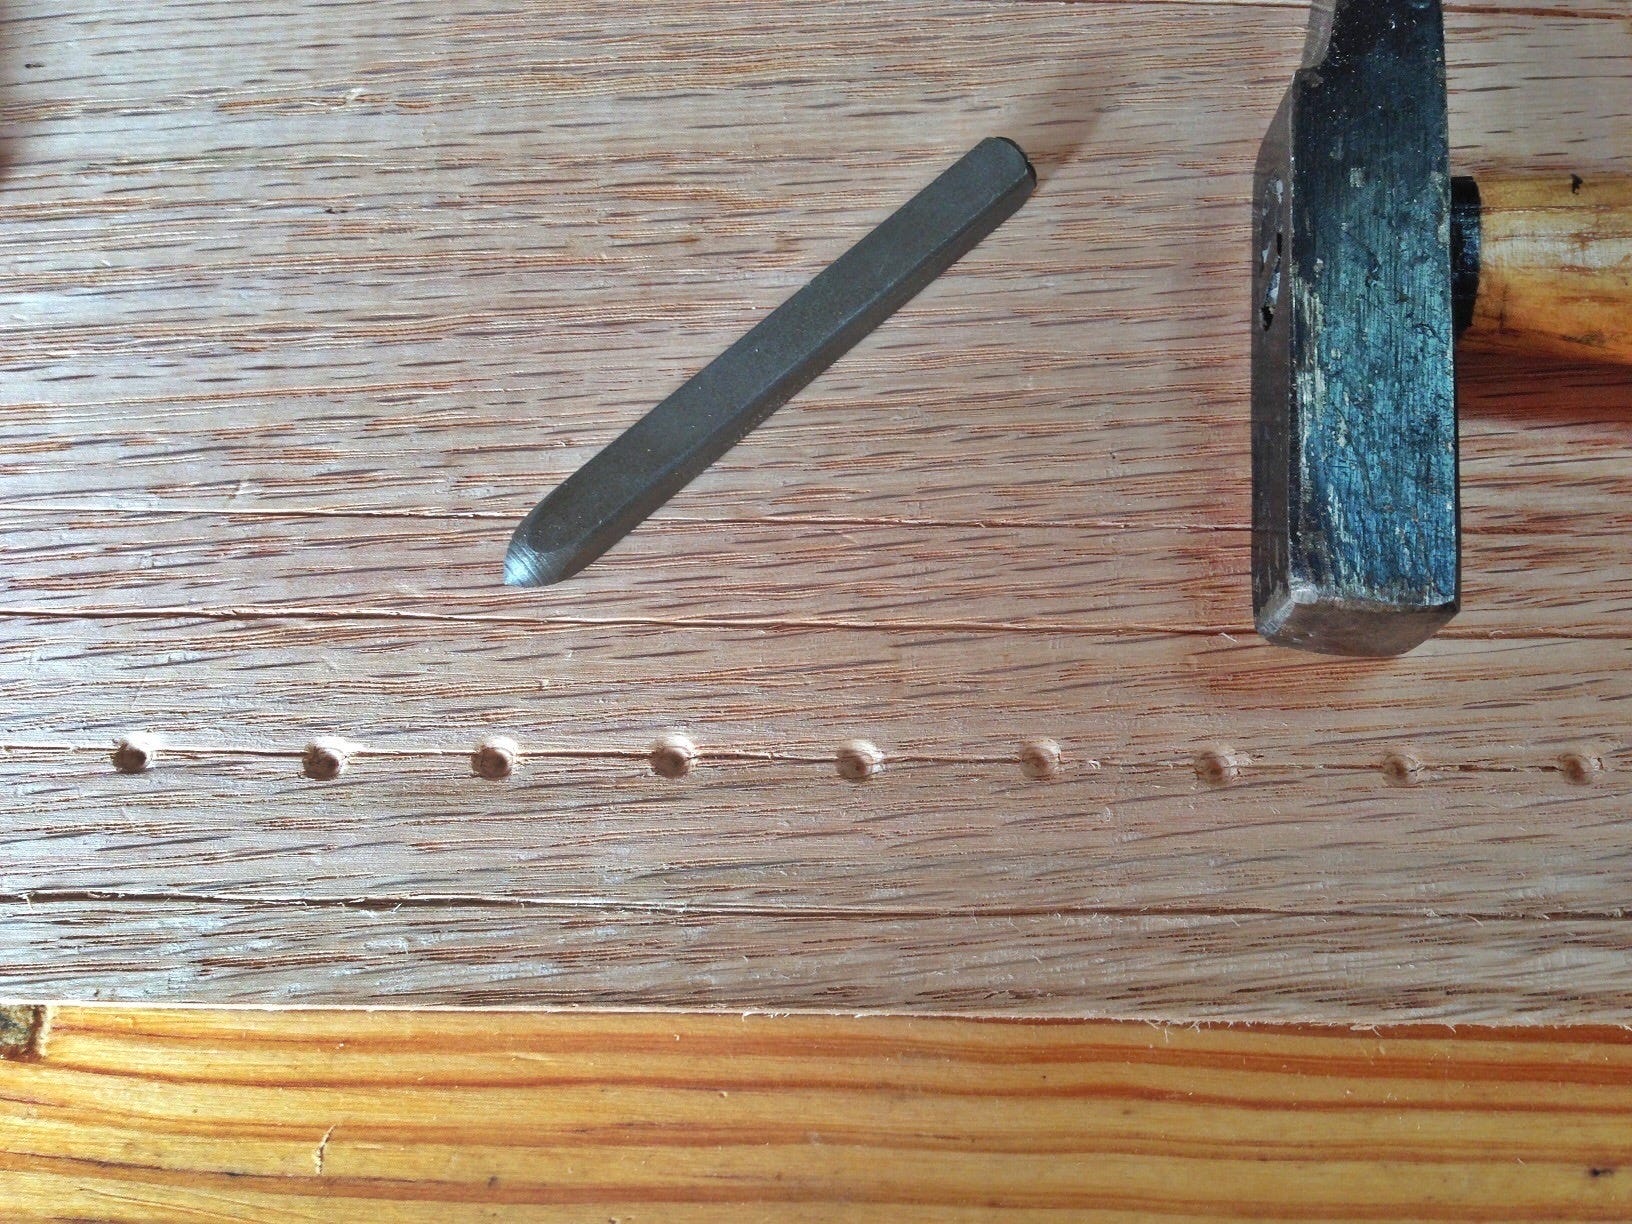
On the remainder of the board I began laying out an S-braid decoration along the bottom edge by scribing margins as shown. Then using dividers, walked 5/8-inch spaces along the board and used a nail set to accentuate the spaces.
I used a 20 mm #7 gouge to create strikes starting from the center line to the top margin, just to the right of the punch marks. Then, I reversed the gouge and made strikes from the center line to the bottom margin, just to the left of the punch marks. Afterward, I removed the chips.
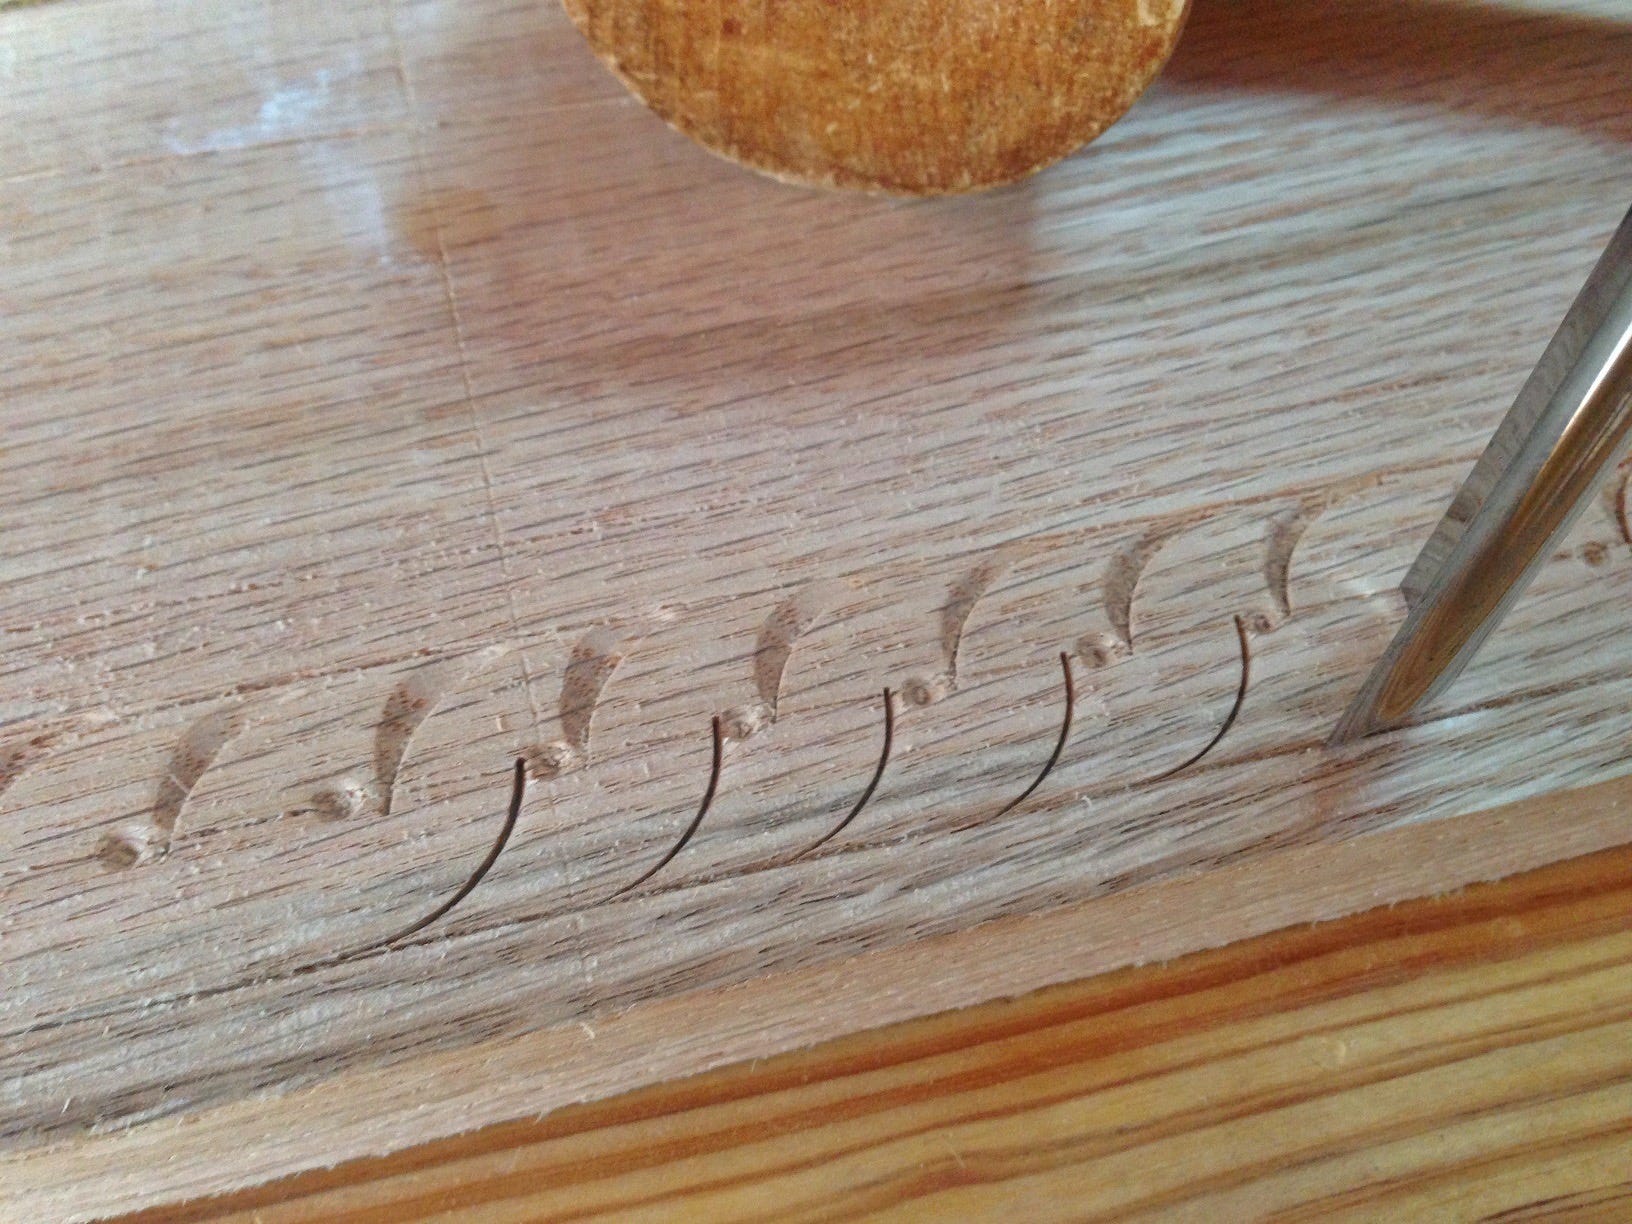
Starting from the center line to the area where chips were removed, I made strikes using a 10 mm #7 gouge on both the top and bottom.
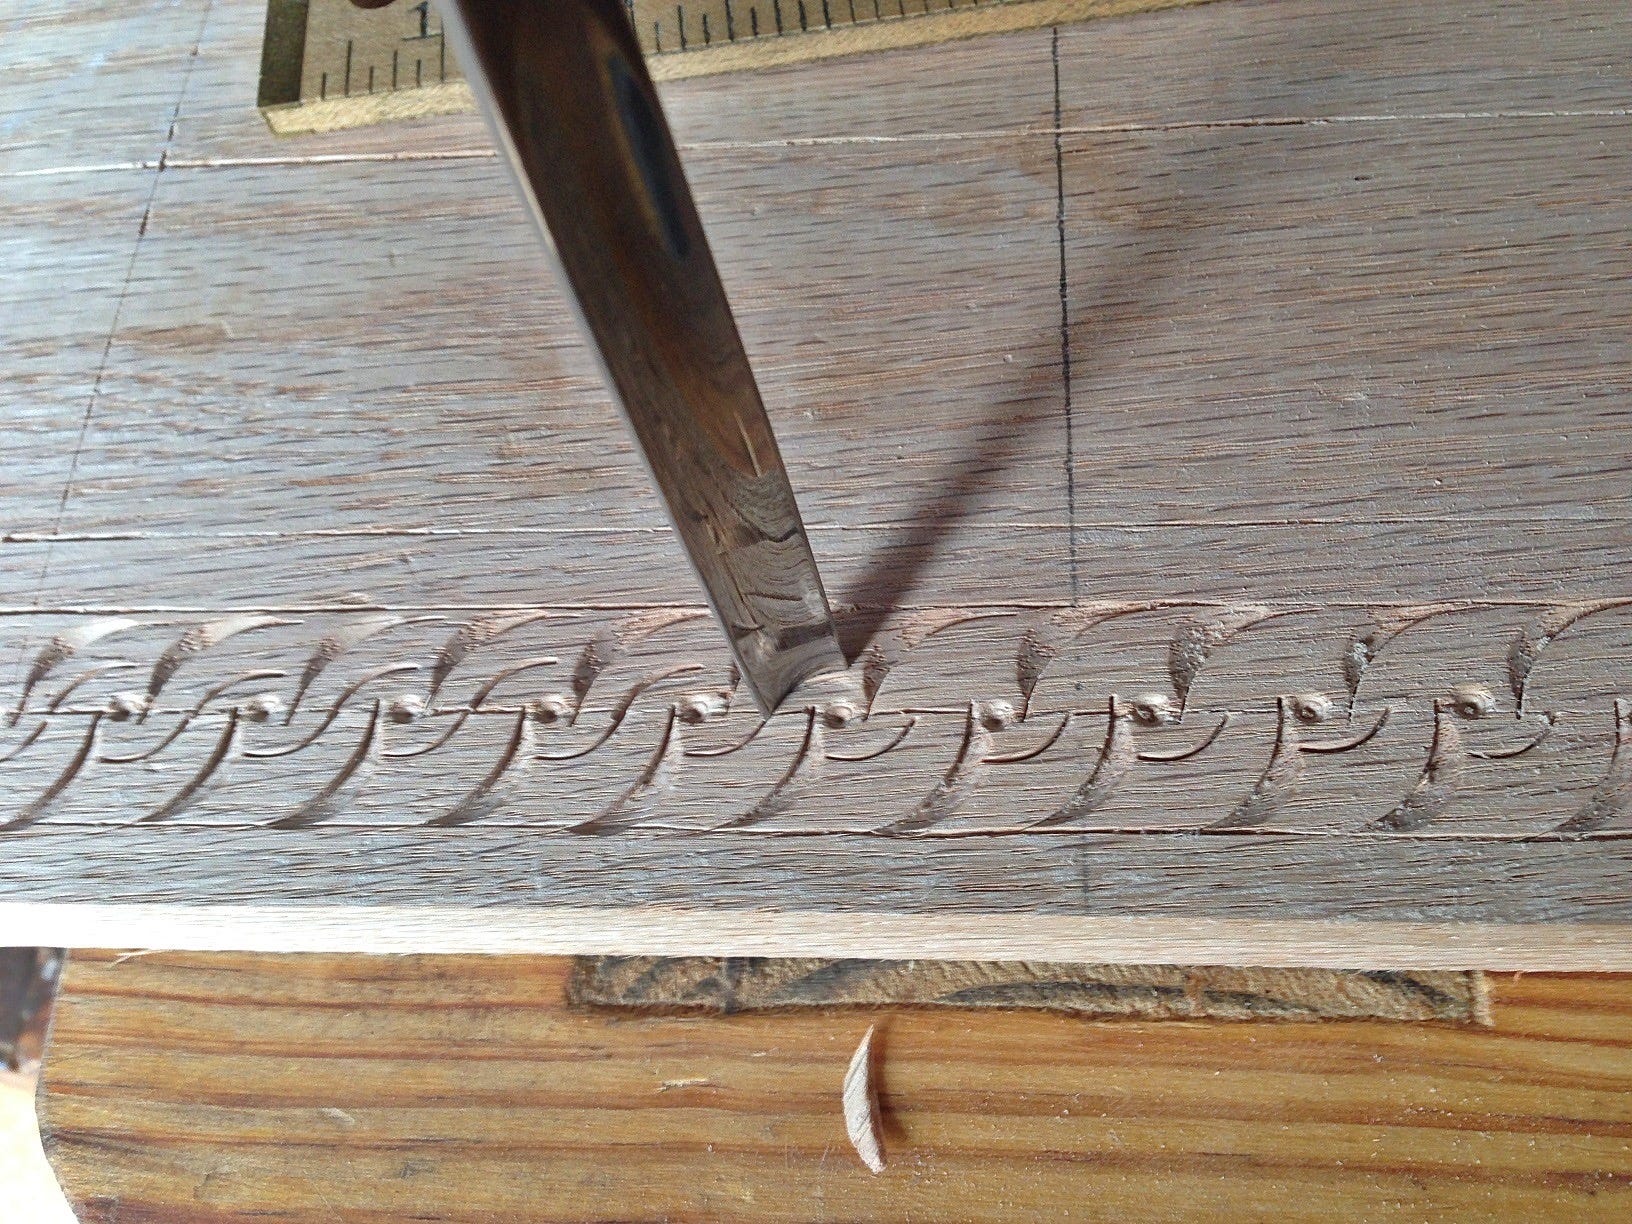
Using the same 10 mm #7, round over the first 20 mm gouge strikes and removed the chip.
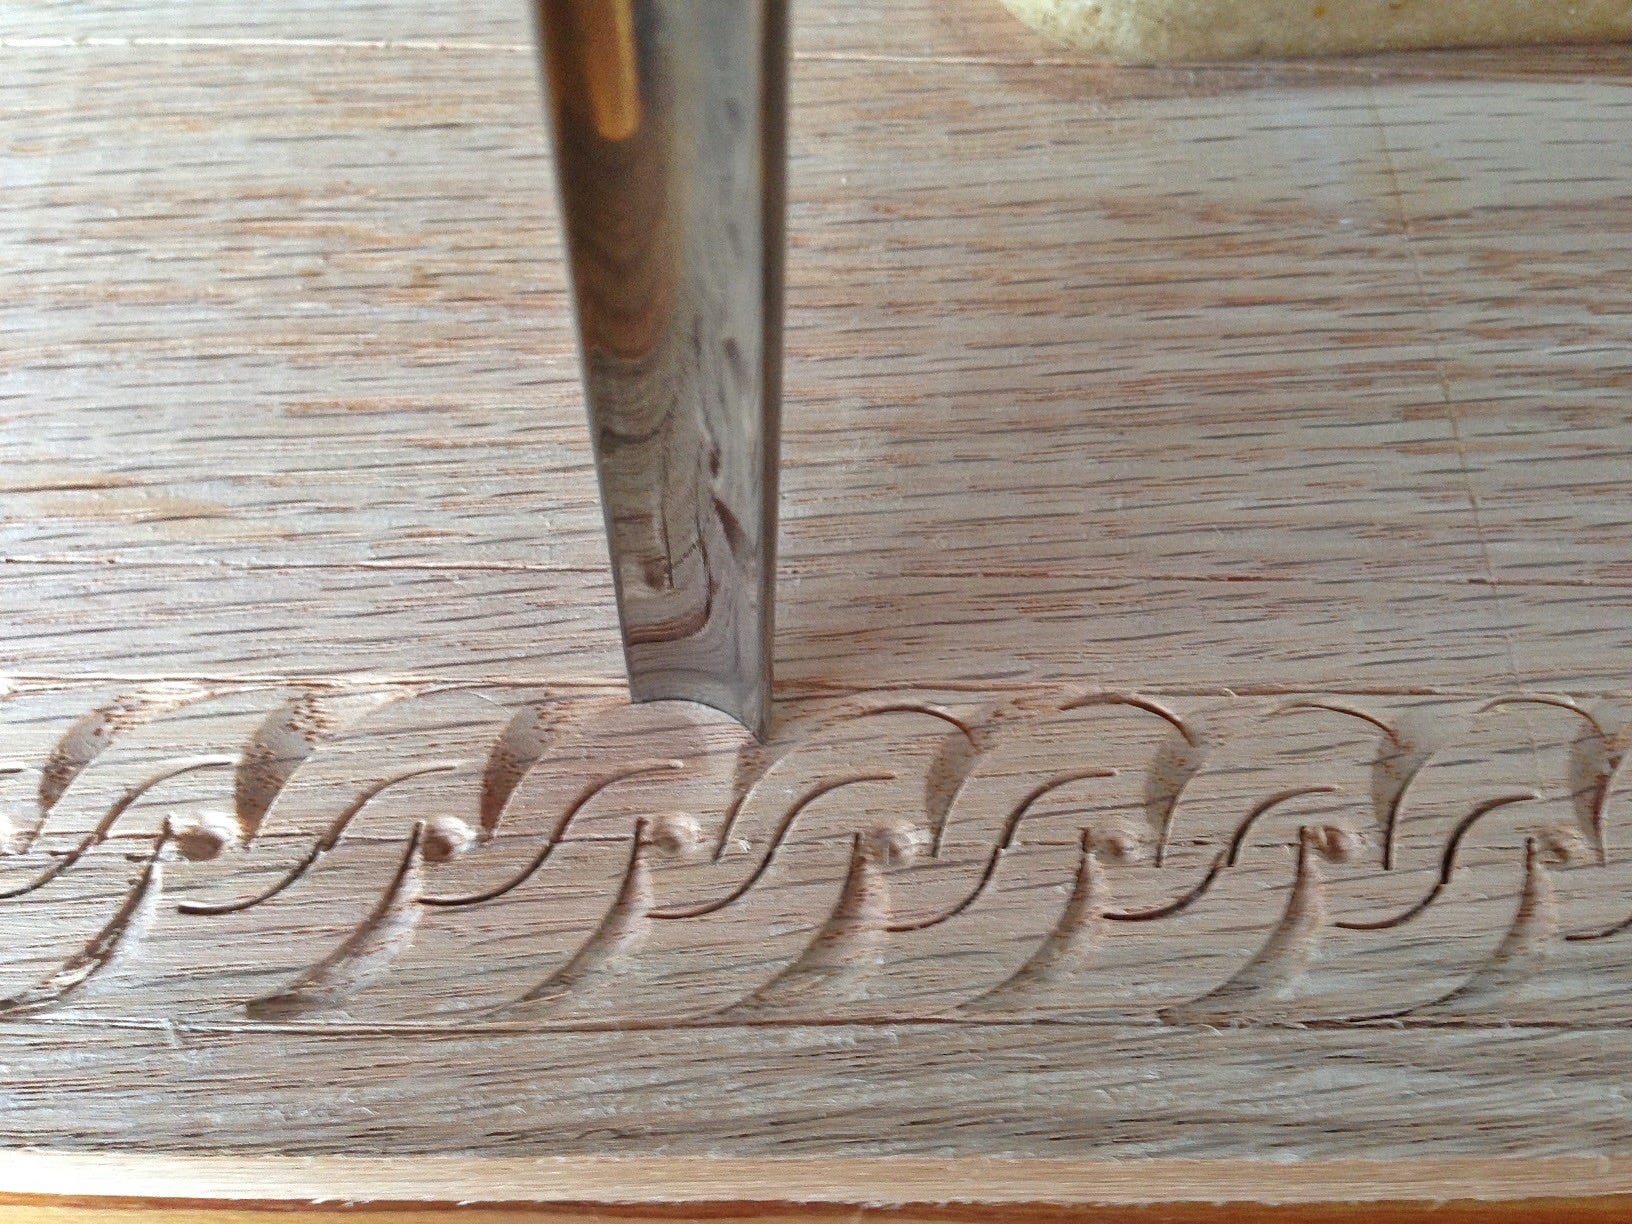
And VOILÀ, the S-braid decoration.
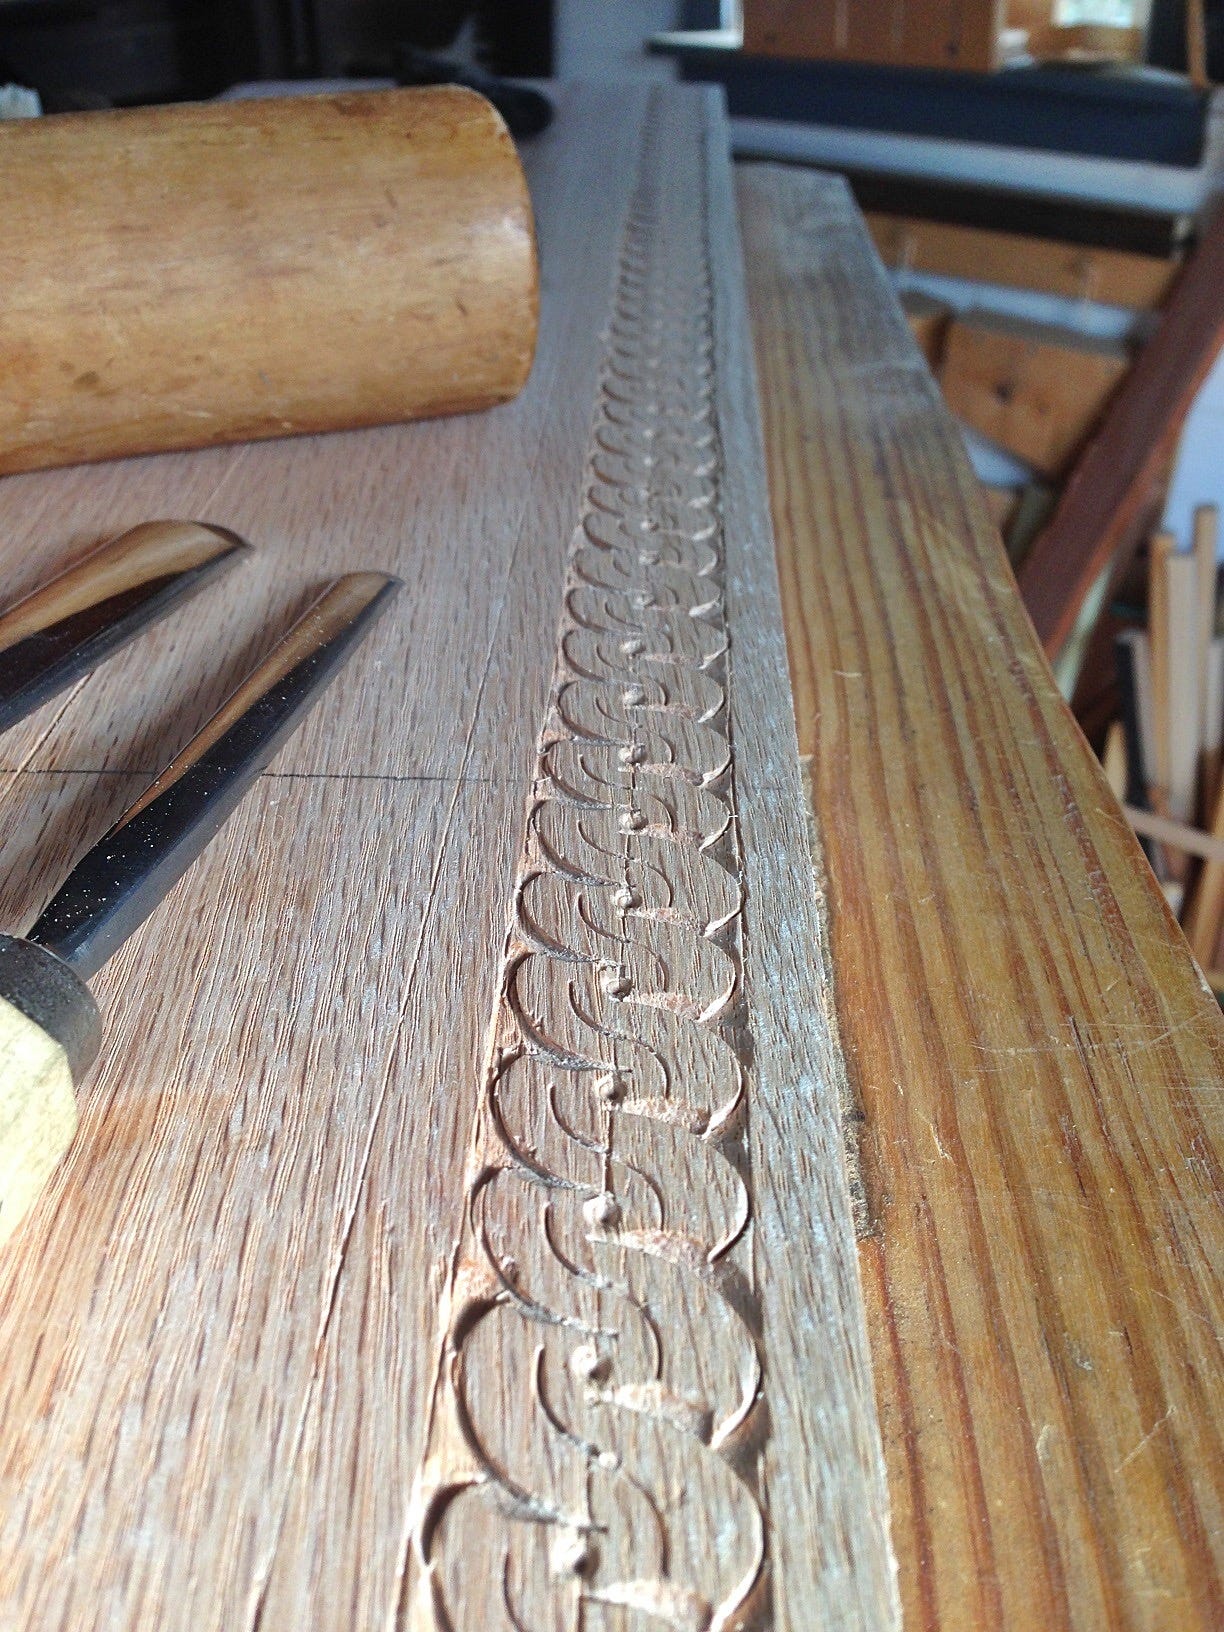
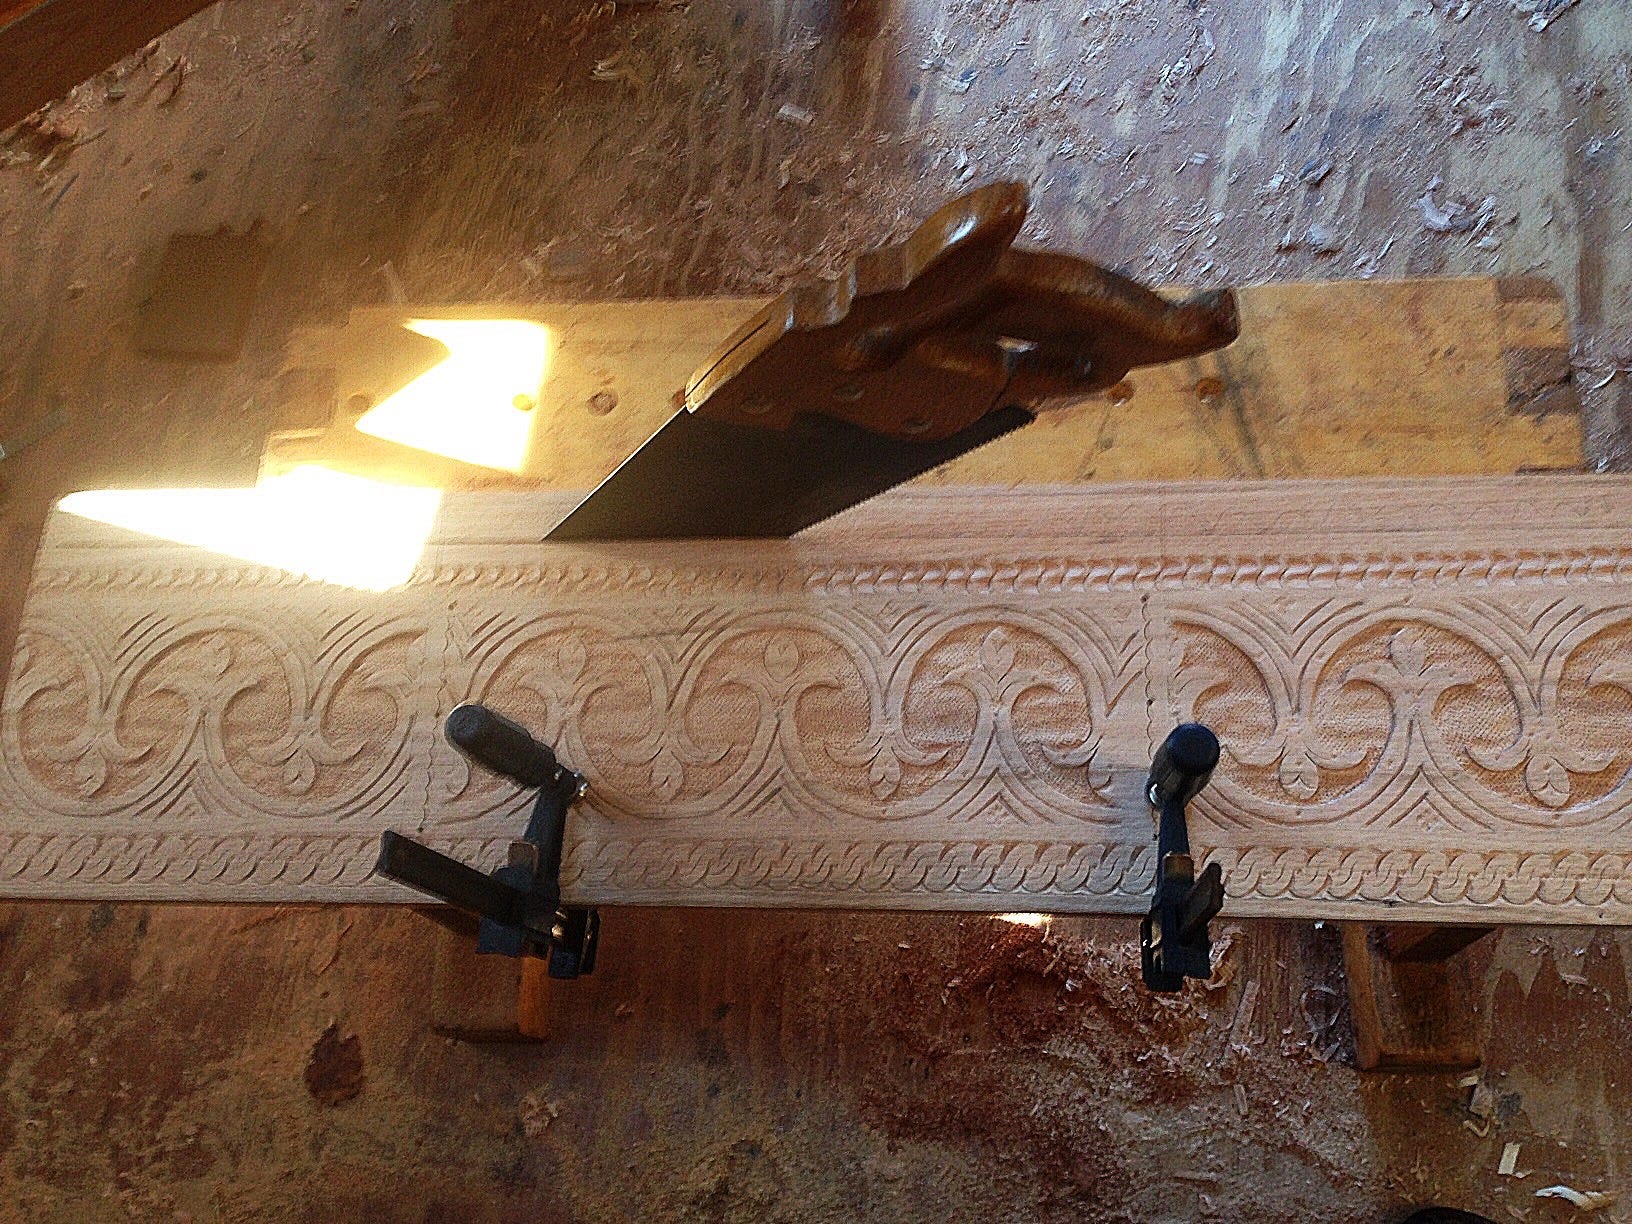
I added some running cable along the top of the board. After marking 3/8-inch margins, I spaced vertical lines approximately 5/8-inch apart along the board. Staggered vertical gouge strikes create the thumbnail lines. Tapered slicing cuts made from opposite directions form the running cable pattern. The way the light plays off this decoration is simply mesmerizing.
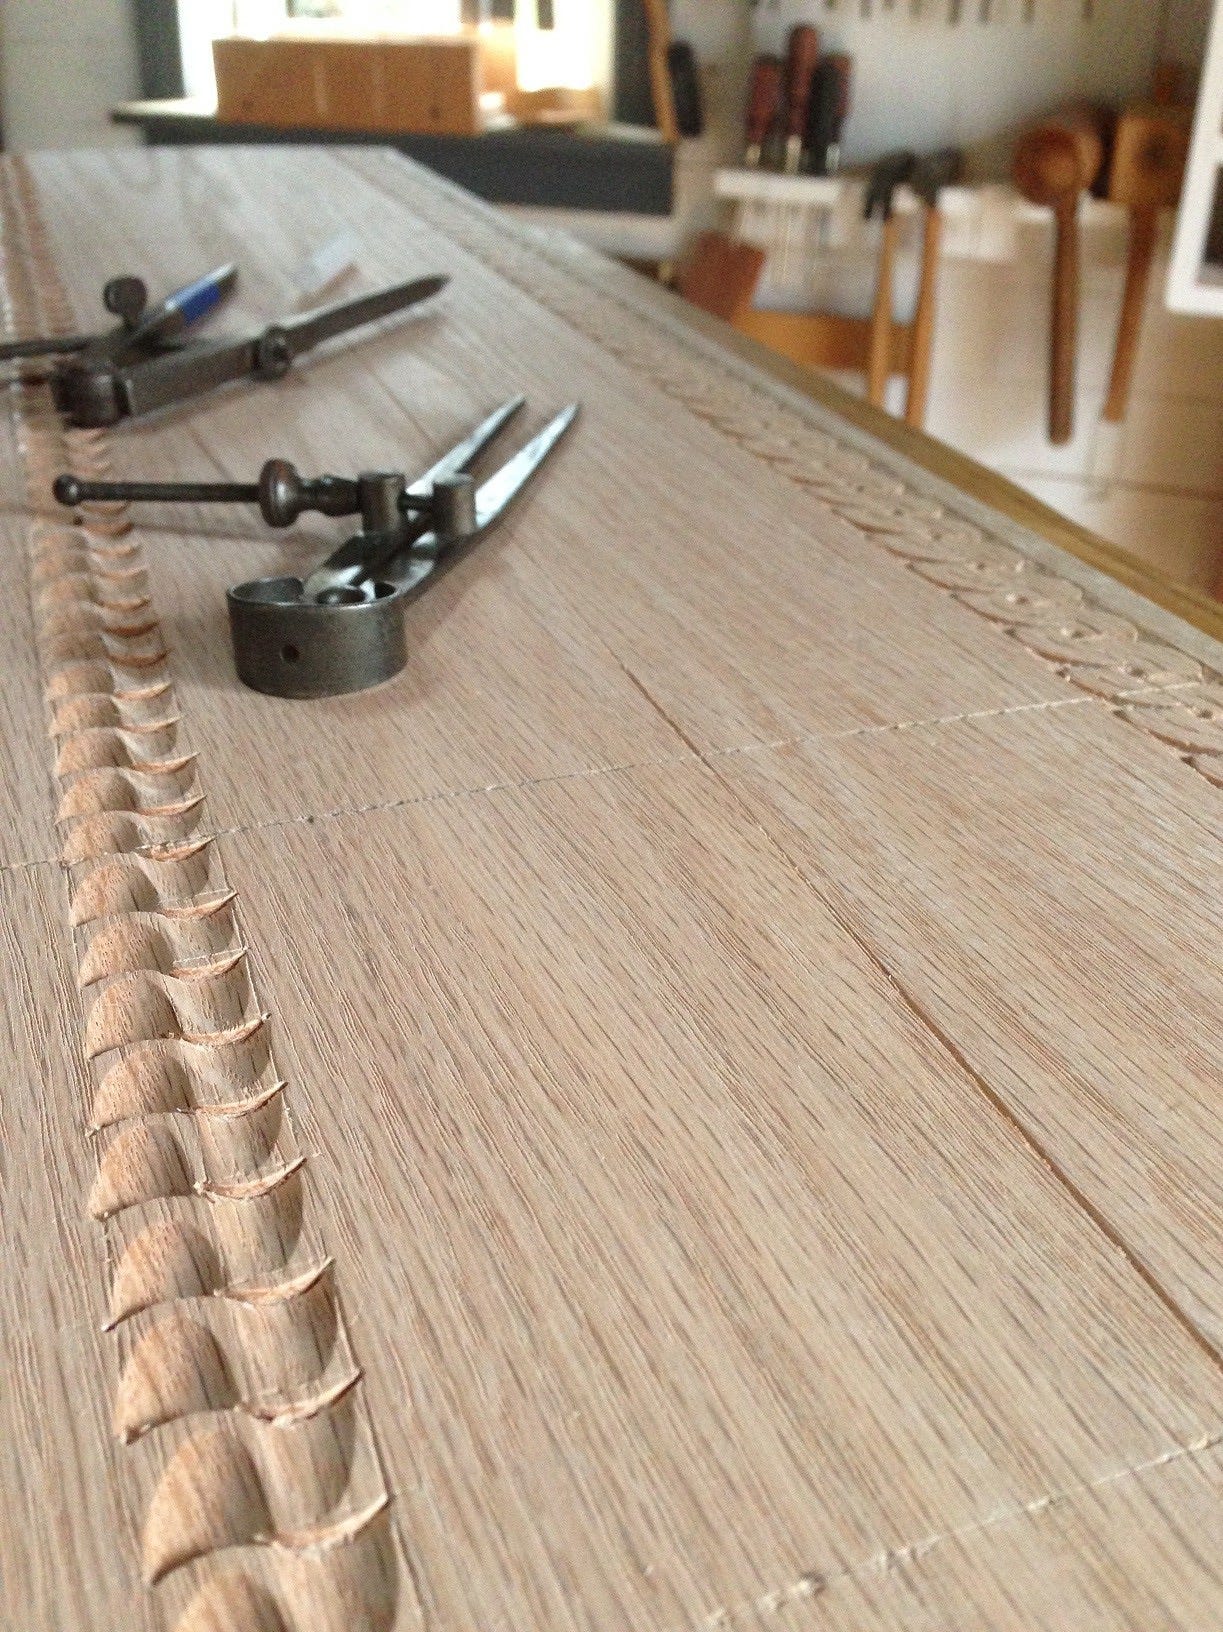
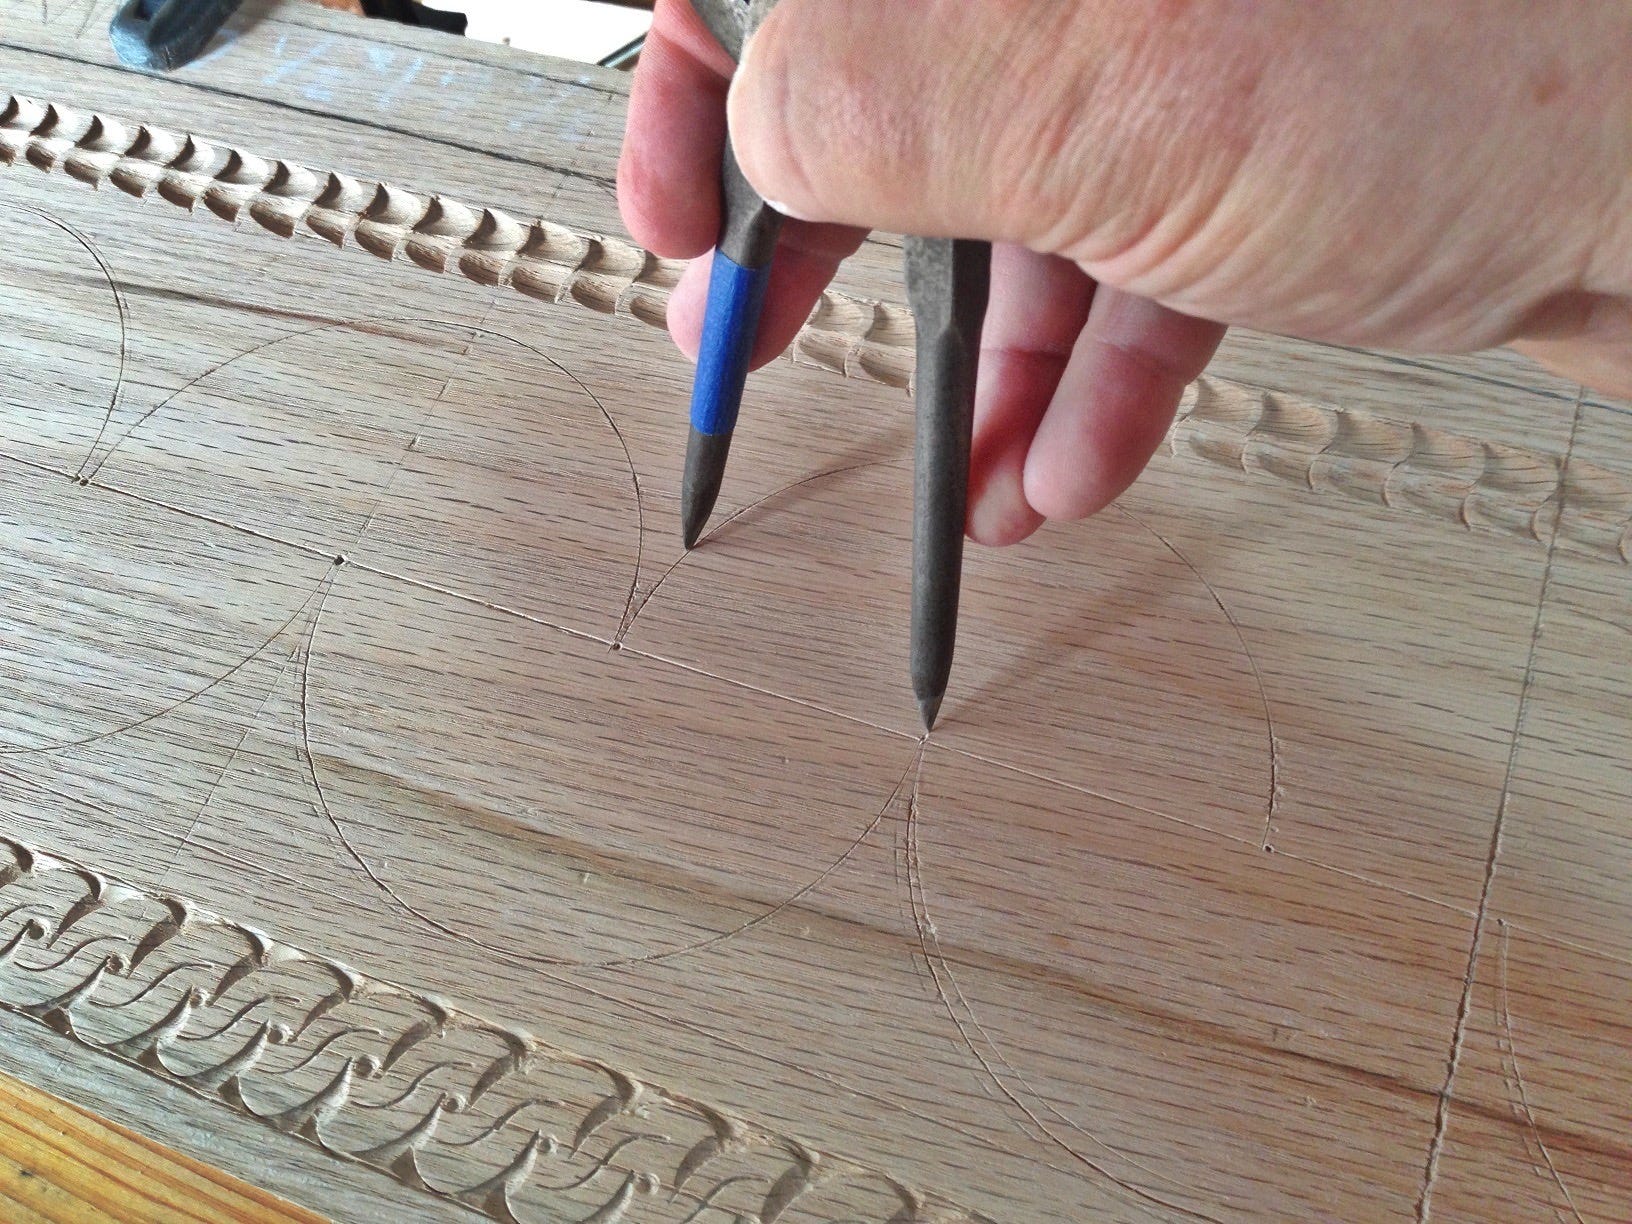
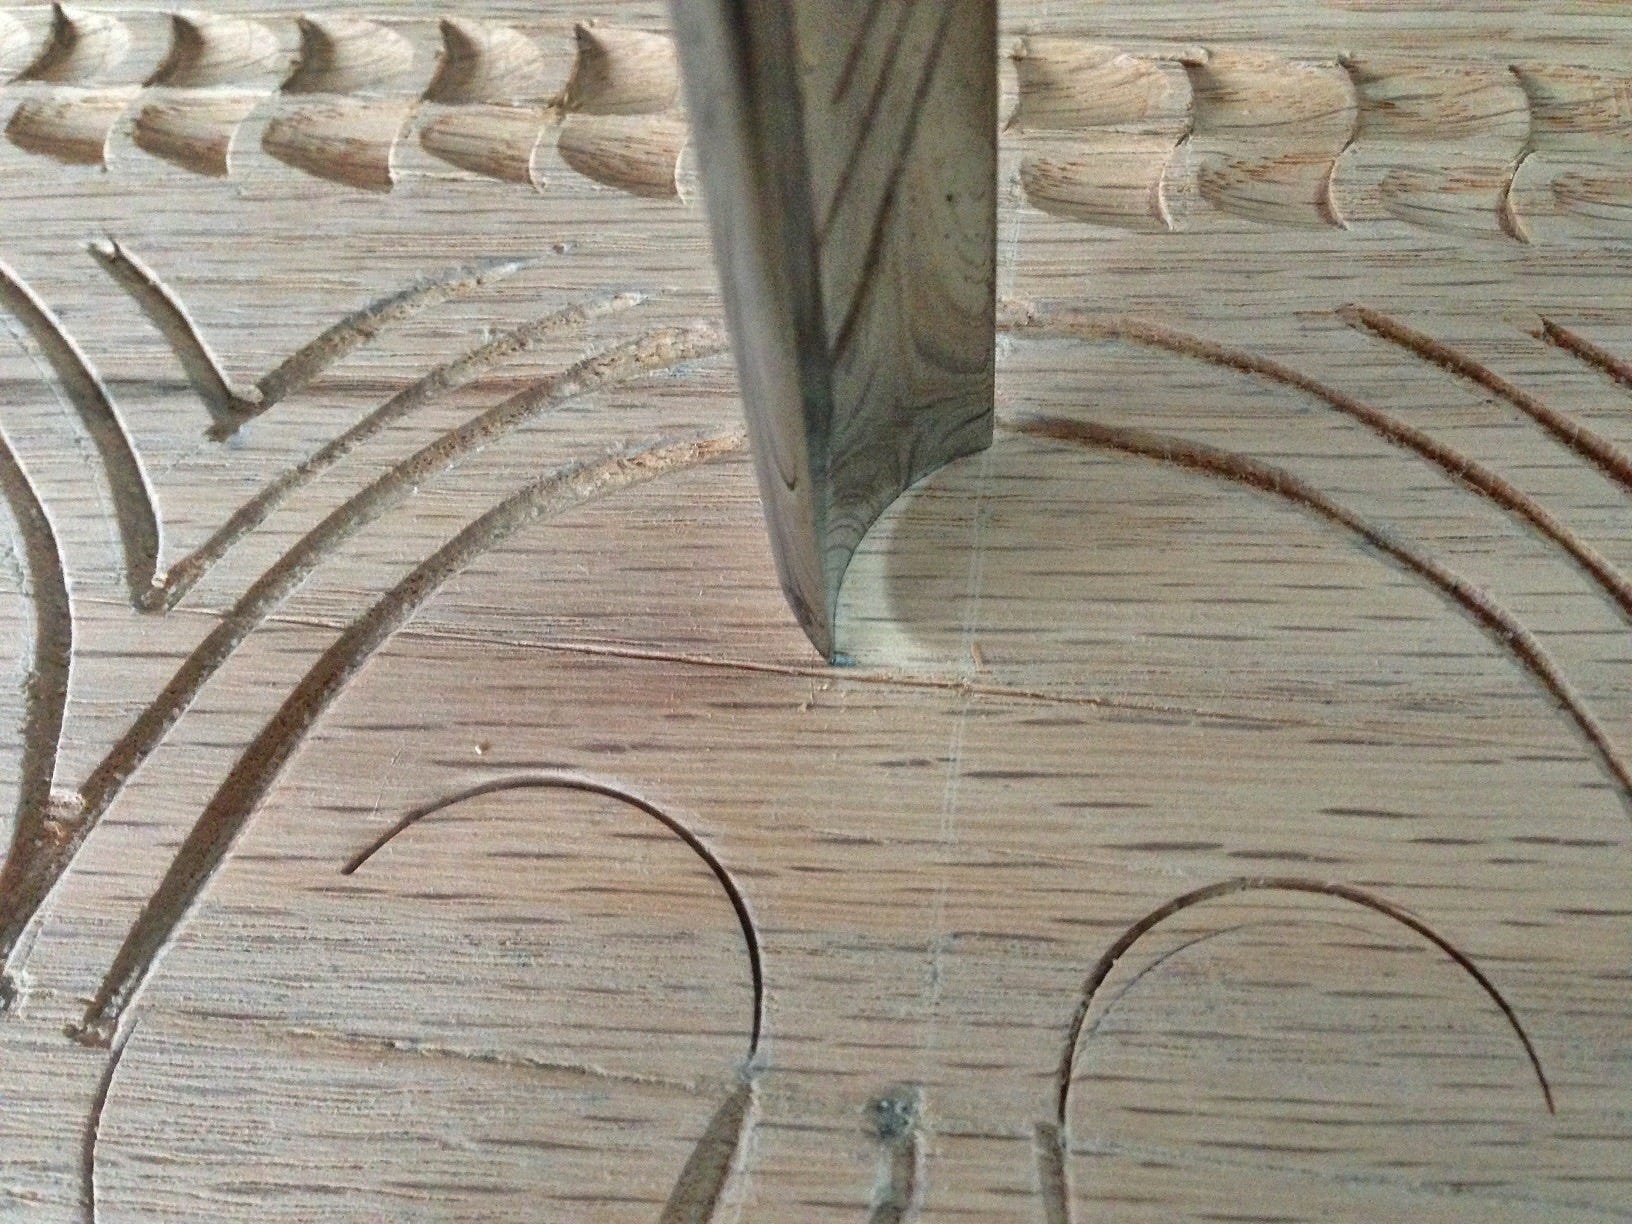
For the main decoration, I decided to go with inverted lunettes. There’s nothing to the pattern, just two rows of lunettes with the lower row being inverted and offset. To start, I used a compass to scribe half-circles above and below a horizontal centerline. The point at which the half-circles touch the horizontal centerline is the center of the next half-circle, either above or below. This arc is the outside of a lunette.
After adjusting the compass, I scribed another series of half-circles for the inside of the lunette. I also scribed additional arcs to the outside for decoration.
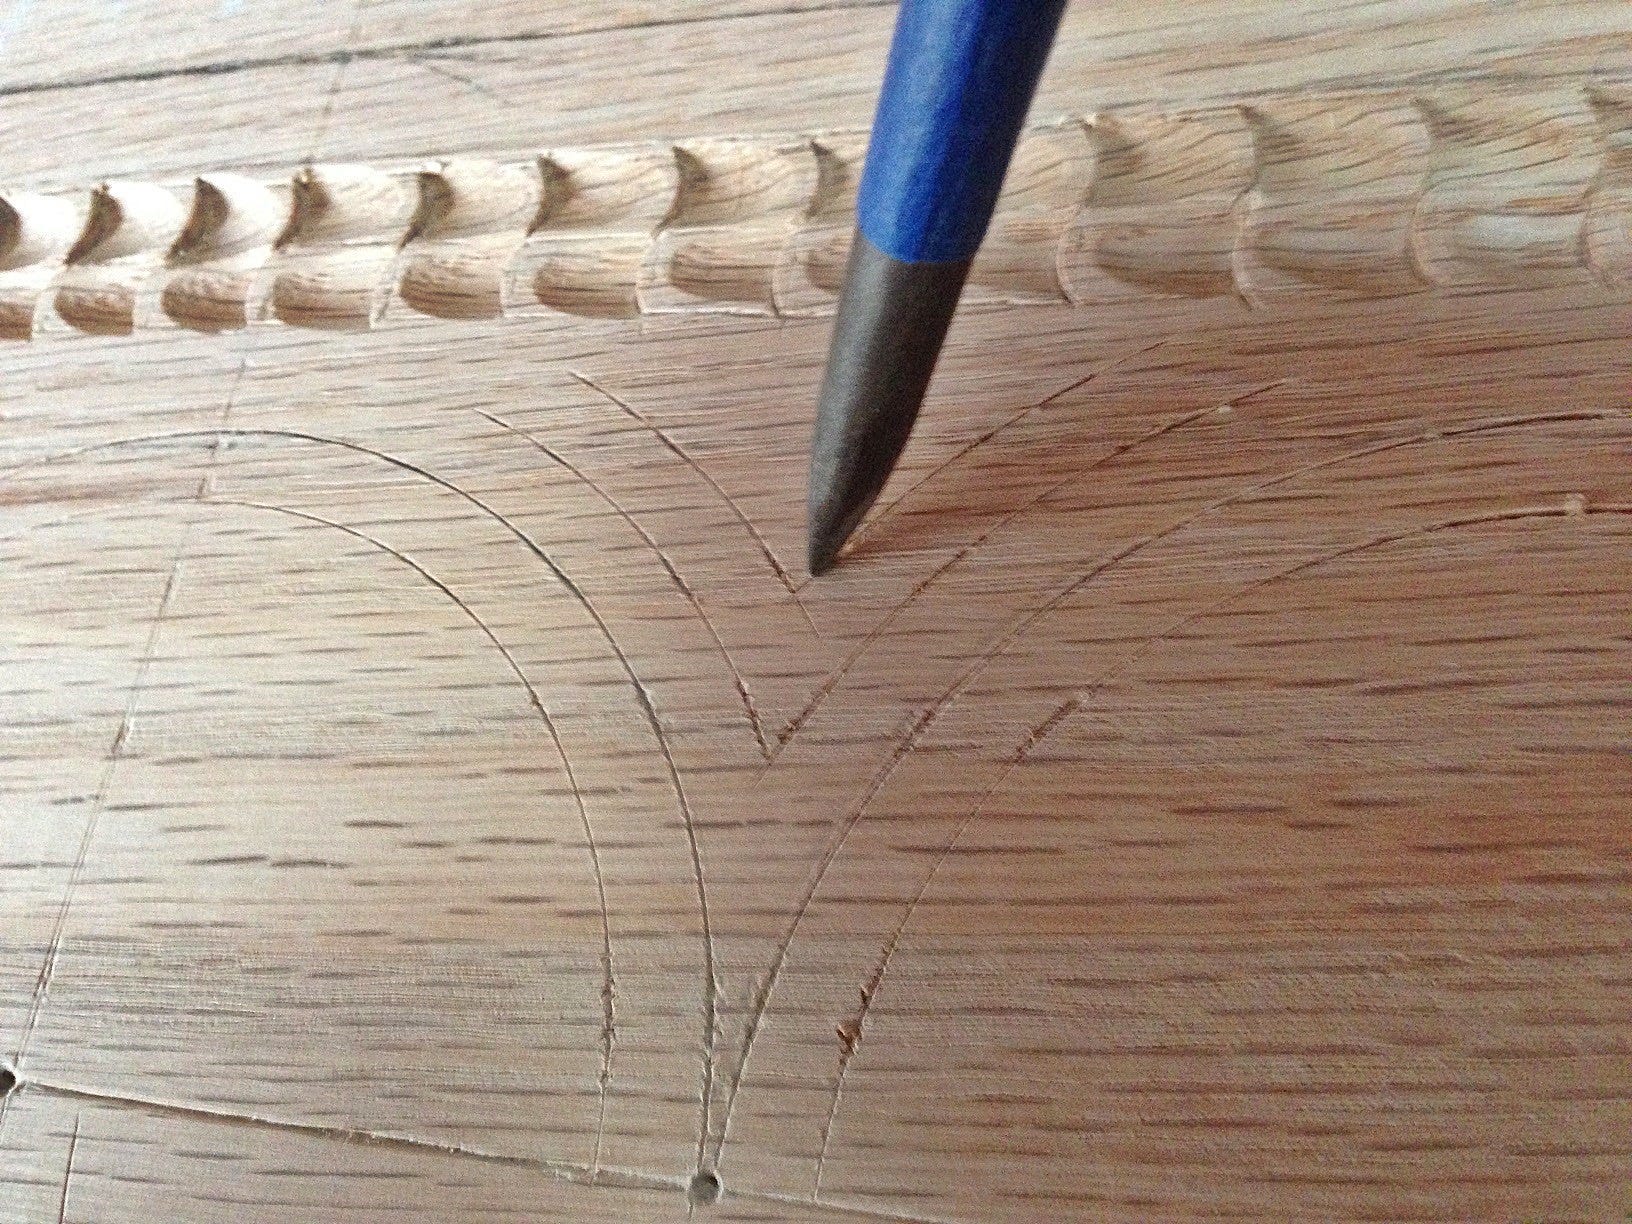
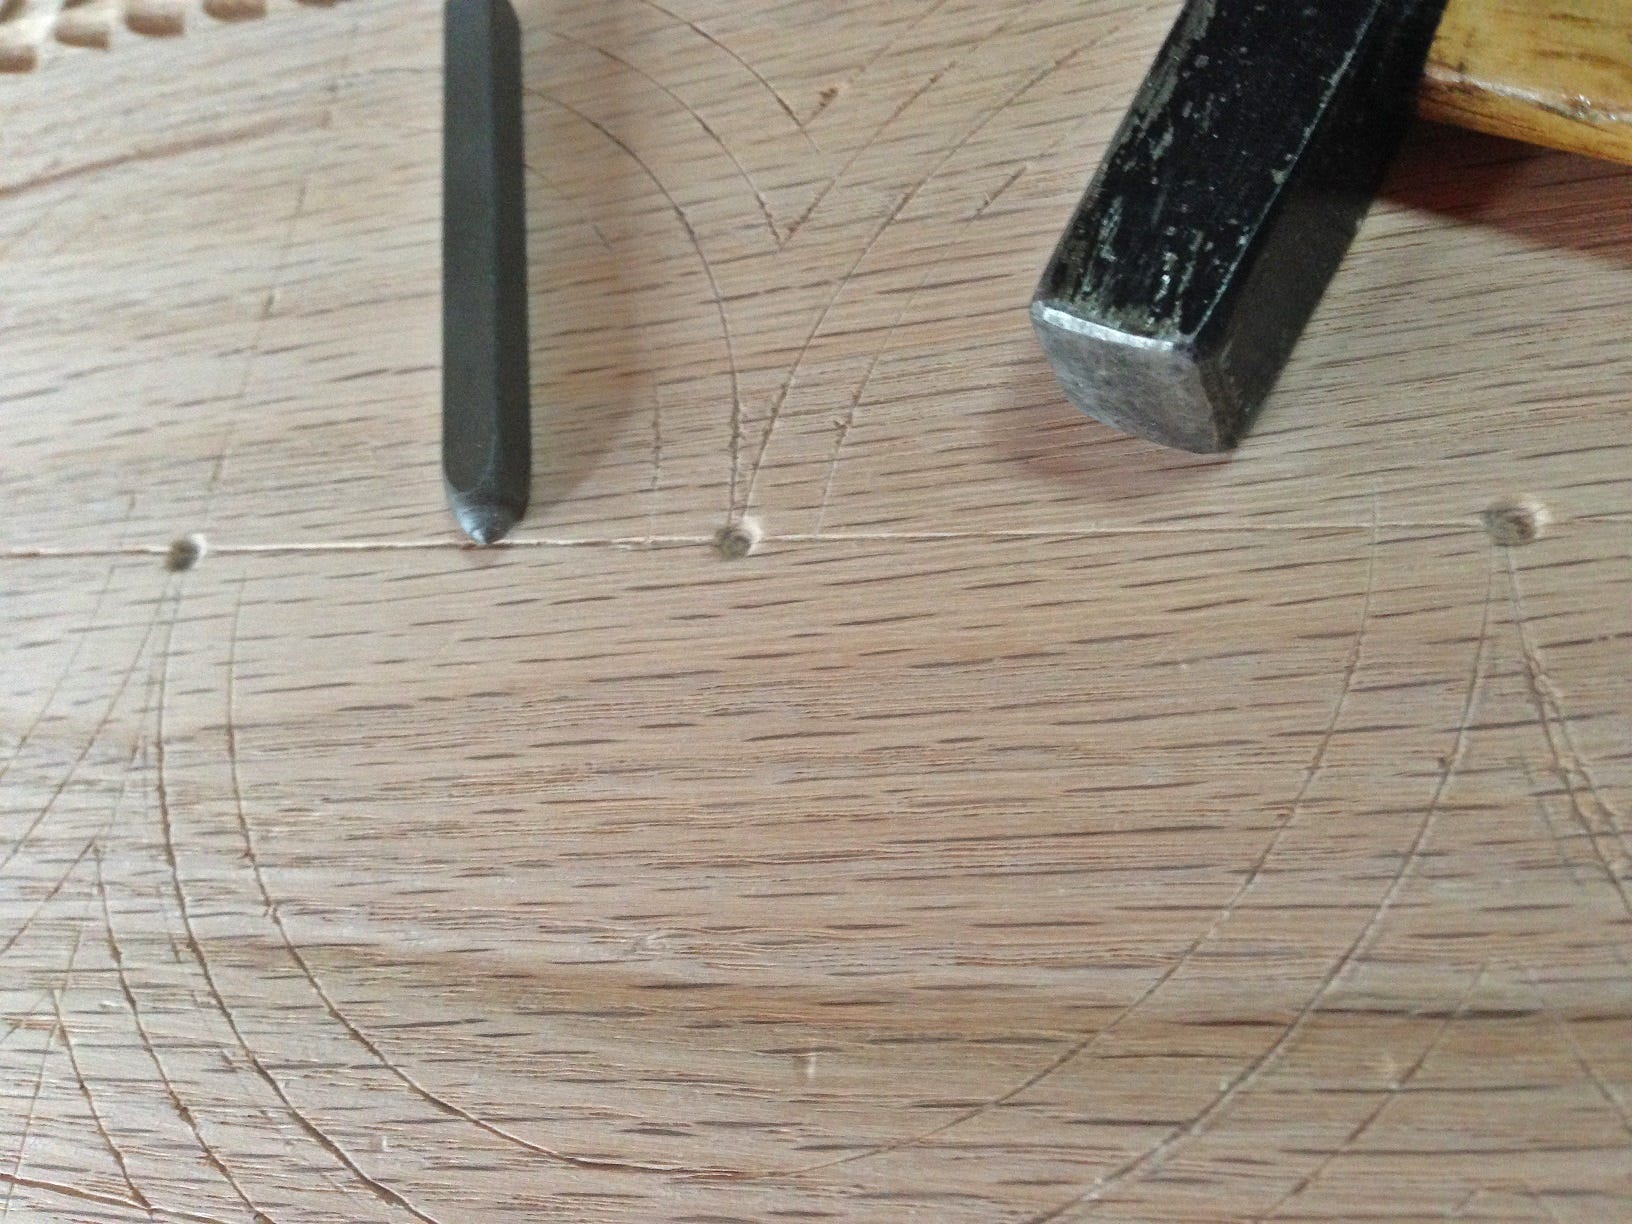
With the half-circles and arcs scribed, I took the time to redefine the center points with an eye punch. This will act as a visual reference when using the V-tool.
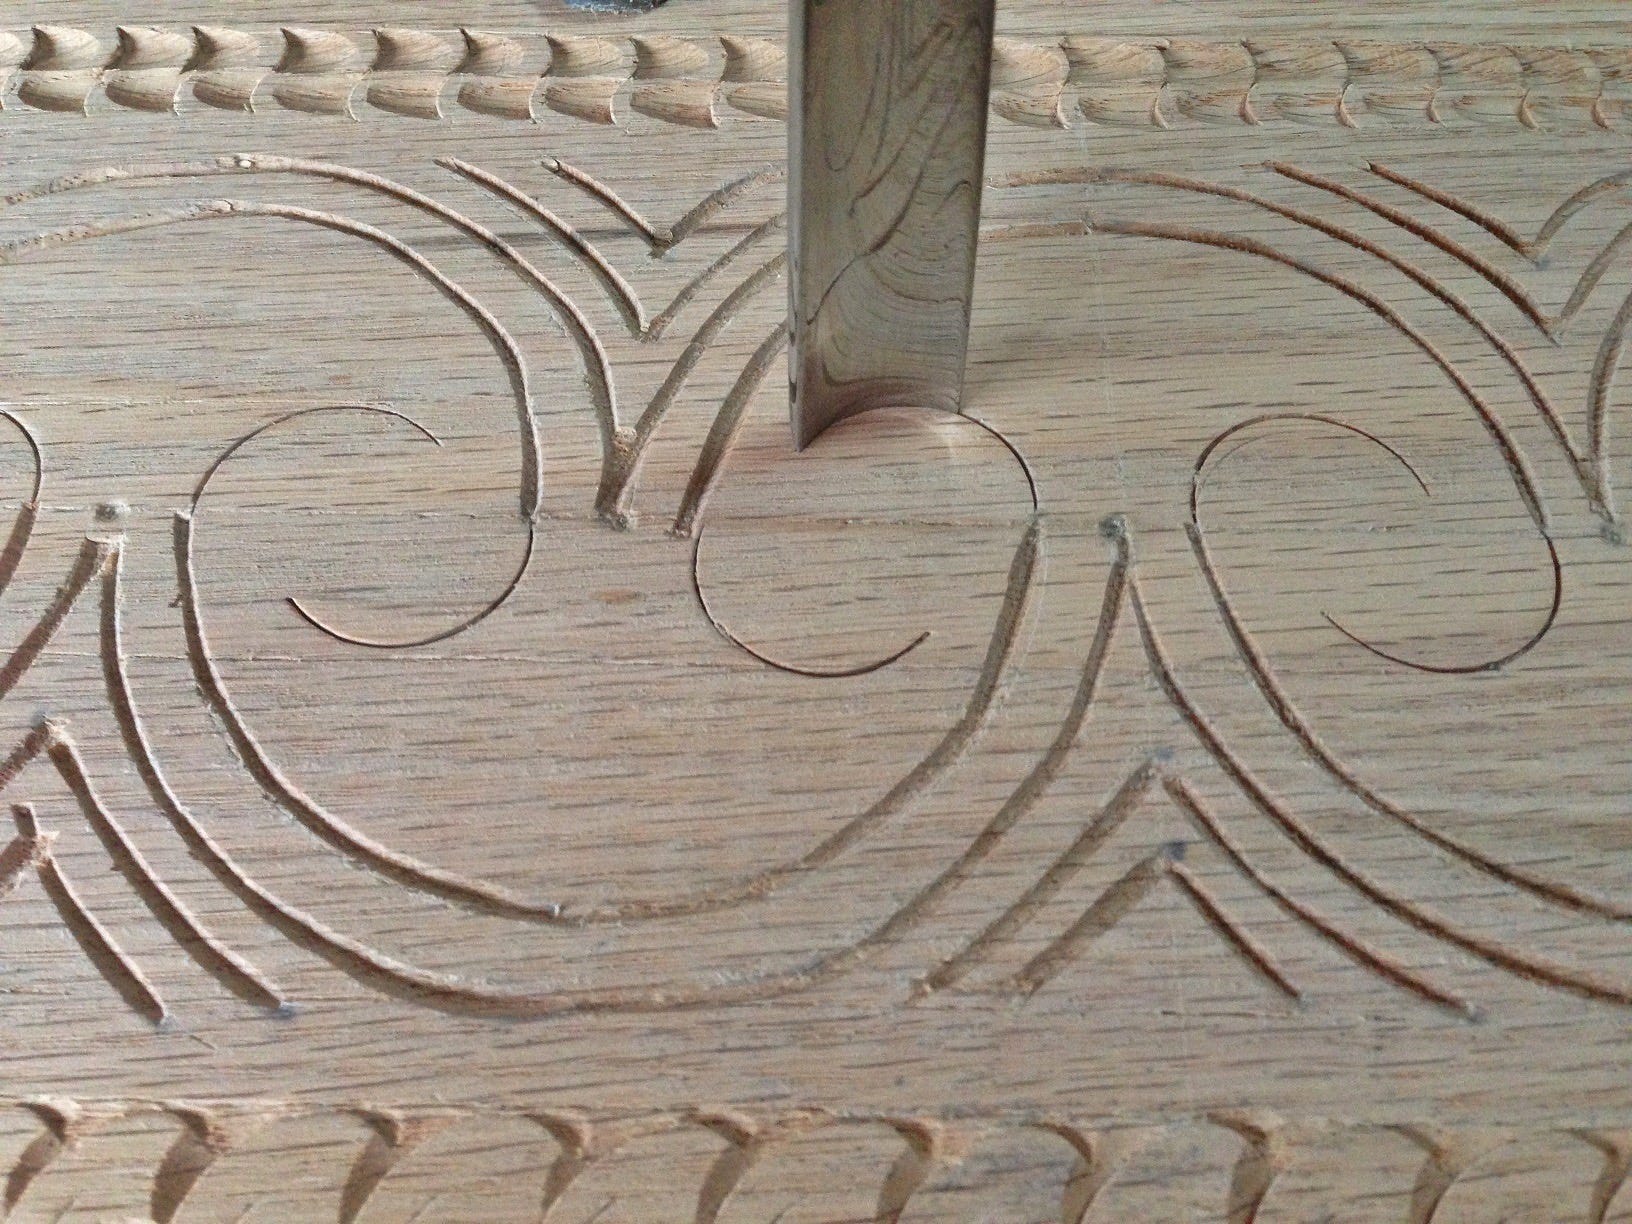
Before cutting in these lines with a 10 mm #41 V-tool, I moistened the work with a 50:50 solution of water and isopropyl alcohol. I find that this helps the tool cut cleaner.
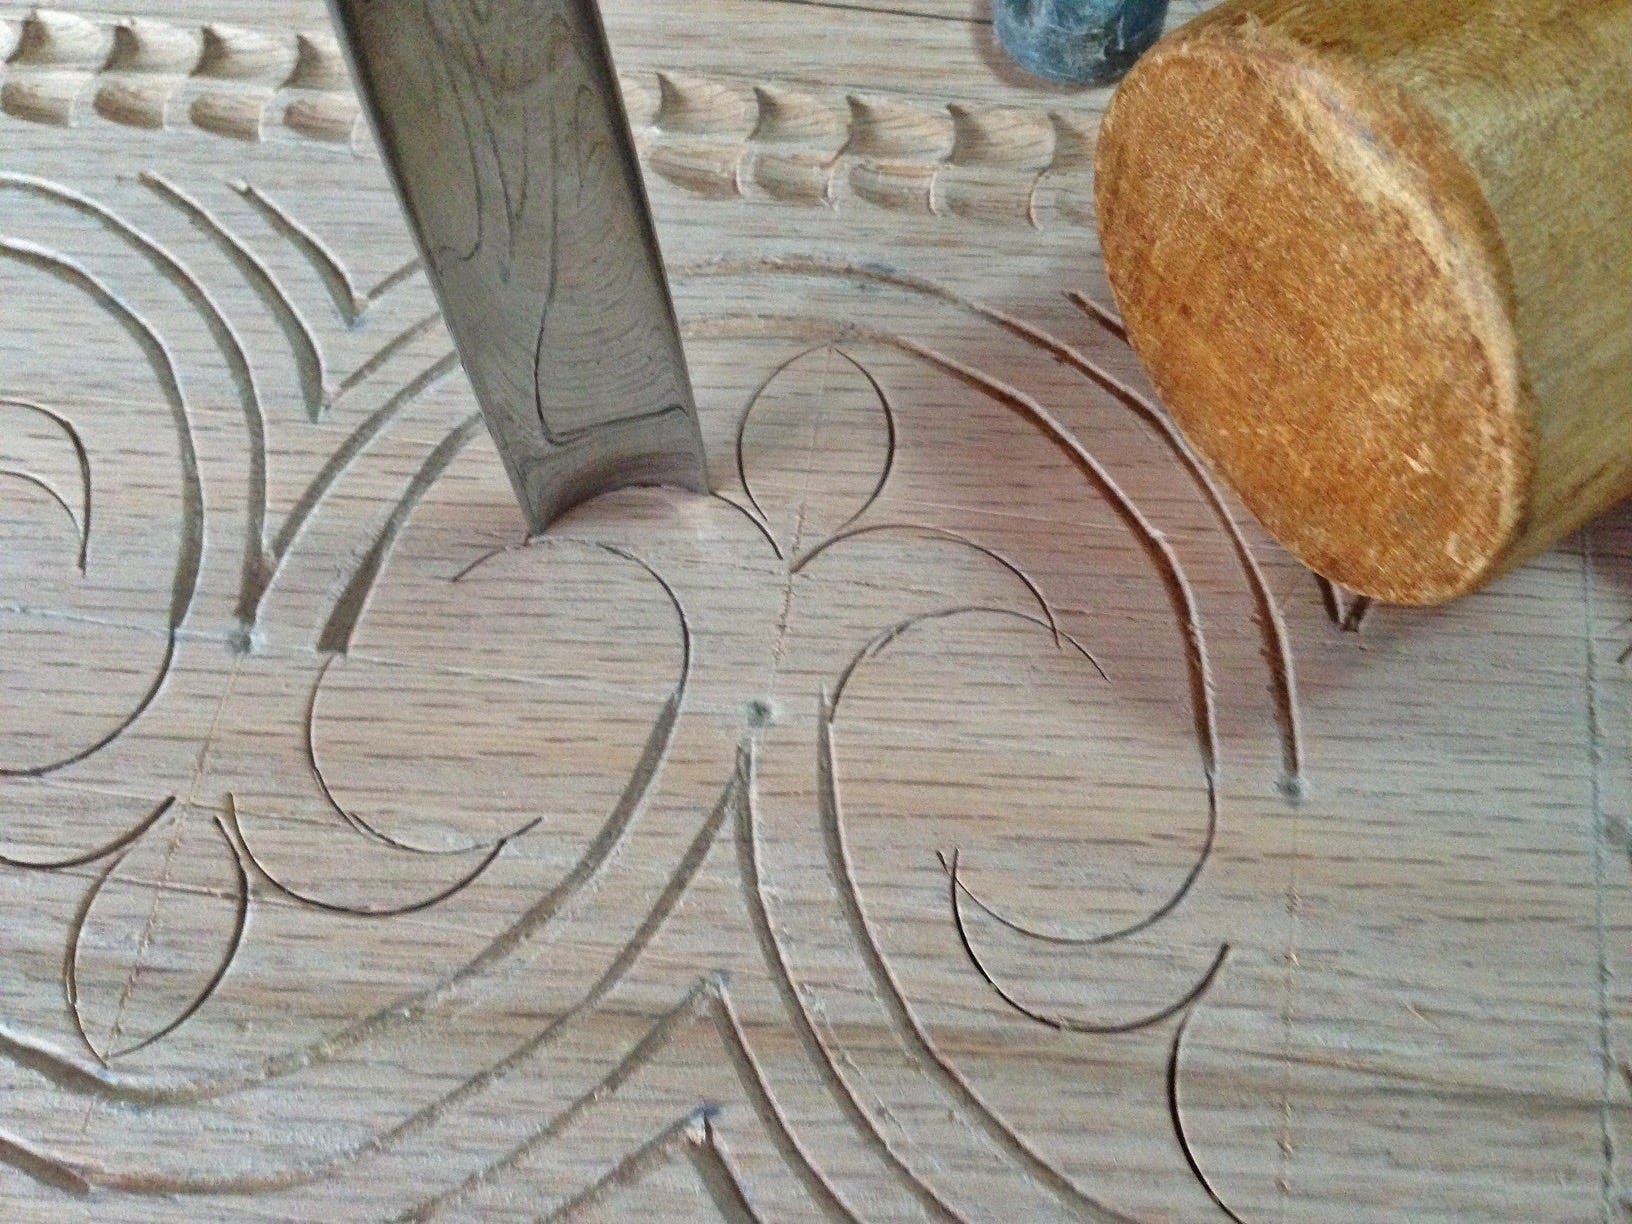
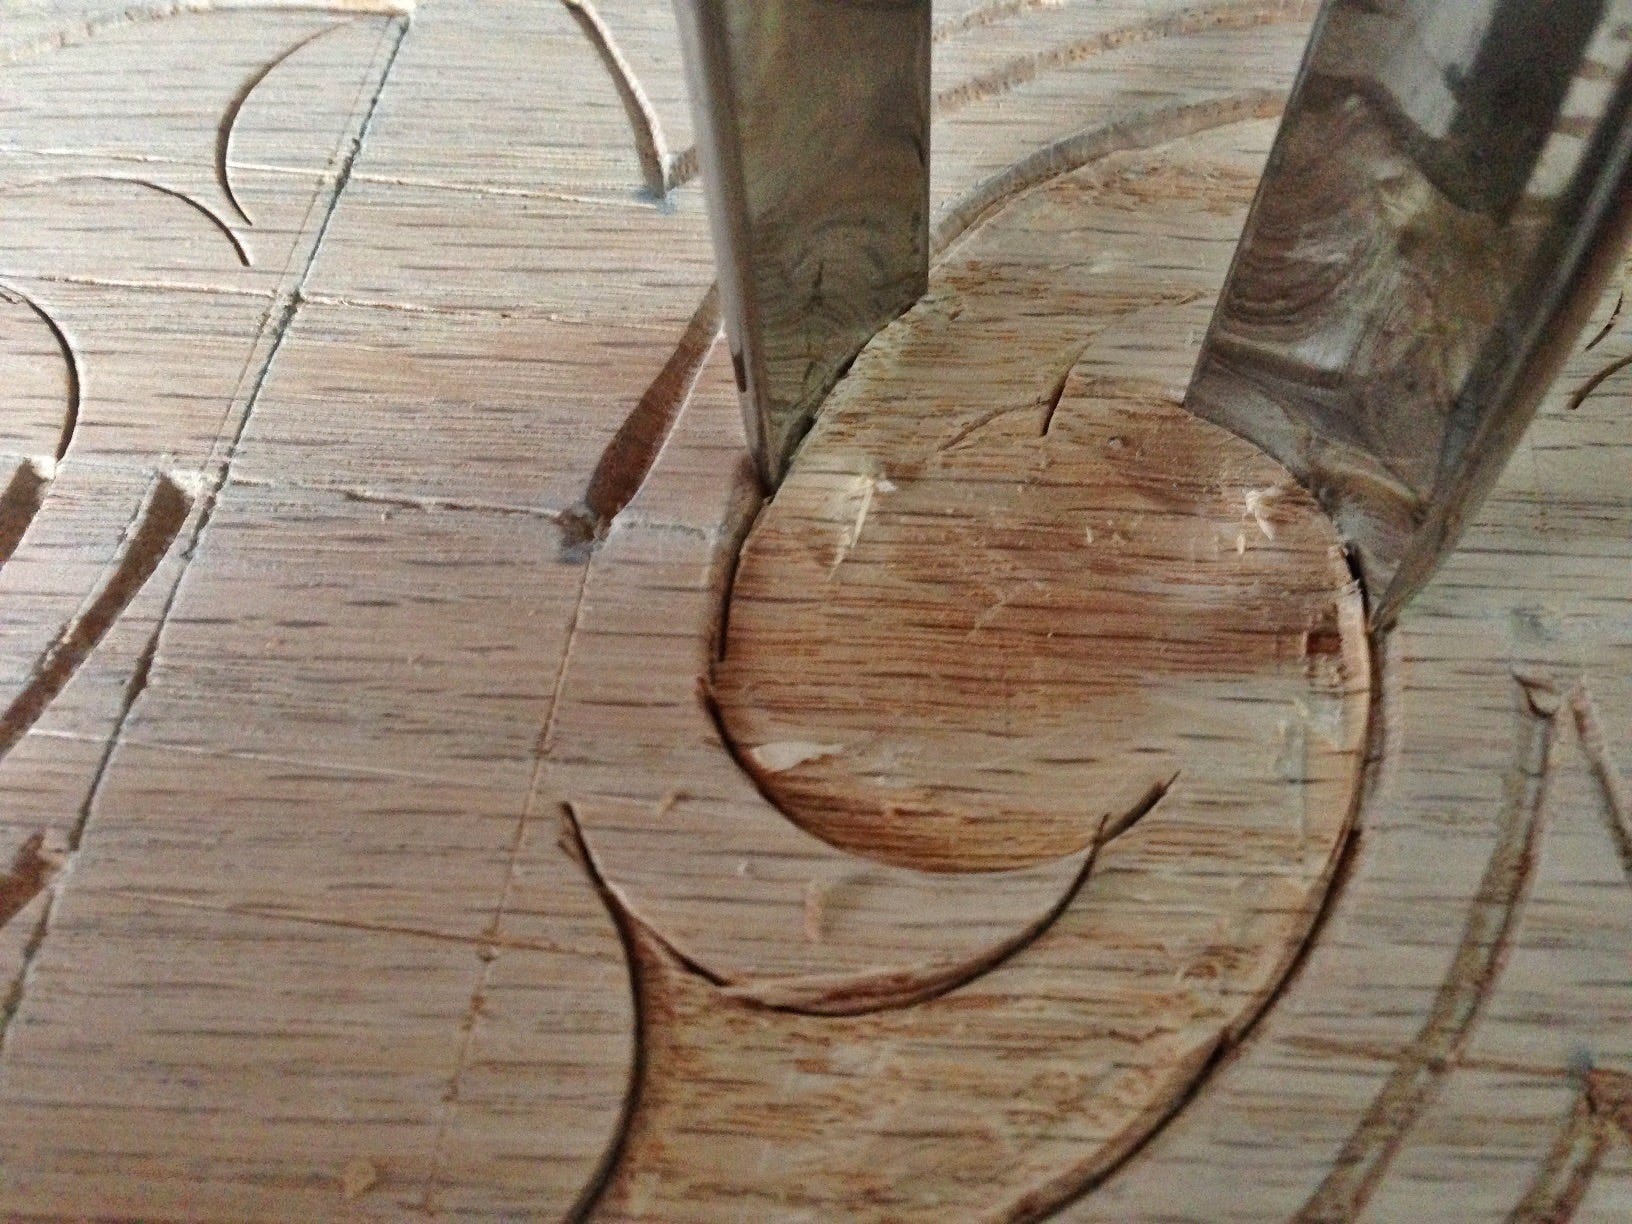
Next, using a 20 mm #7 gouge, I struck the bottom edges of the trefoils.
Then established the top of the trefoil.
I then finished the trefoil by walking the gouge around to connect the previous strikes.
Background removal is tricky at best, especially with plain-sawn stock. I use a VERY sharp 10 mm #5 straight gouge to pare along the grain from feature to feature. I remove the background to the depth of the V-tool cuts. I usually pick a midpoint in between and pare in both directions using both mallet and hand pressure, depending on the distance. The lower the angle on the gouge, while paring, the better the results.
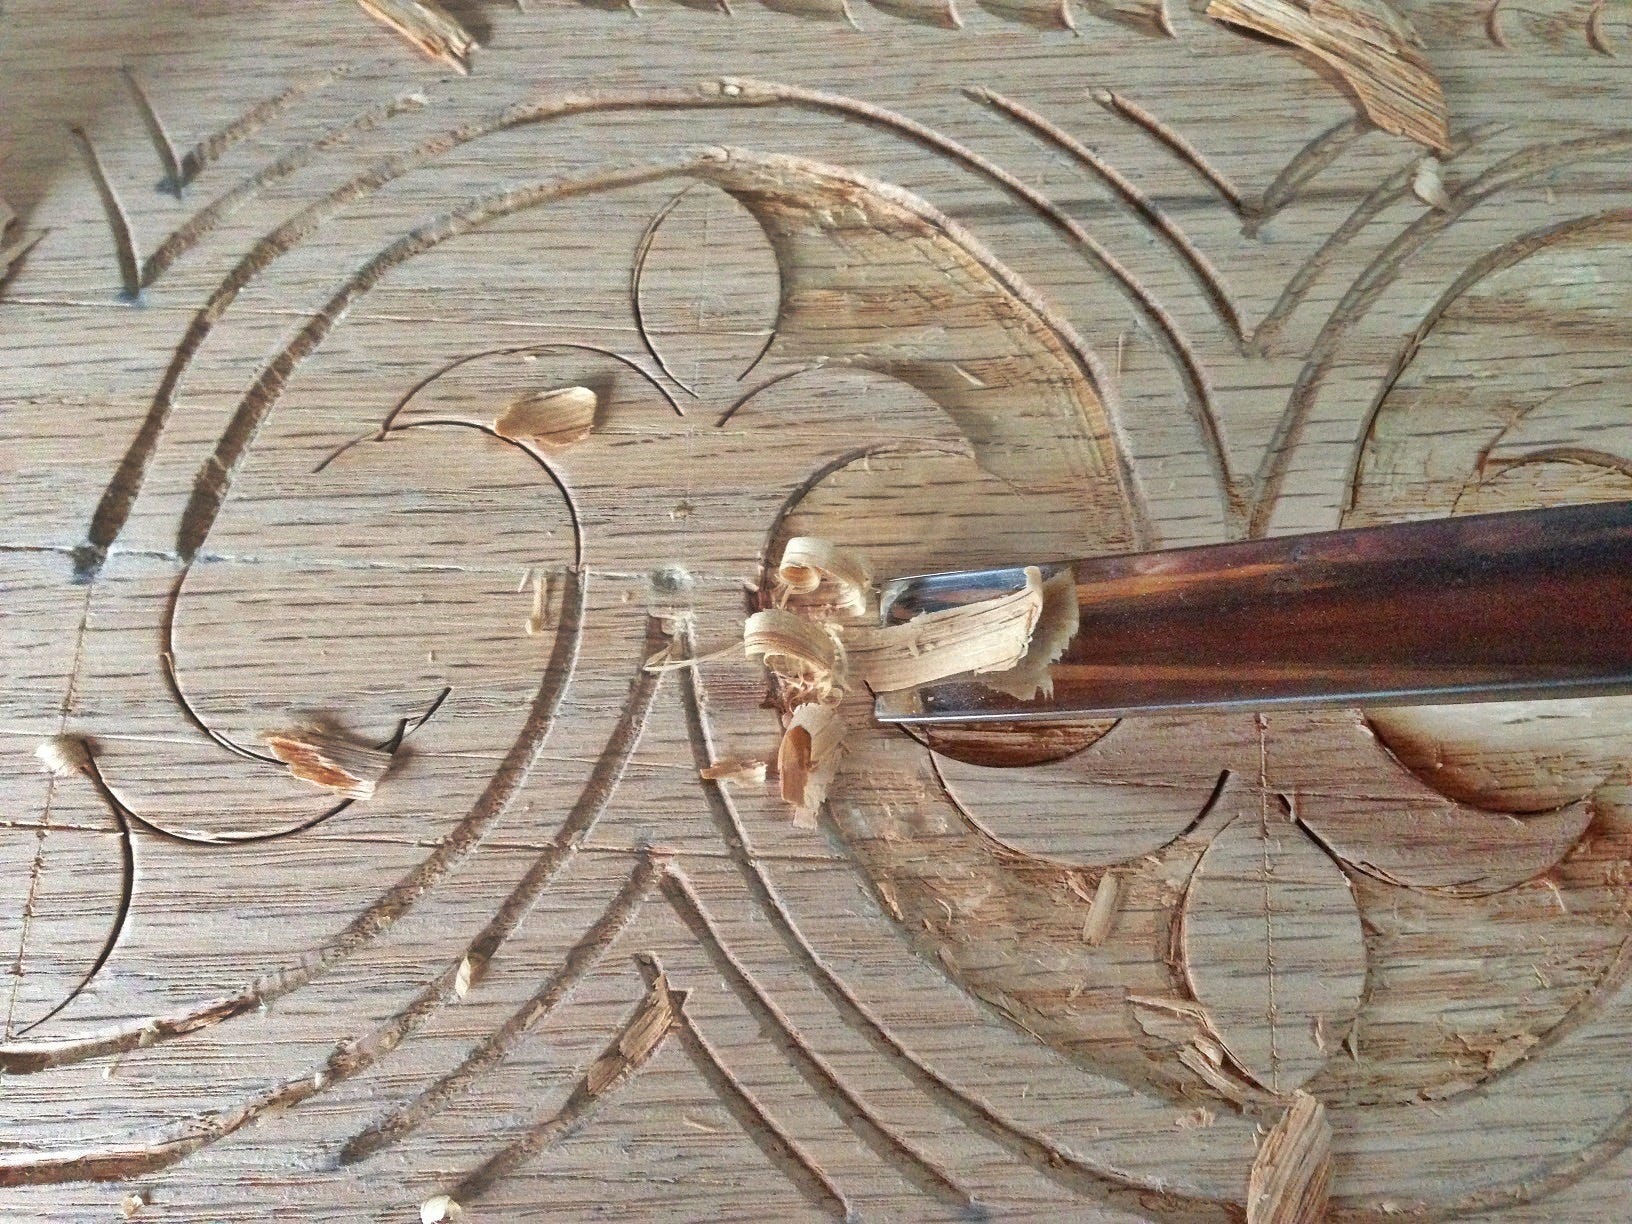
I find it helpful to restrike the features, from time to time, to create a vertical wall which helps alleviate the chance of undercutting.
Once the entire background is removed to satisfaction, I rub my hand across the work feeling for any snags. If felt, I will rub the work lightly with low-grit sandpaper to remove them.
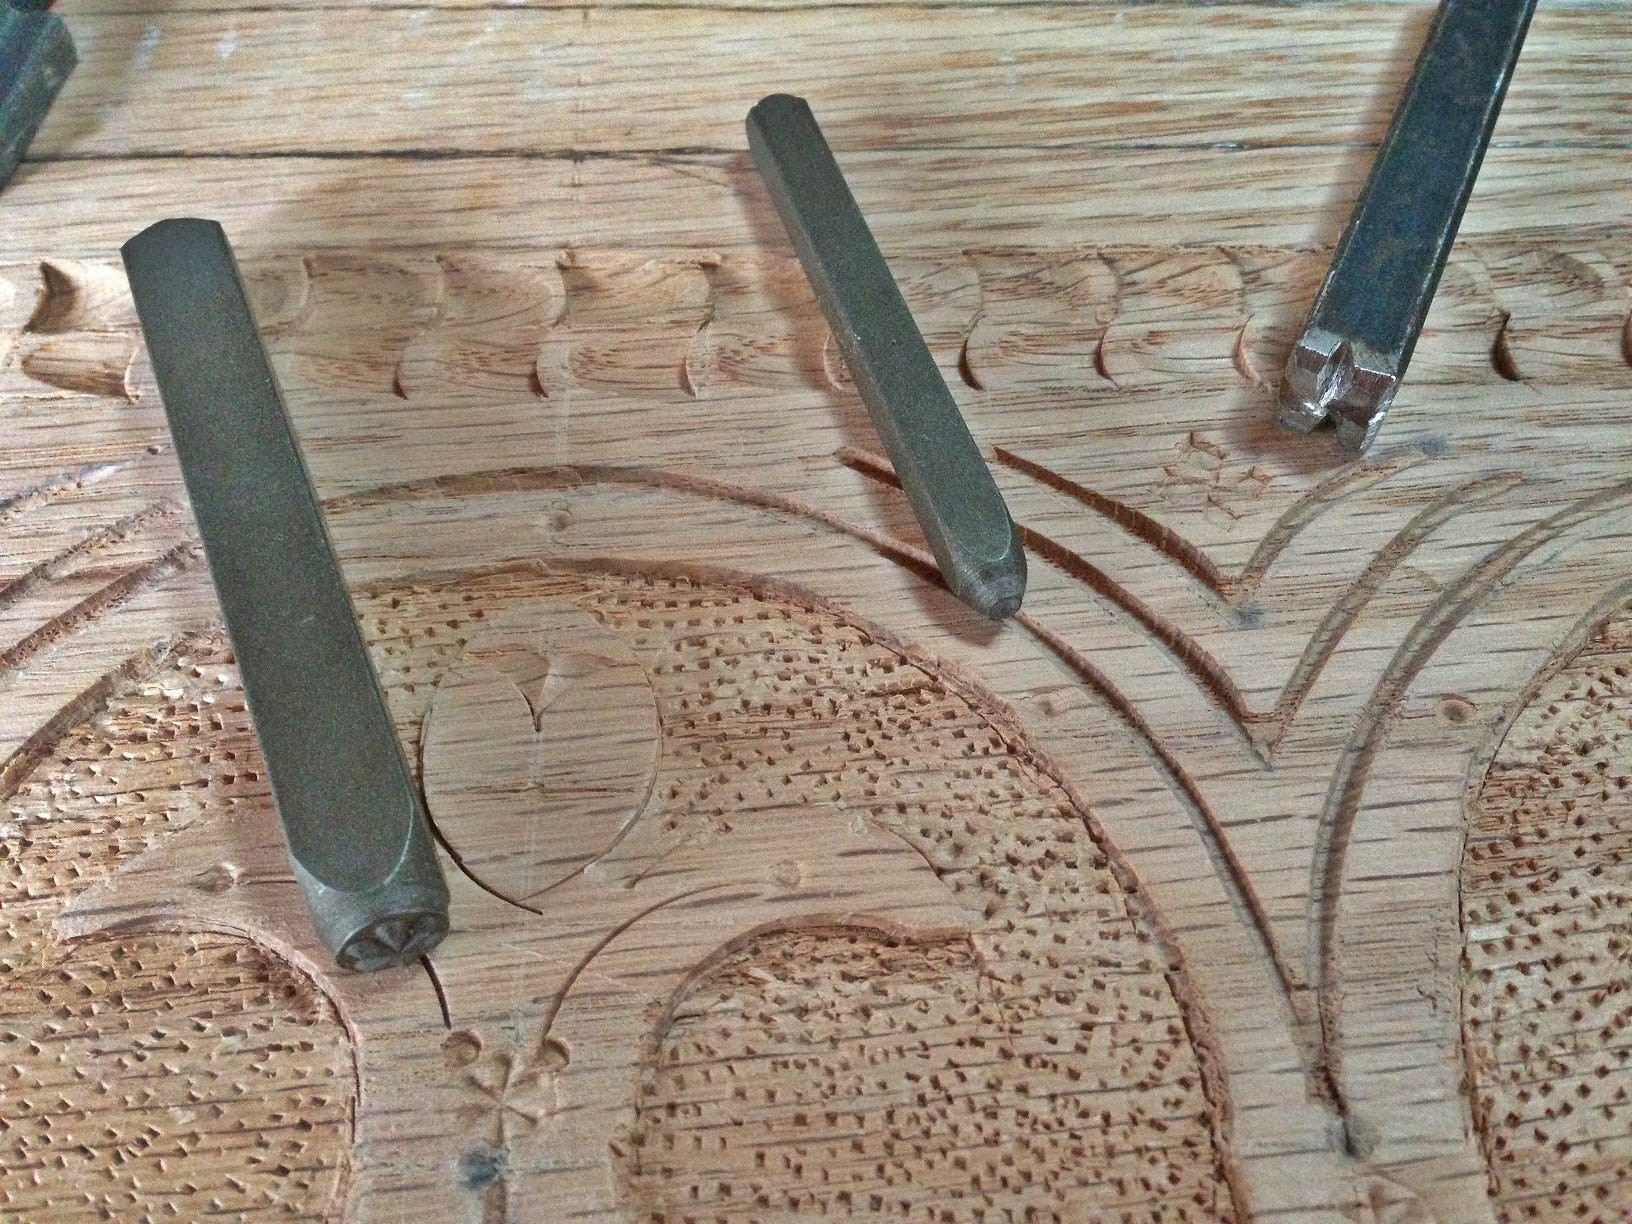
Next comes the stippling. I use a short bolt, filed to pyramidal points. Holding the bolt tight against the vertical walls, I tap, relocate, tap, relocate, and tap again until the feature is outlined. I then go back and stipple the remainder of the background. At this point, the carving is essentially complete, but I like to add interesting visual points with random punches and extra gouge strikes.
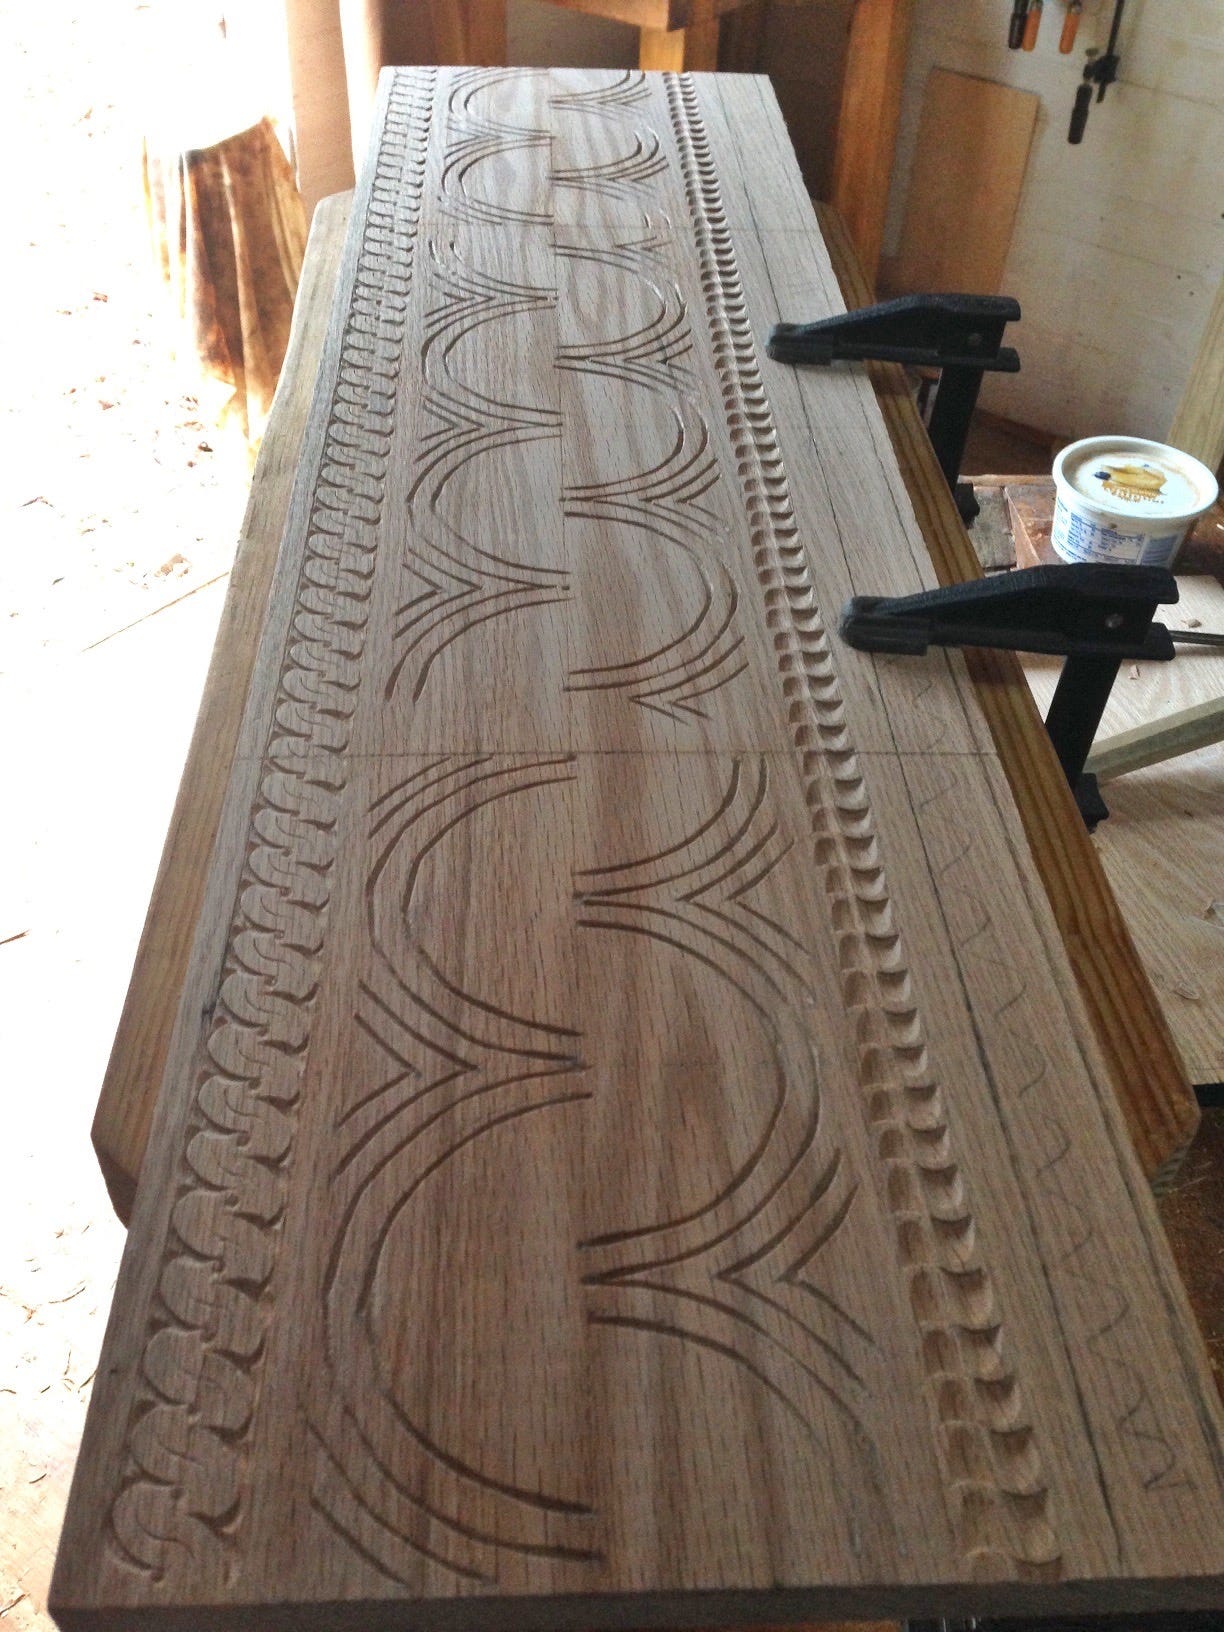
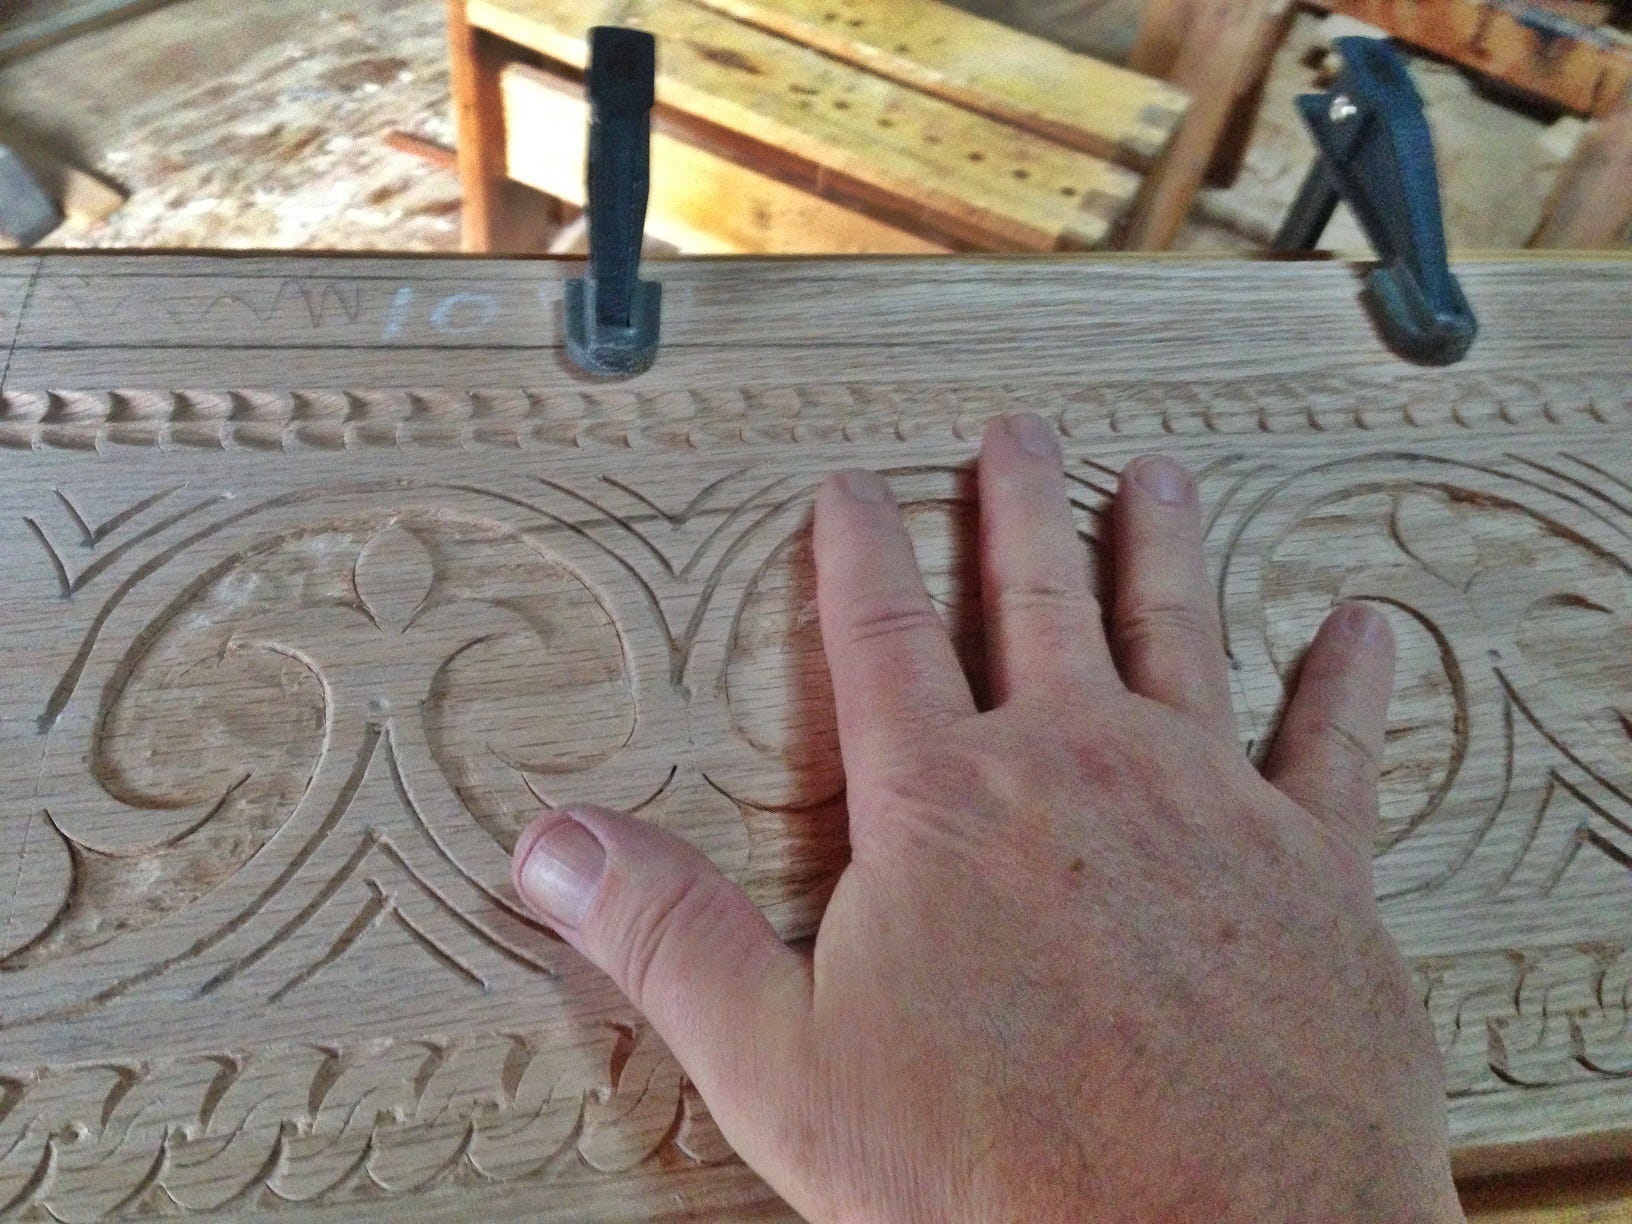
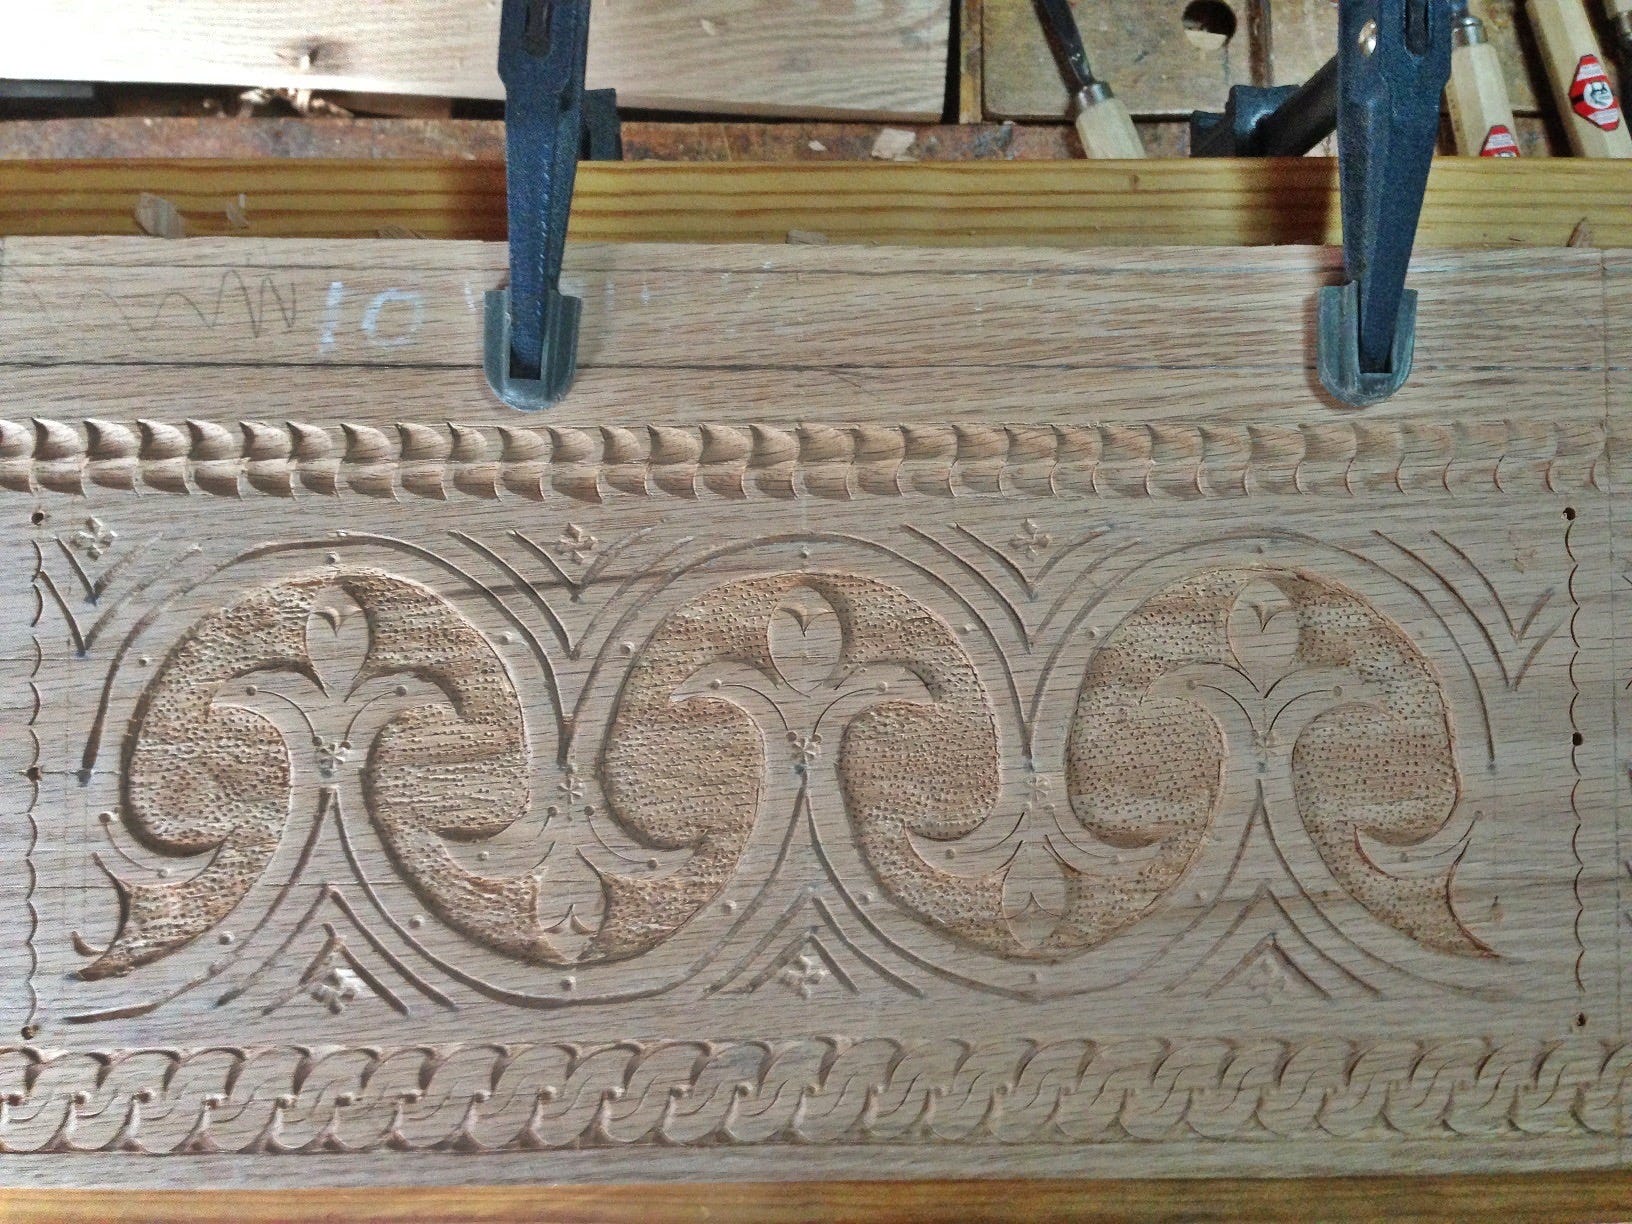
So … there you have it! The front and sides of my box, carved with inverted lunettes, running cable, and S-braid decorations.
Tearing away the waste from the top edge sent a shiver down my spine, but I pushed through and emerged victorious!
More on this box to follow. Stay tuned!
A fascinating process to watch unfold!
The detailed step by step pictures are so helpful it makes me think I could do it. Thank you. I think it's also smart to leave the boards attached and oversized while carving before cutting them free. I would not have thought of that.