
How About a Joined Stool?

Throughout the sixteenth and seventeenth centuries, the humble stool was the most common form of seating. Early European settlers arrived in America with the most basic of provisions, having brought little in the way of furniture beyond a chest, small boxes, and other simple storage containers. As a result, stools were made in large quantities and served not only as a place to sit but as small tables and footstools. Inventories of the period indicate that it was not uncommon for a household to have several stools. So, I thought why not make a joined stool!
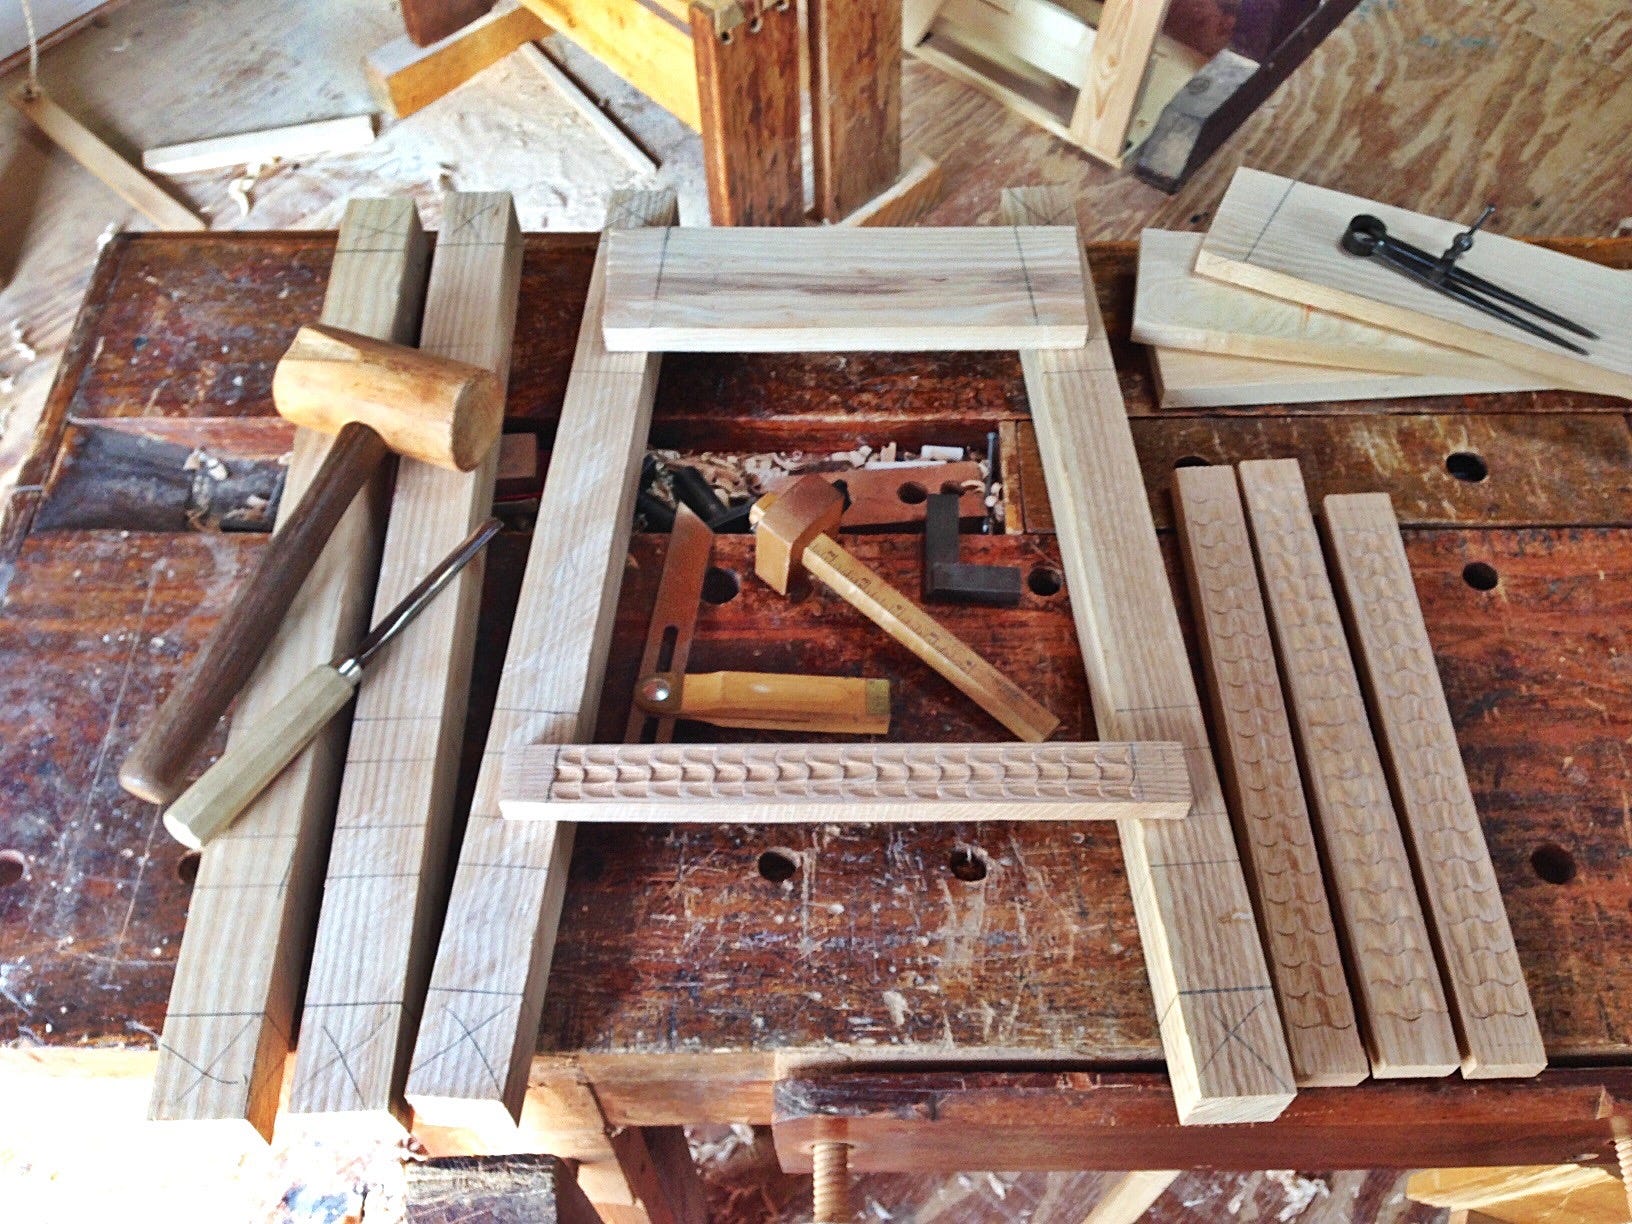
The legs will be turned, the seat rails and bottom rails will receive a bit of carving. Wasting no time, I dove right into carving a running cable decoration on the bottom rails.
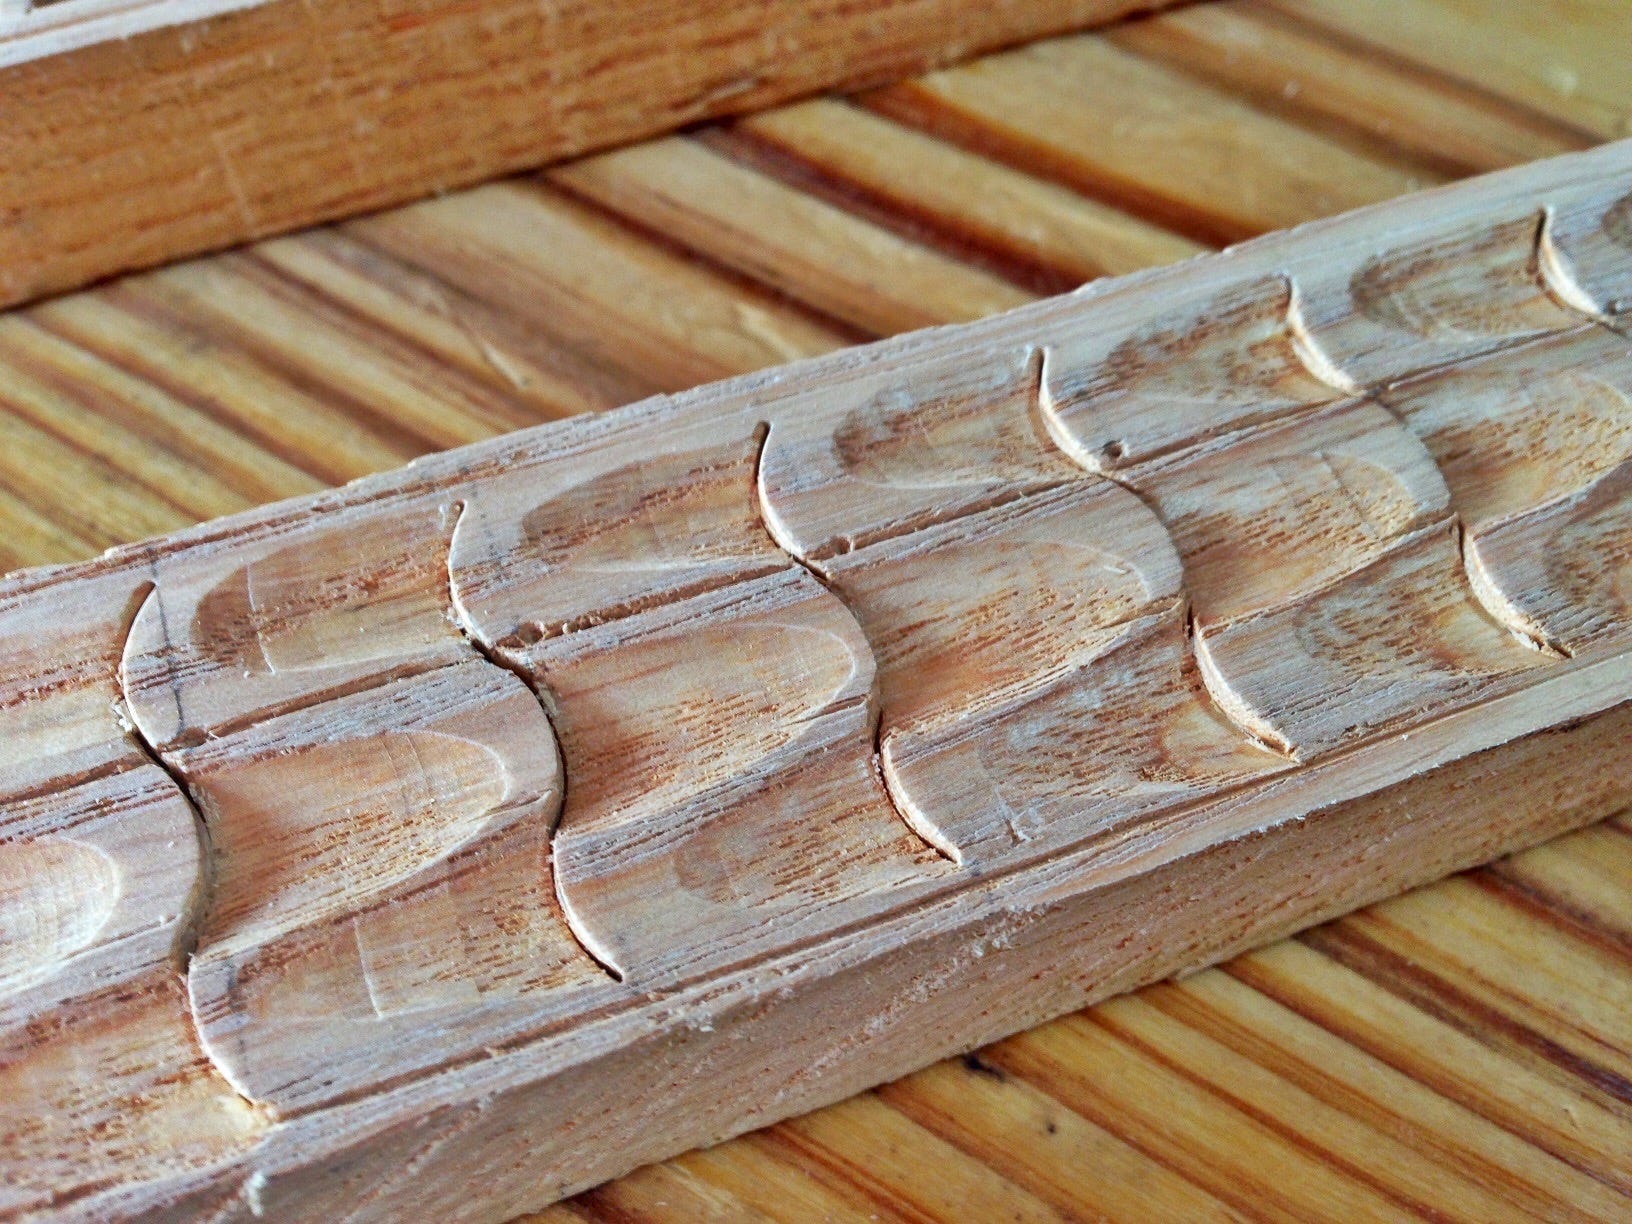
Running cable is quite a simple decoration, yet powerful in its presentation. I personally like how light plays off the alternating gouge strikes. The four bottom rails took no time to complete. Feeling as though I was on a roll, I jumped onto the seat rails.
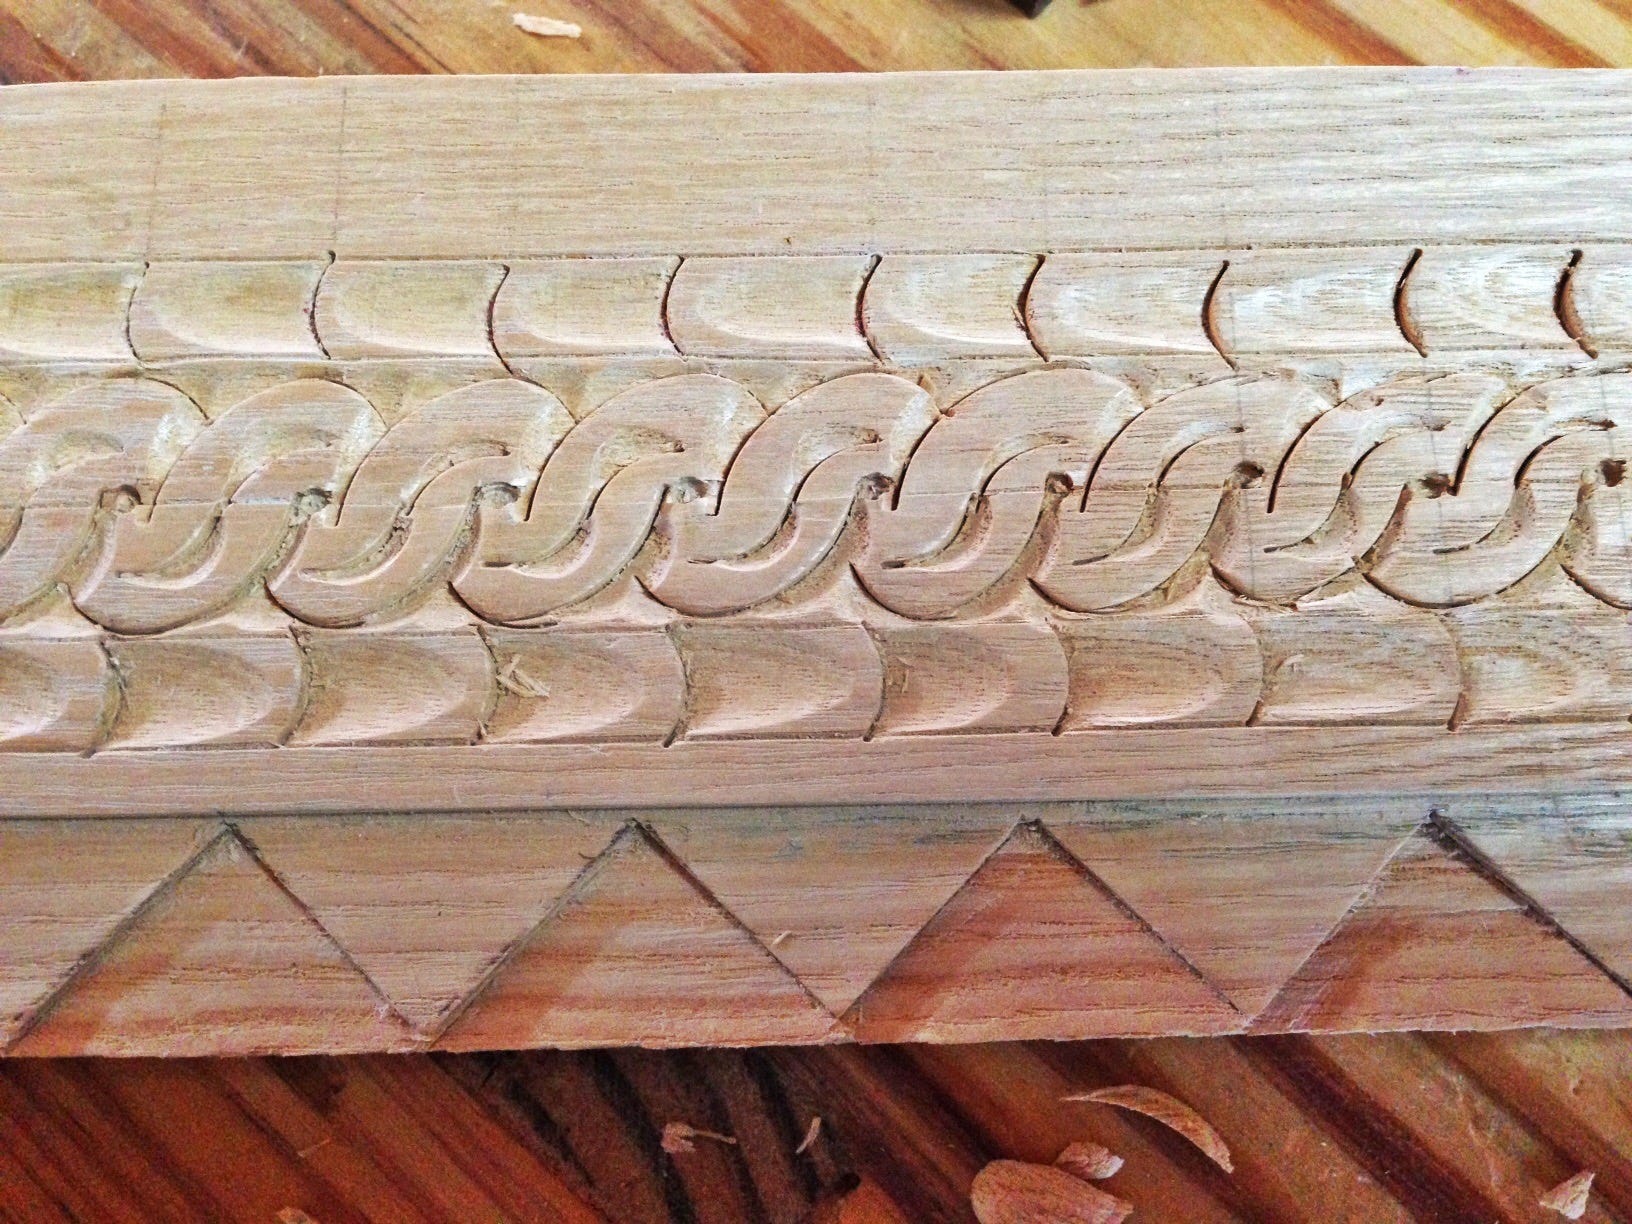
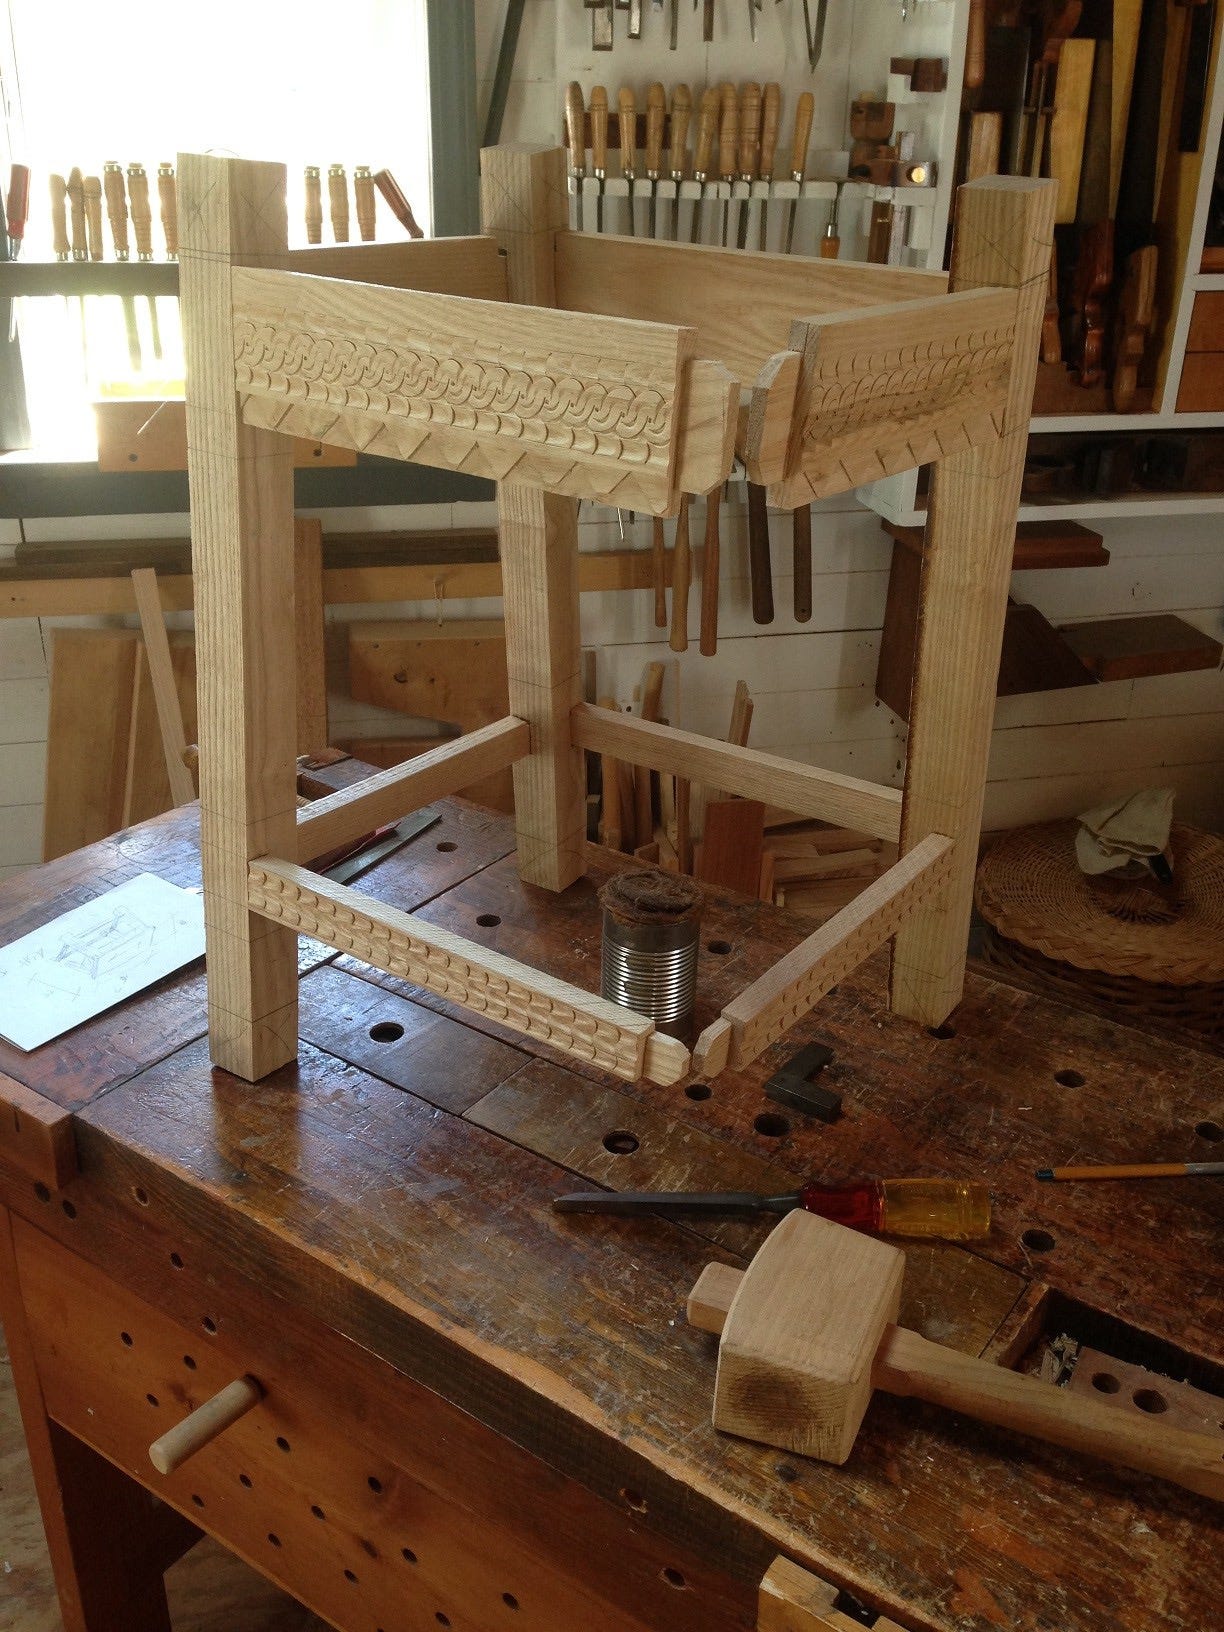
The bottom of the seat rails received another simple, yet striking decoration, the zig-zag. I continued carving the seat rails with another oldie-but-goodie, the S-braid, bordered by running cable, top and bottom.
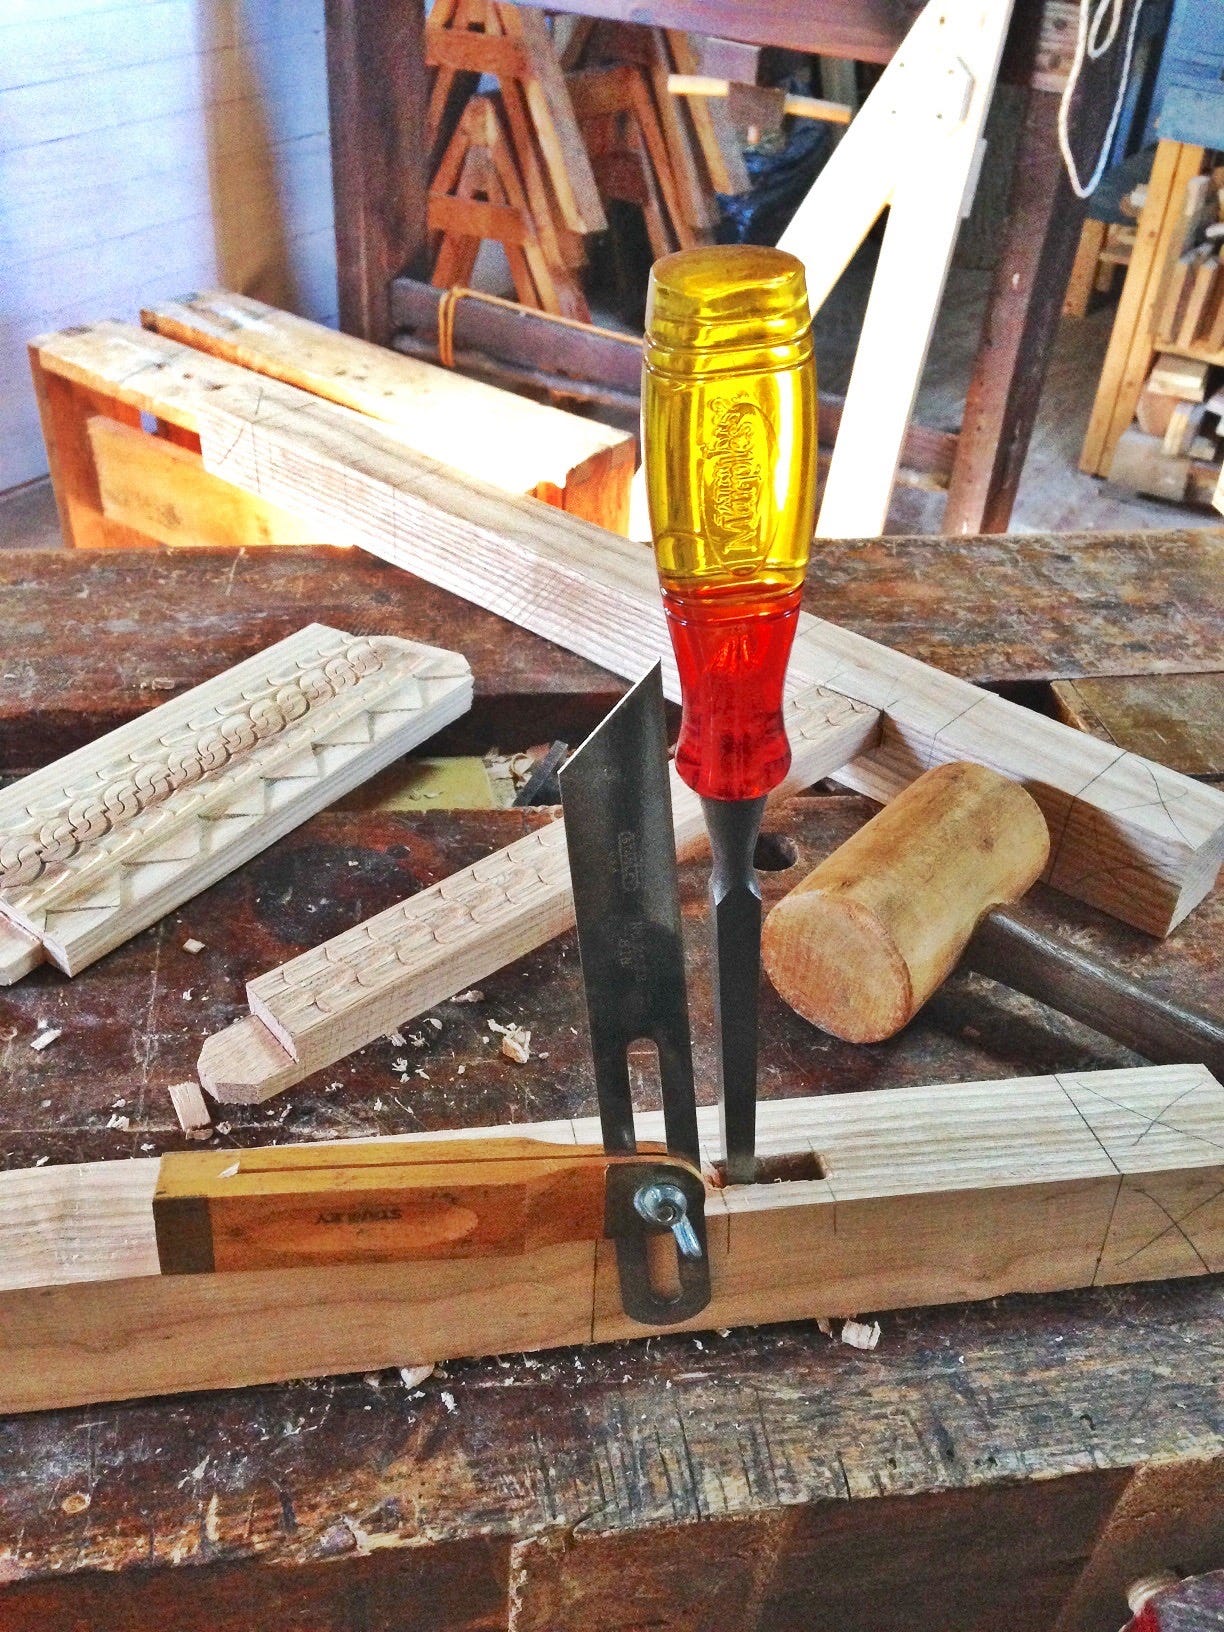
I cut mortise and tenon joints, then assembled everything to see where it stood. Now, where did I put that fourth leg? LOL!
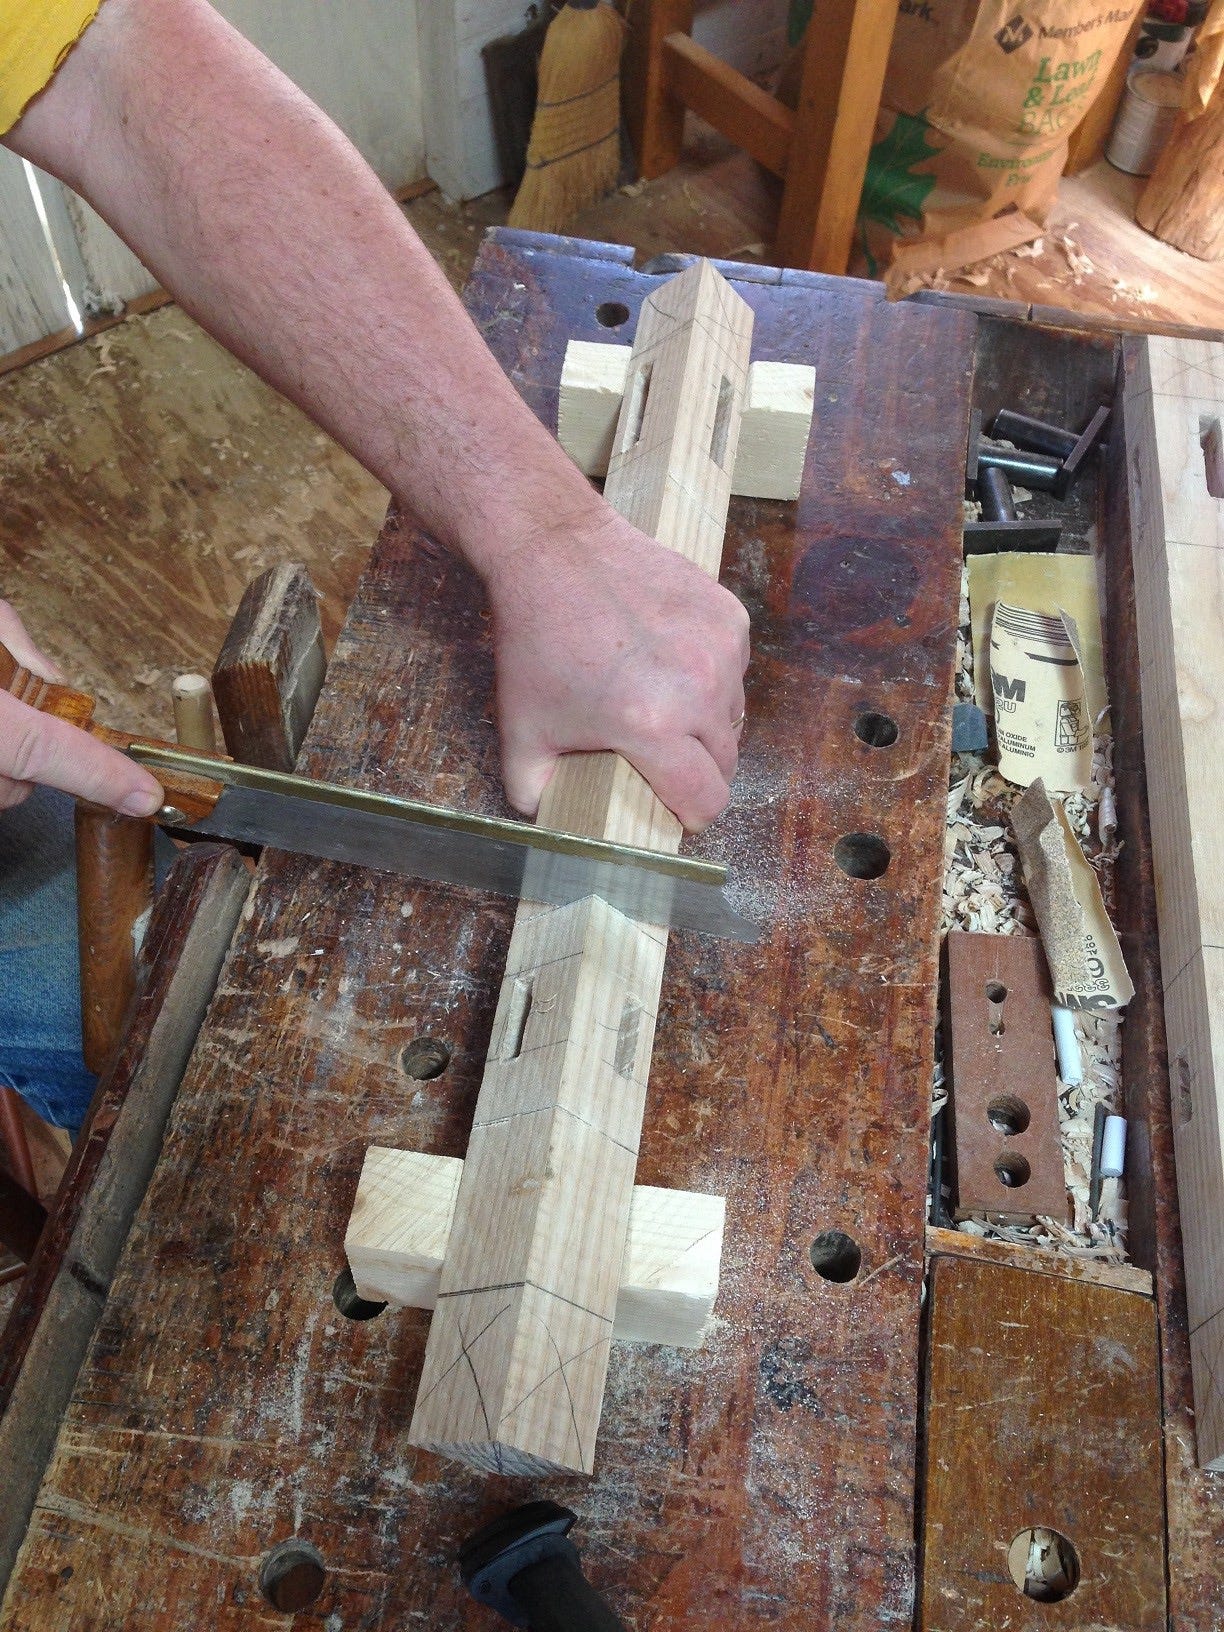
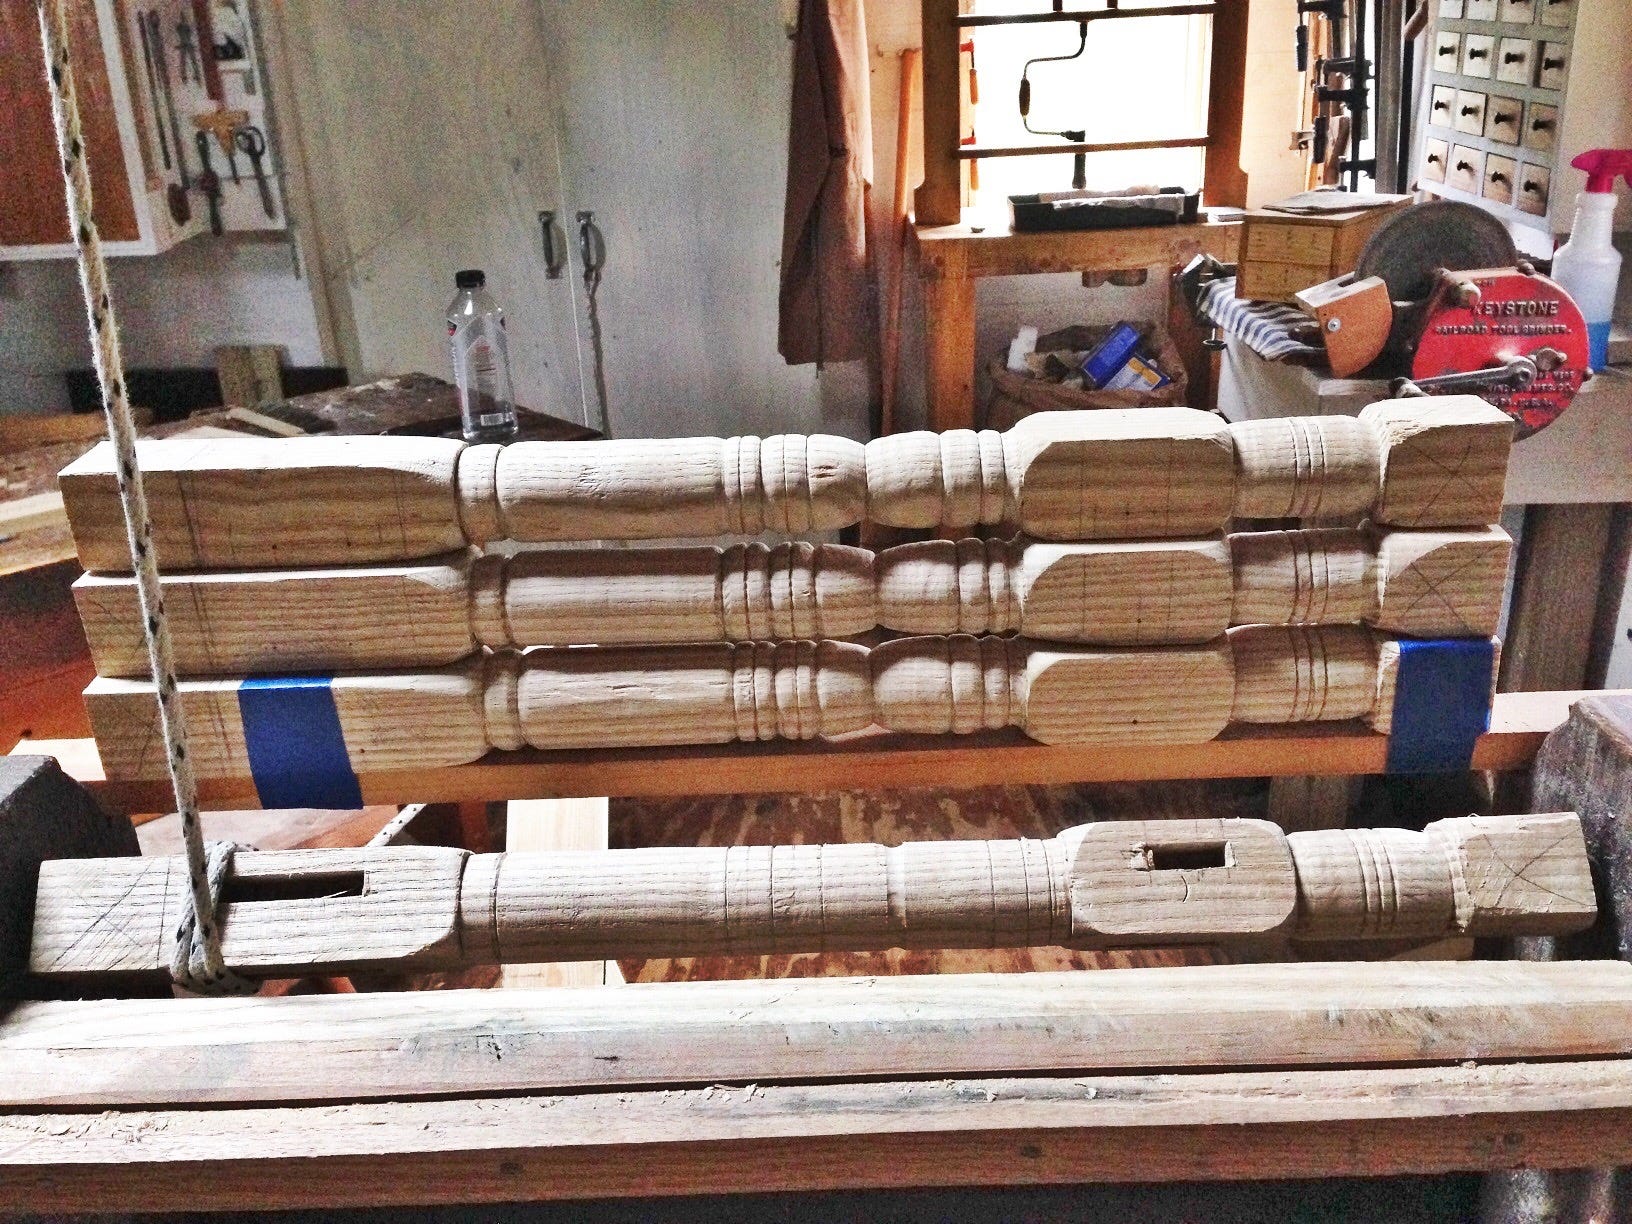
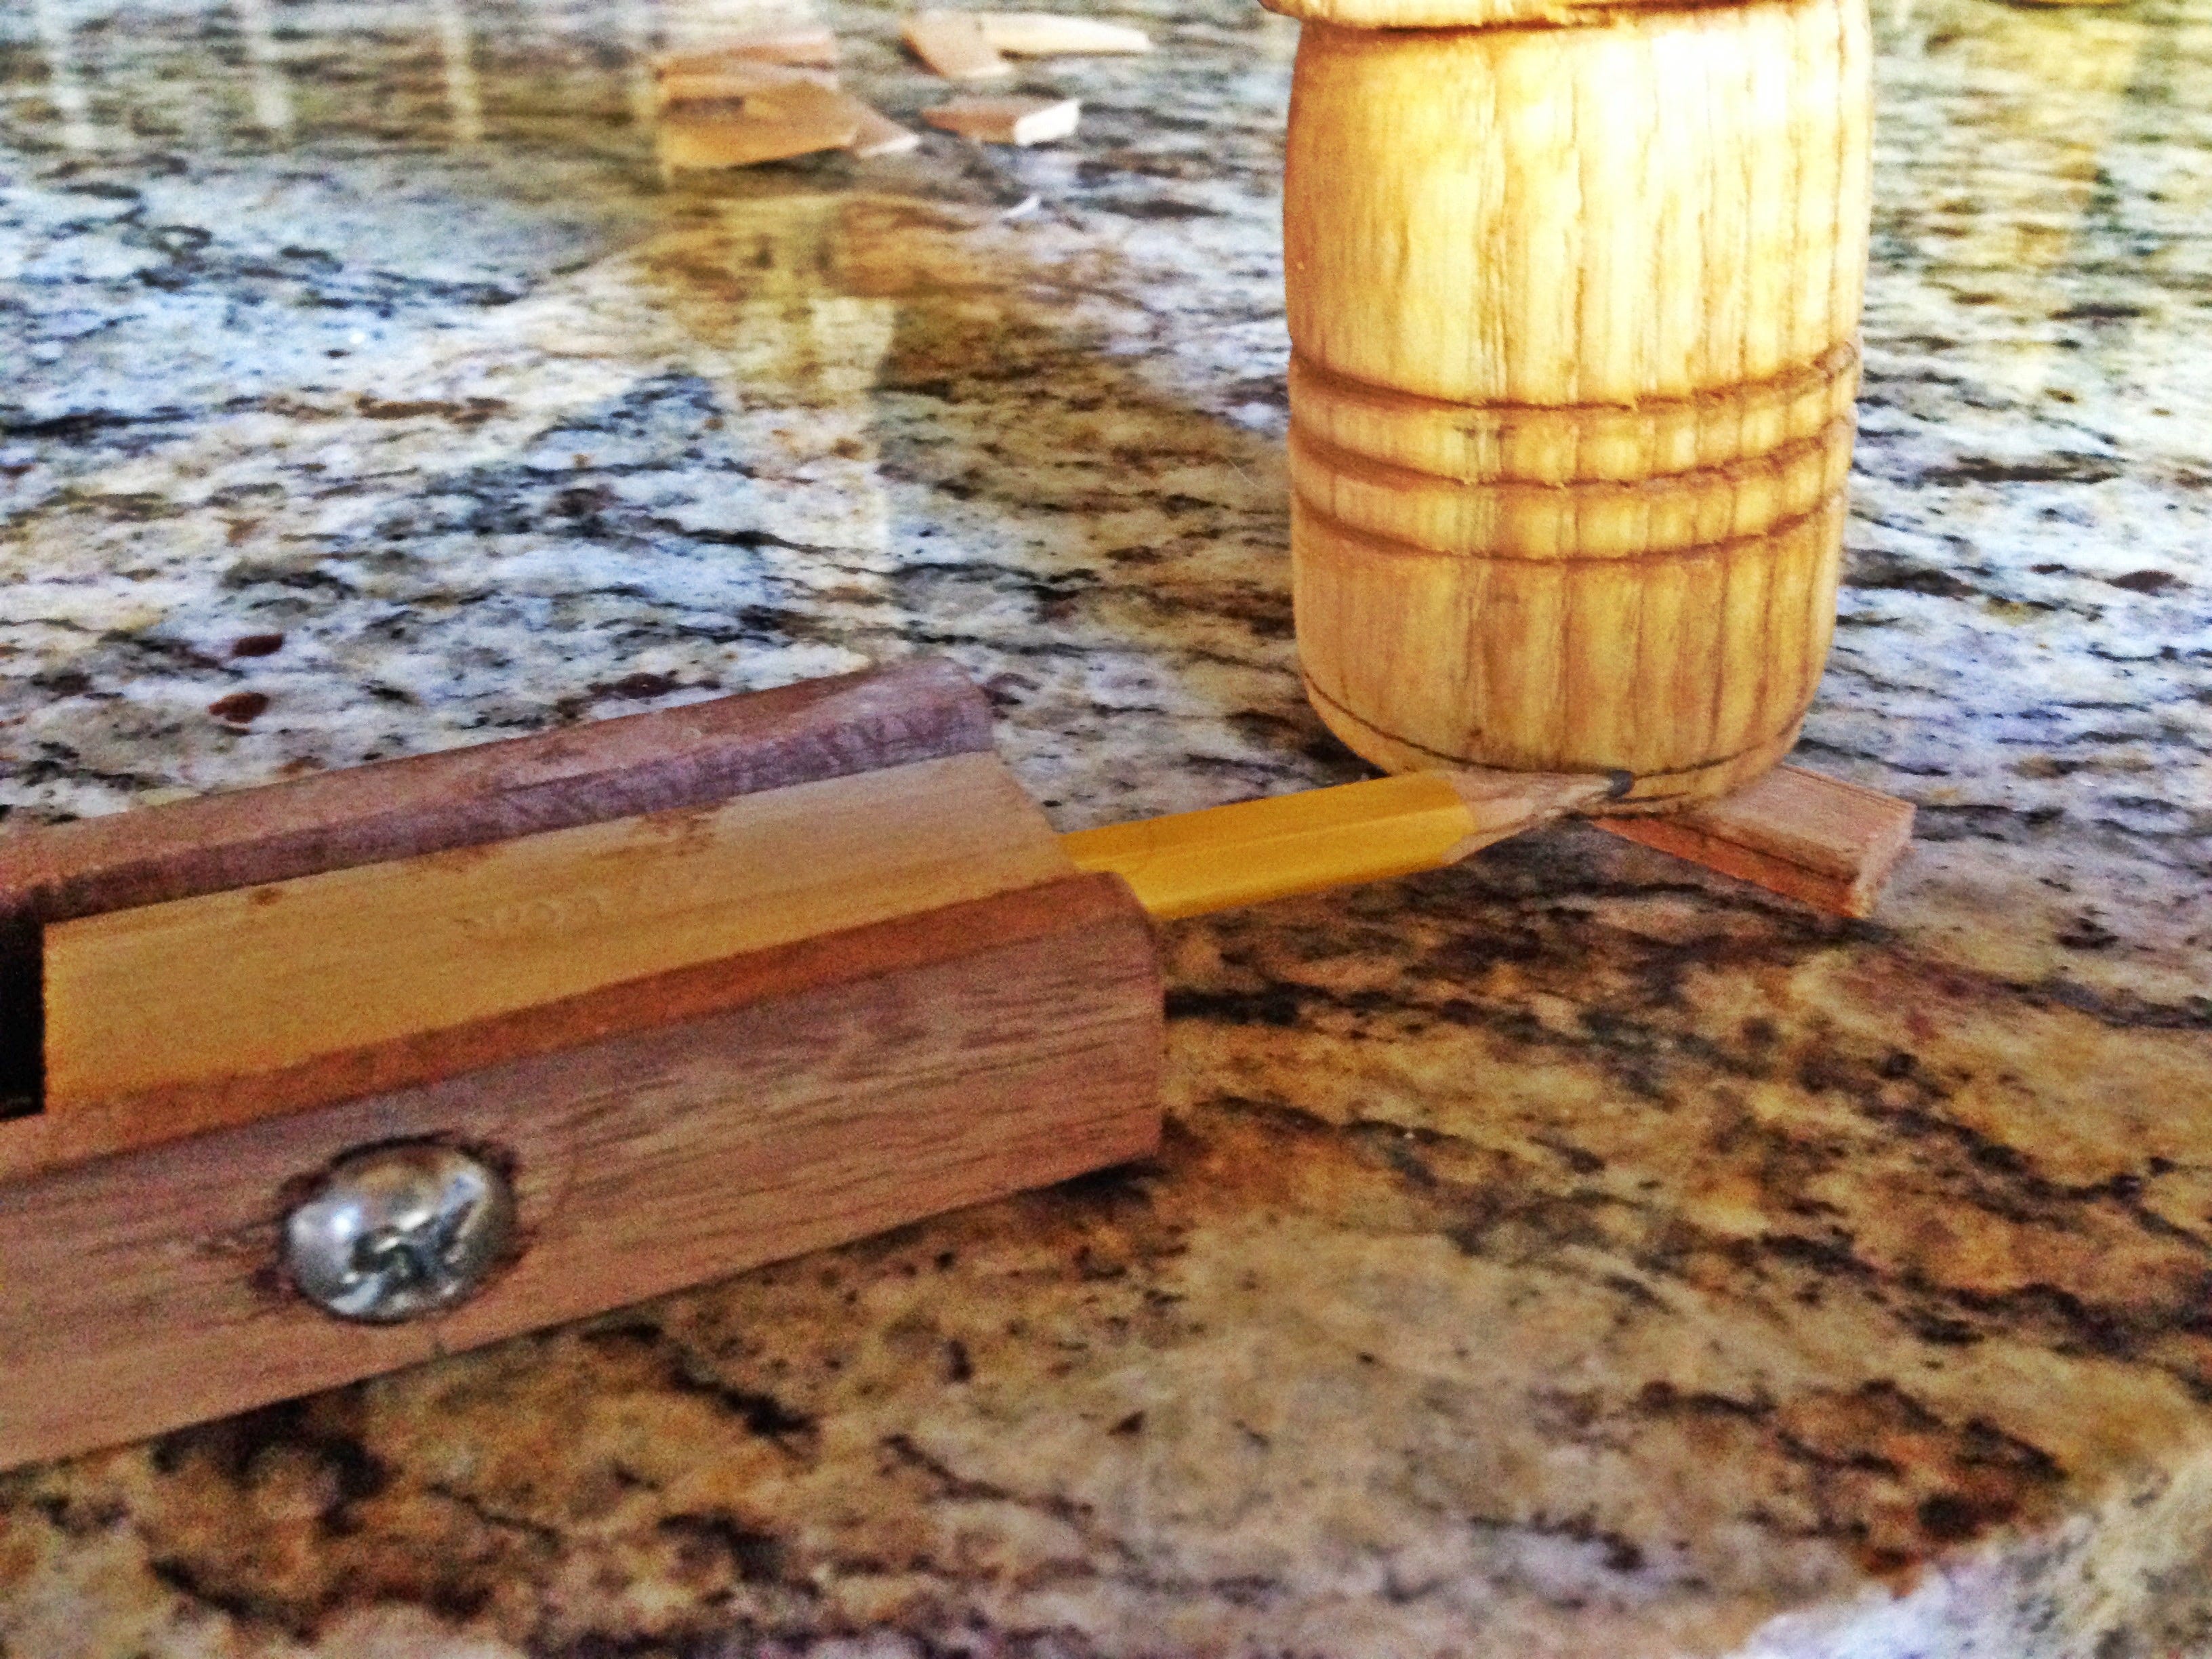
You’ve just got to love tight joints! Before boring for drawbore pegs, I prepped the legs for the lathe. Using a dovetail saw, I isolated the areas to be turned. I then took the legs to the shave-horse to remove the bulk of the waste.
Before heading to the lathe, I thought perhaps it would be a good idea to determine what the turning should be. Using a scrap of cherry, I took the time to make a template. Hopefully, this will assure the legs are as close to identical as possible.

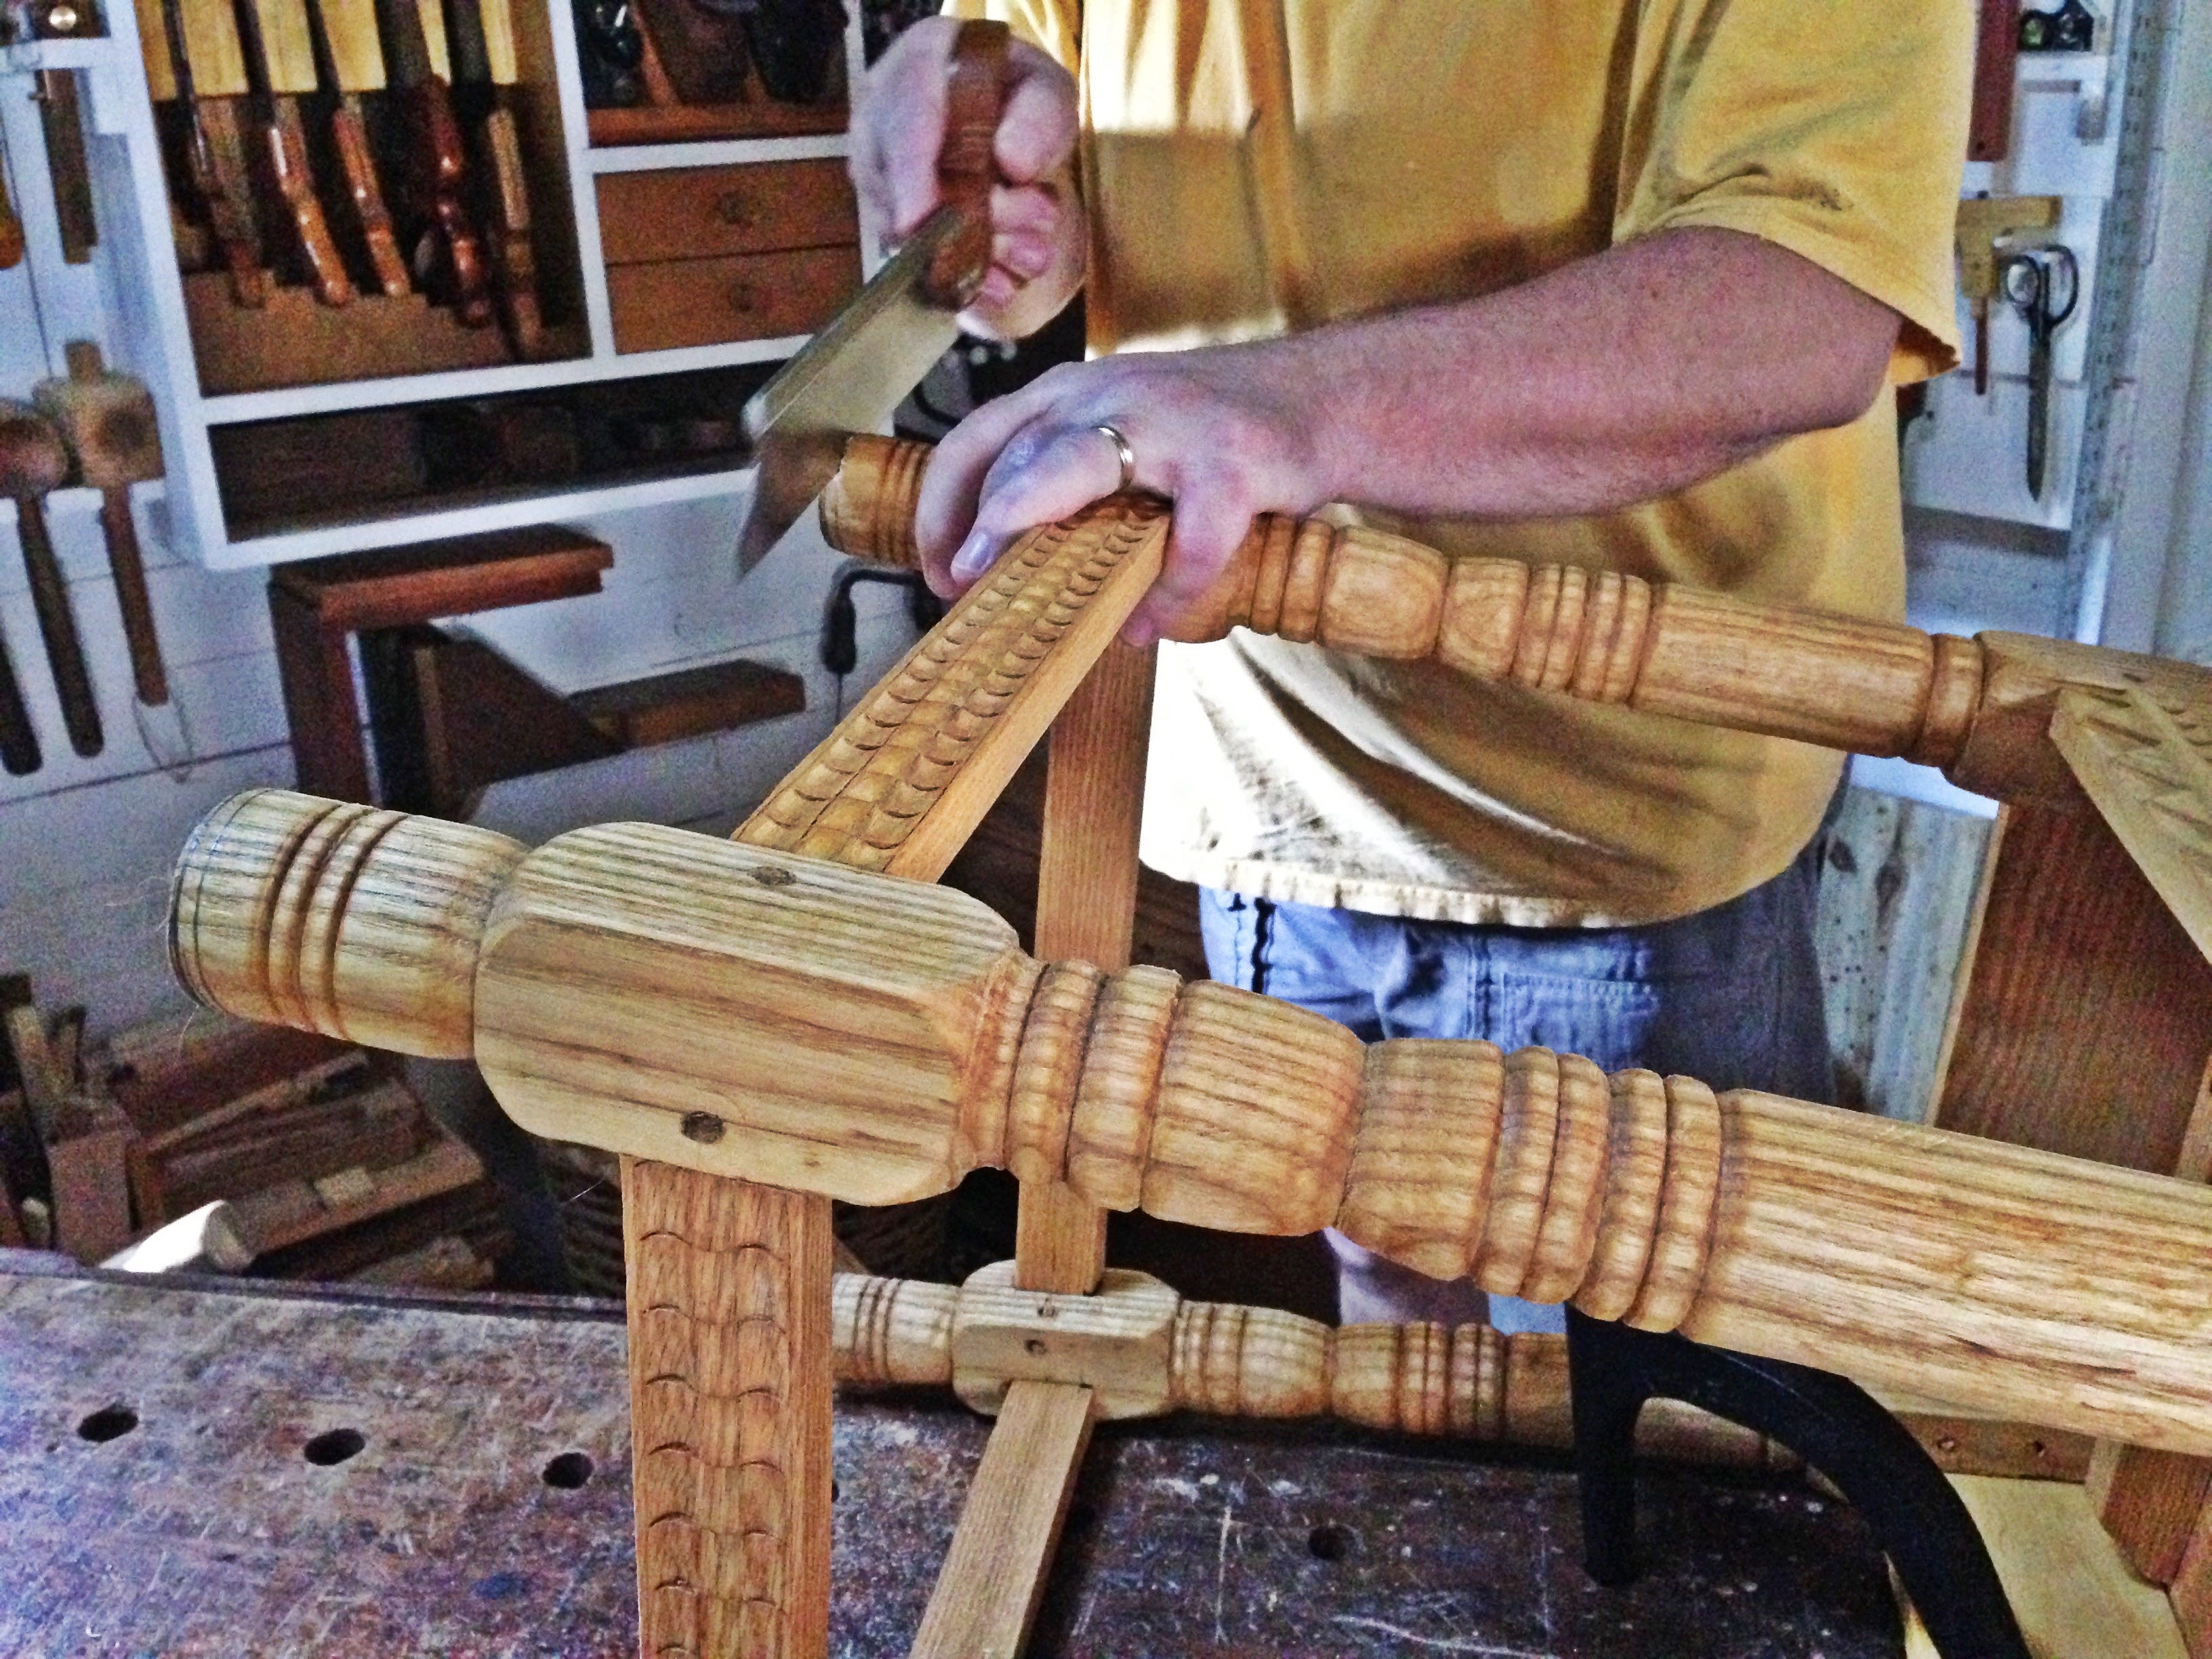
Then, making sure I had plenty of ibuprofen and Ben-Gay on hand I started pumping my spring-pole lathe. The first leg took but a couple of hours from start to finish. Having to move the toolbar was the most time-consuming. So, I took the time to remedy the situation by making a full-length toolbar. It’s not very pretty, being scraps of ash, oak, and cherry, but it works for me.
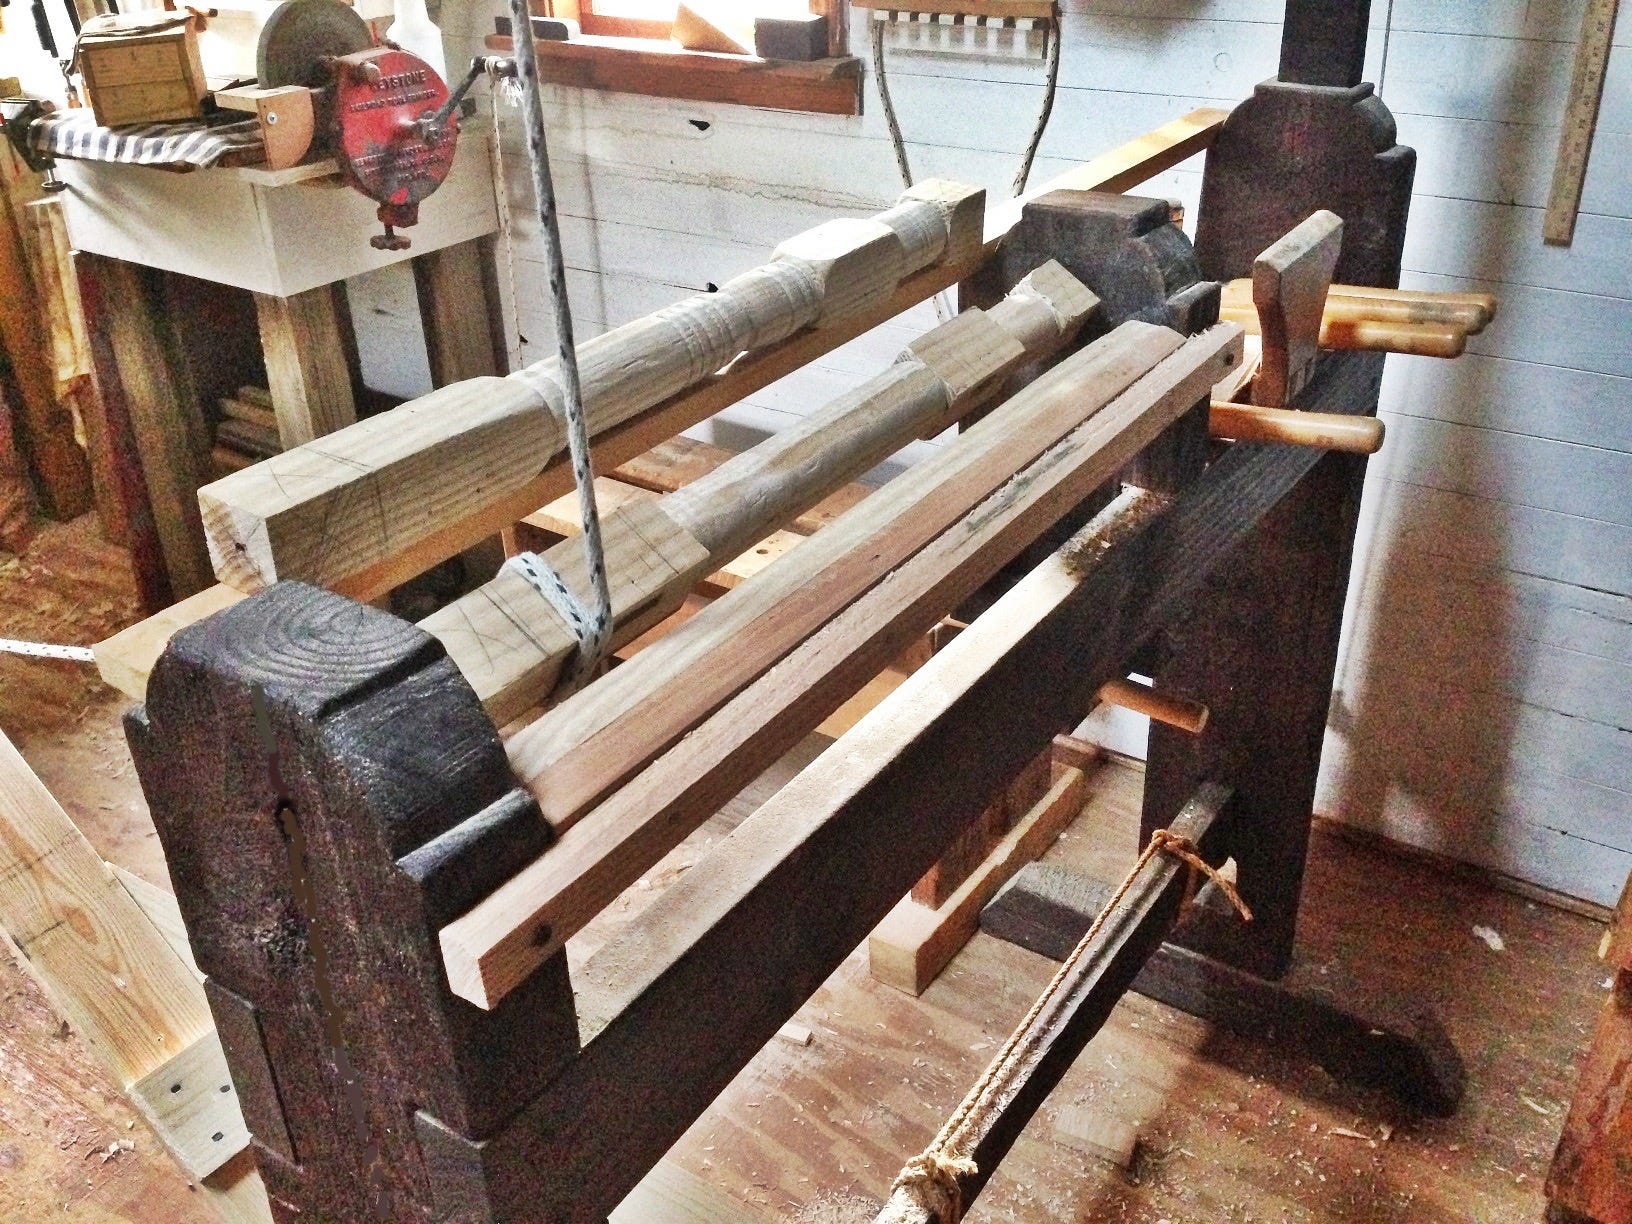
I realize the toolbar is specific to this particular project, but it’s scrap and only took a few minutes to make. Besides, my next stool should be of the same height. Oh, and by the way, that template I so painstakingly made the other day, didn’t get used! I changed my mind, this looks better anyway.
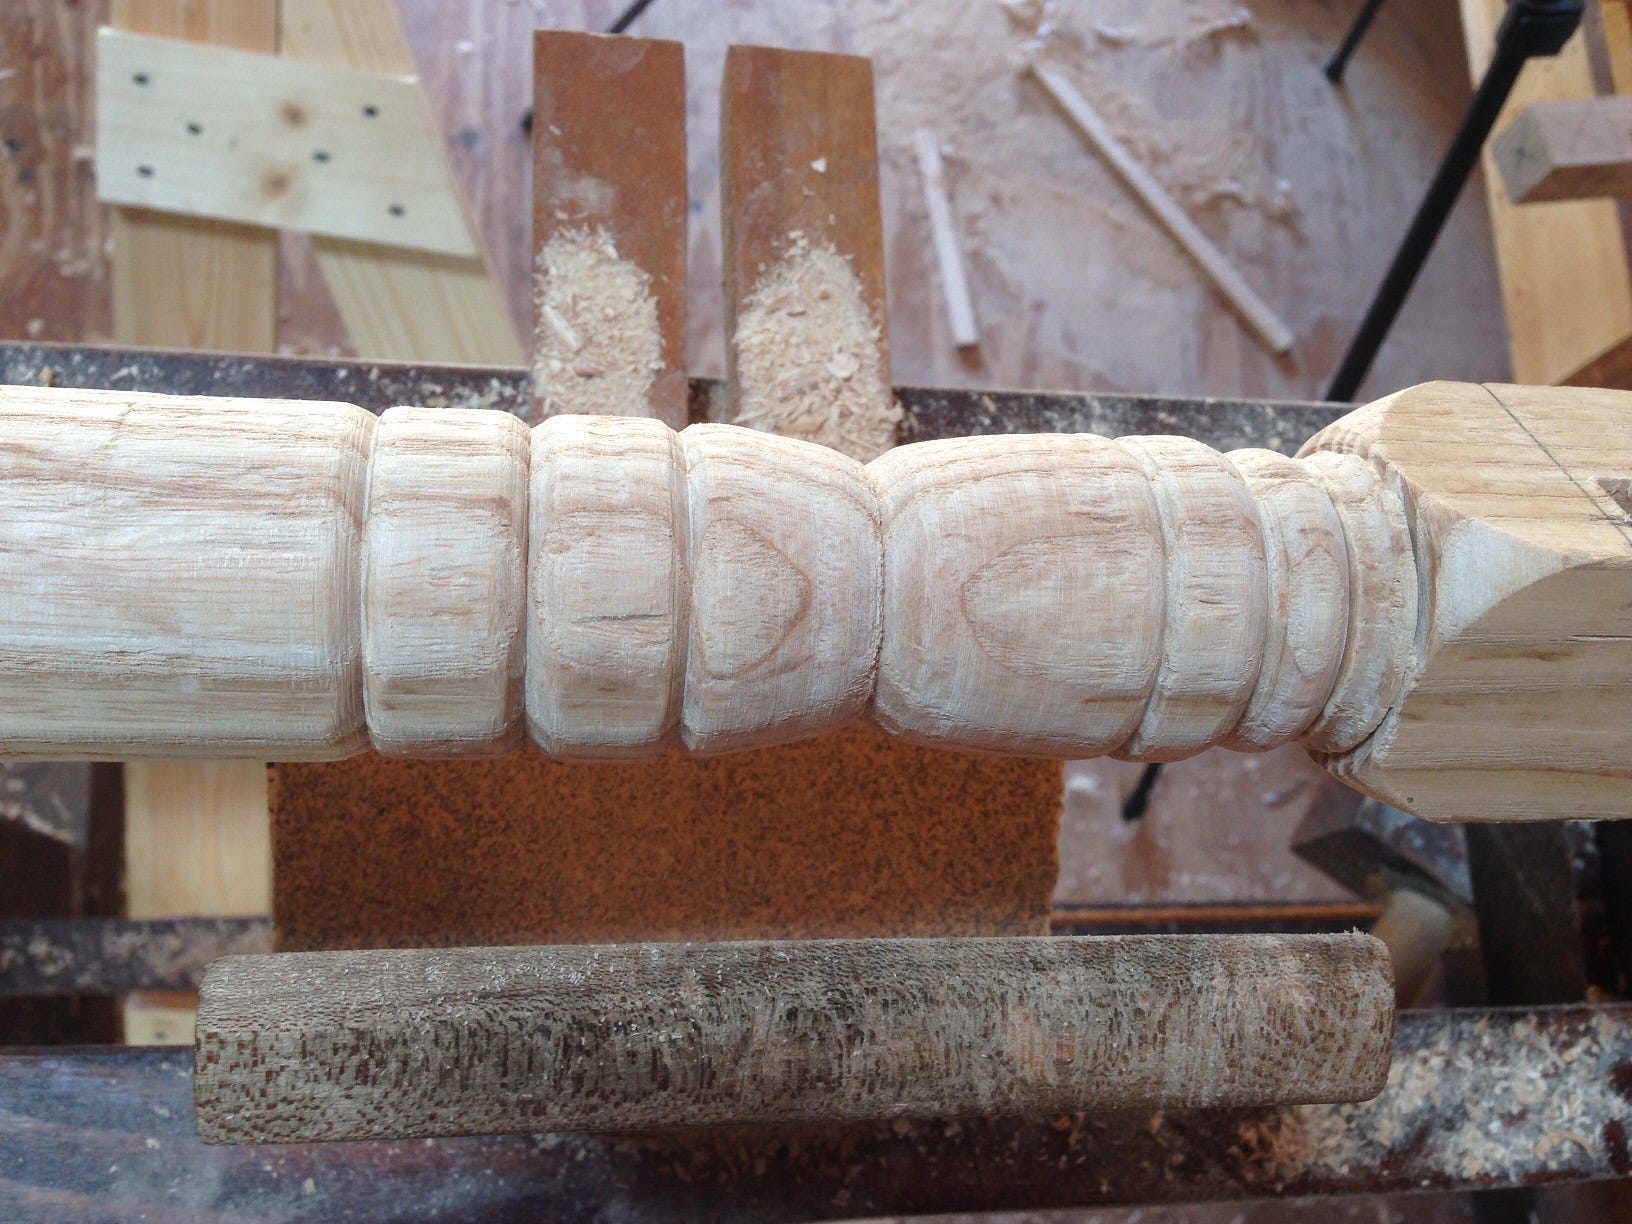
The new tool bar made for light work on the remaining legs. And, I do believe the gods of duplication were on my side throughout!
The drawboring went by rather uneventfully. So much so that I forgot to stop and take photos. I continued with leveling the feet and flattening the top of the frame. I probably should have photographed that, too. Oh well! Time to fasten the seat to the frame. By eye and feel the seat was positioned in place. If it looks right, it is right, right?
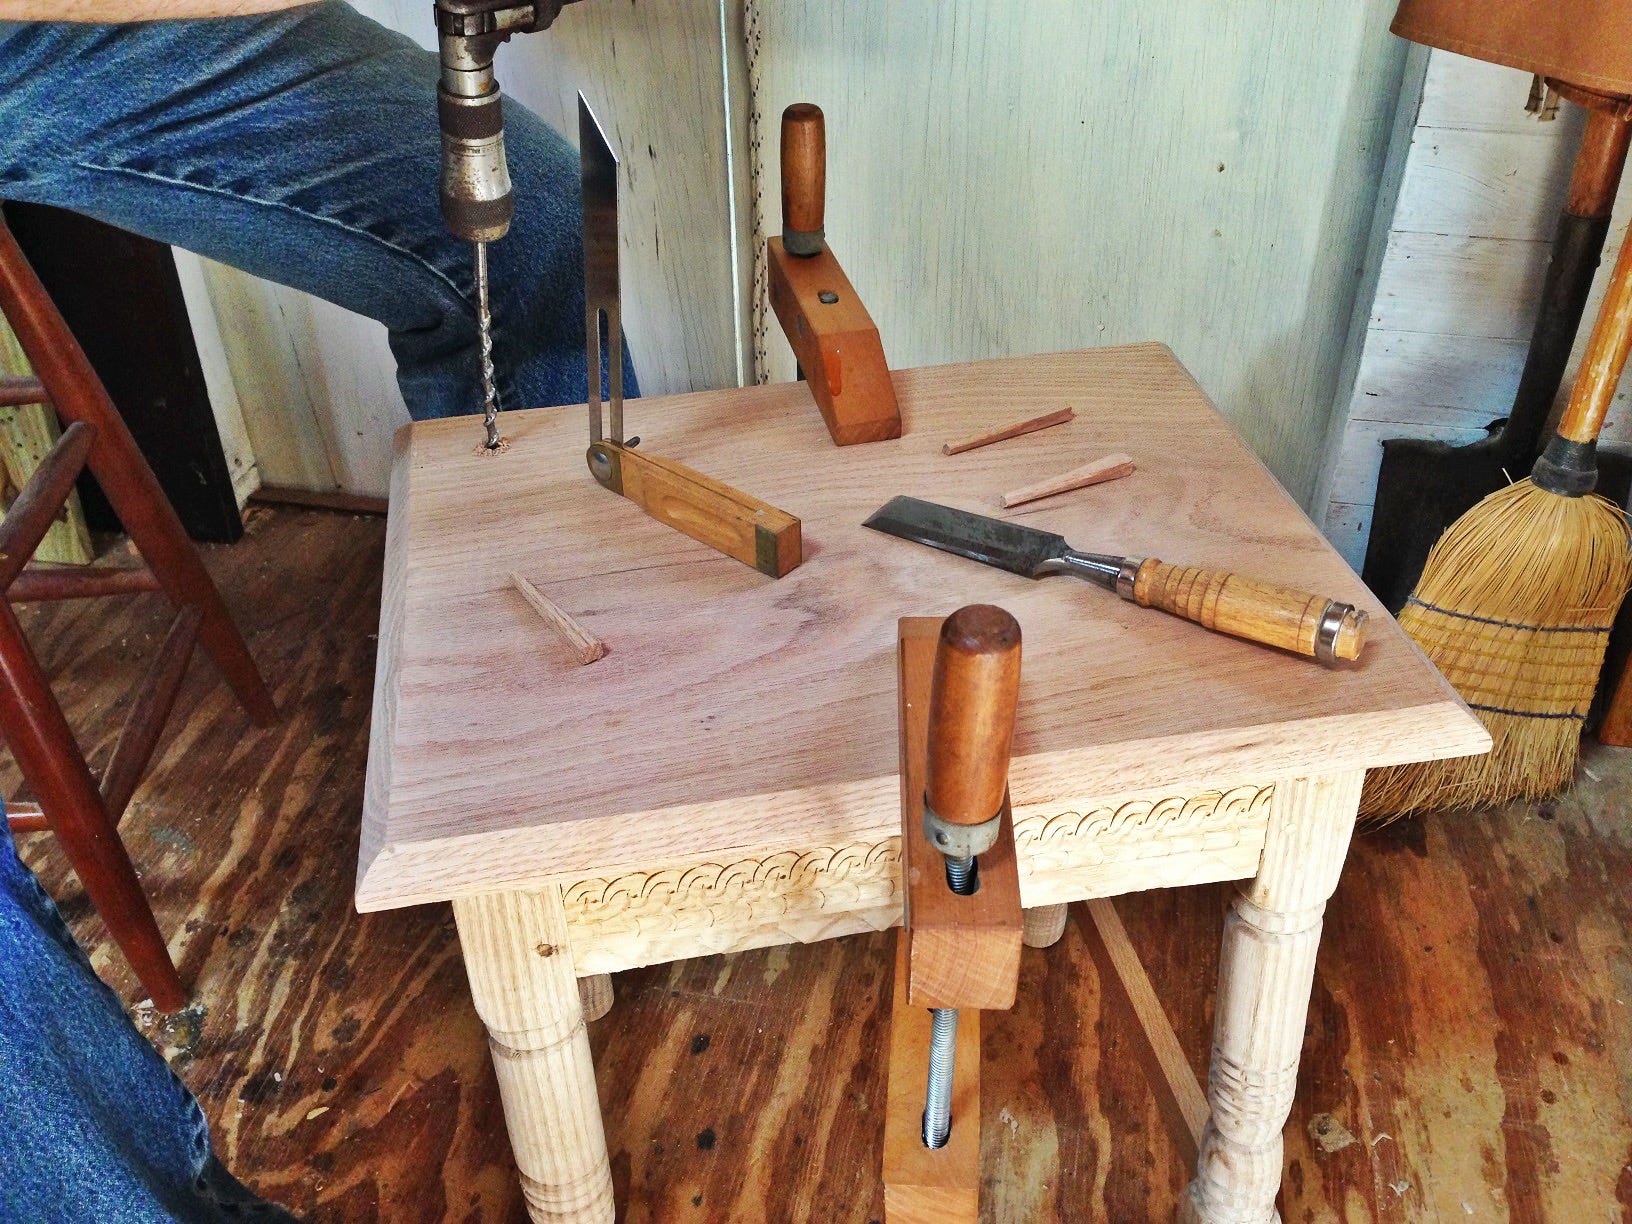
With the seat held in place with handscrew clamps, I bored holes through the top into the legs. The hole was located by sighting first down one side of the leg, then the other, making sure not to bore into the mortise and tenon joints. Inserted at an angle like this, it is actually pinching the seat down. I worked my way around the stool, boring and pegging each corner as I went. I then trimmed the pegs with a saw and chisel to pare them flush with the seat.
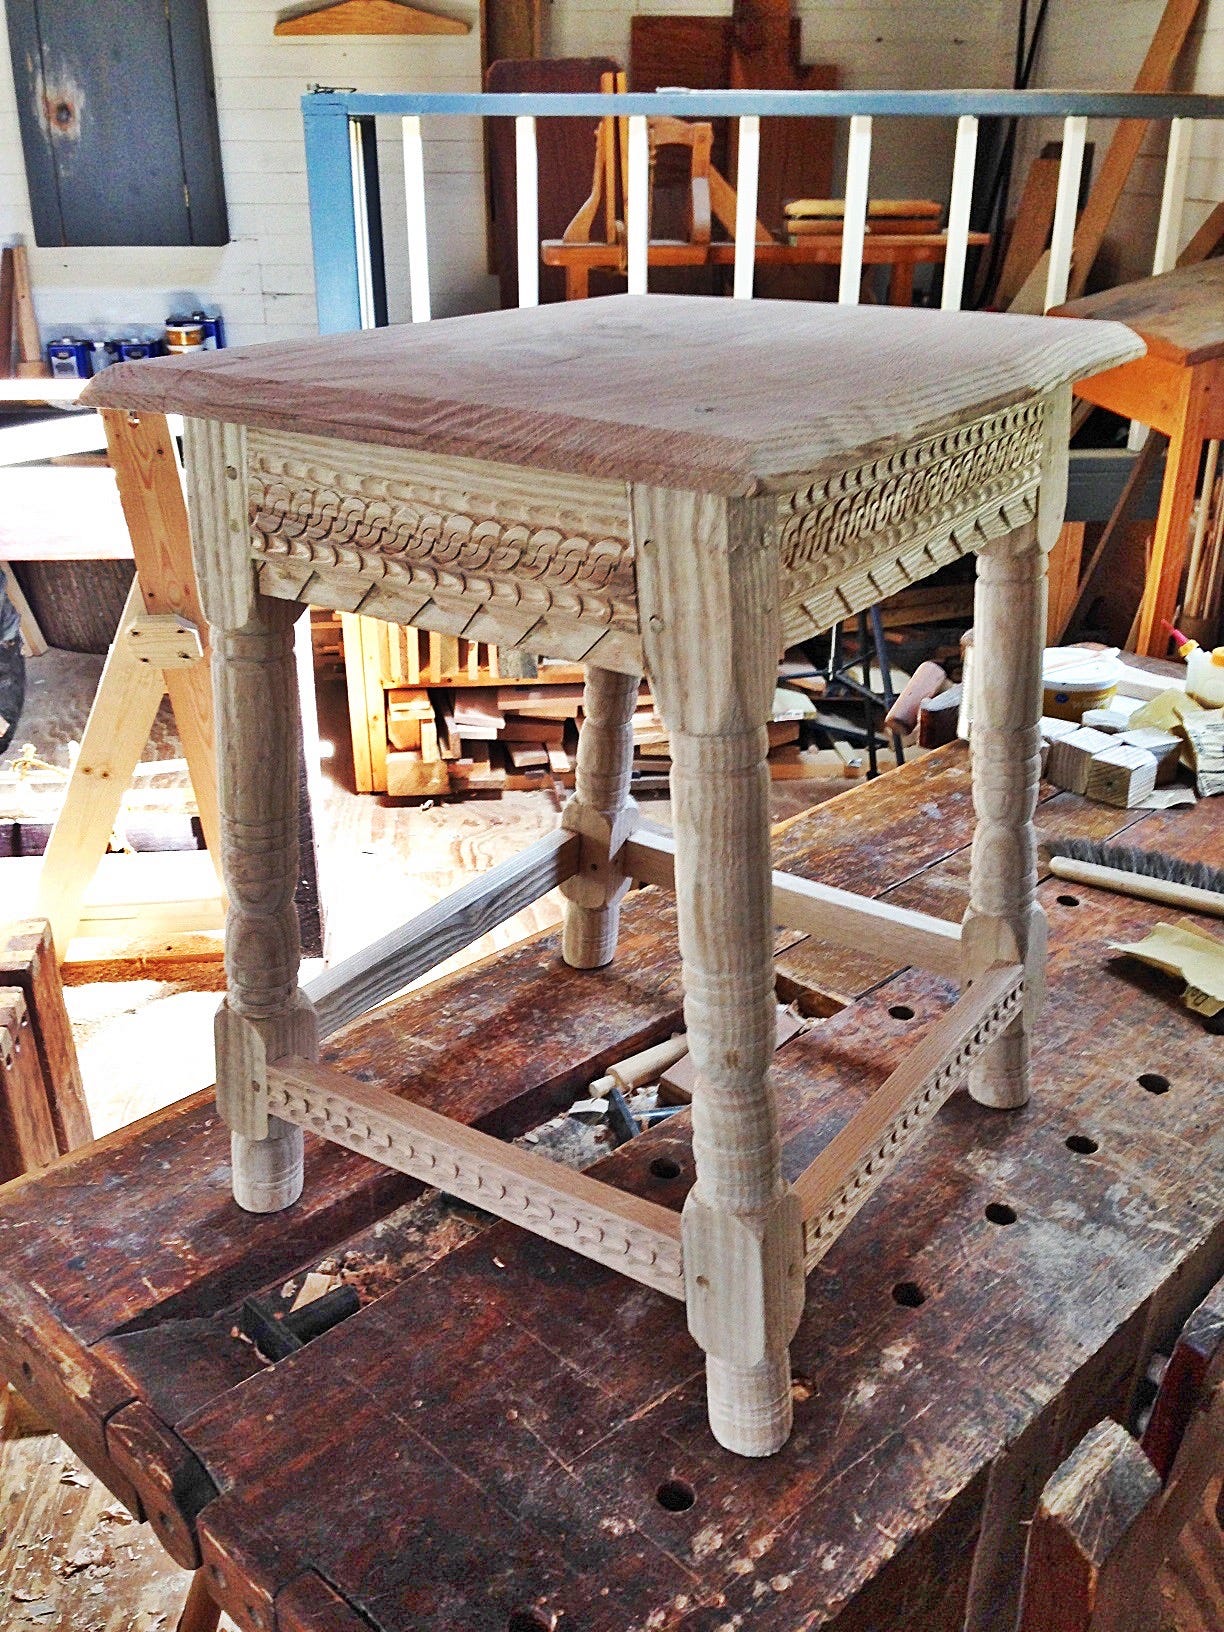
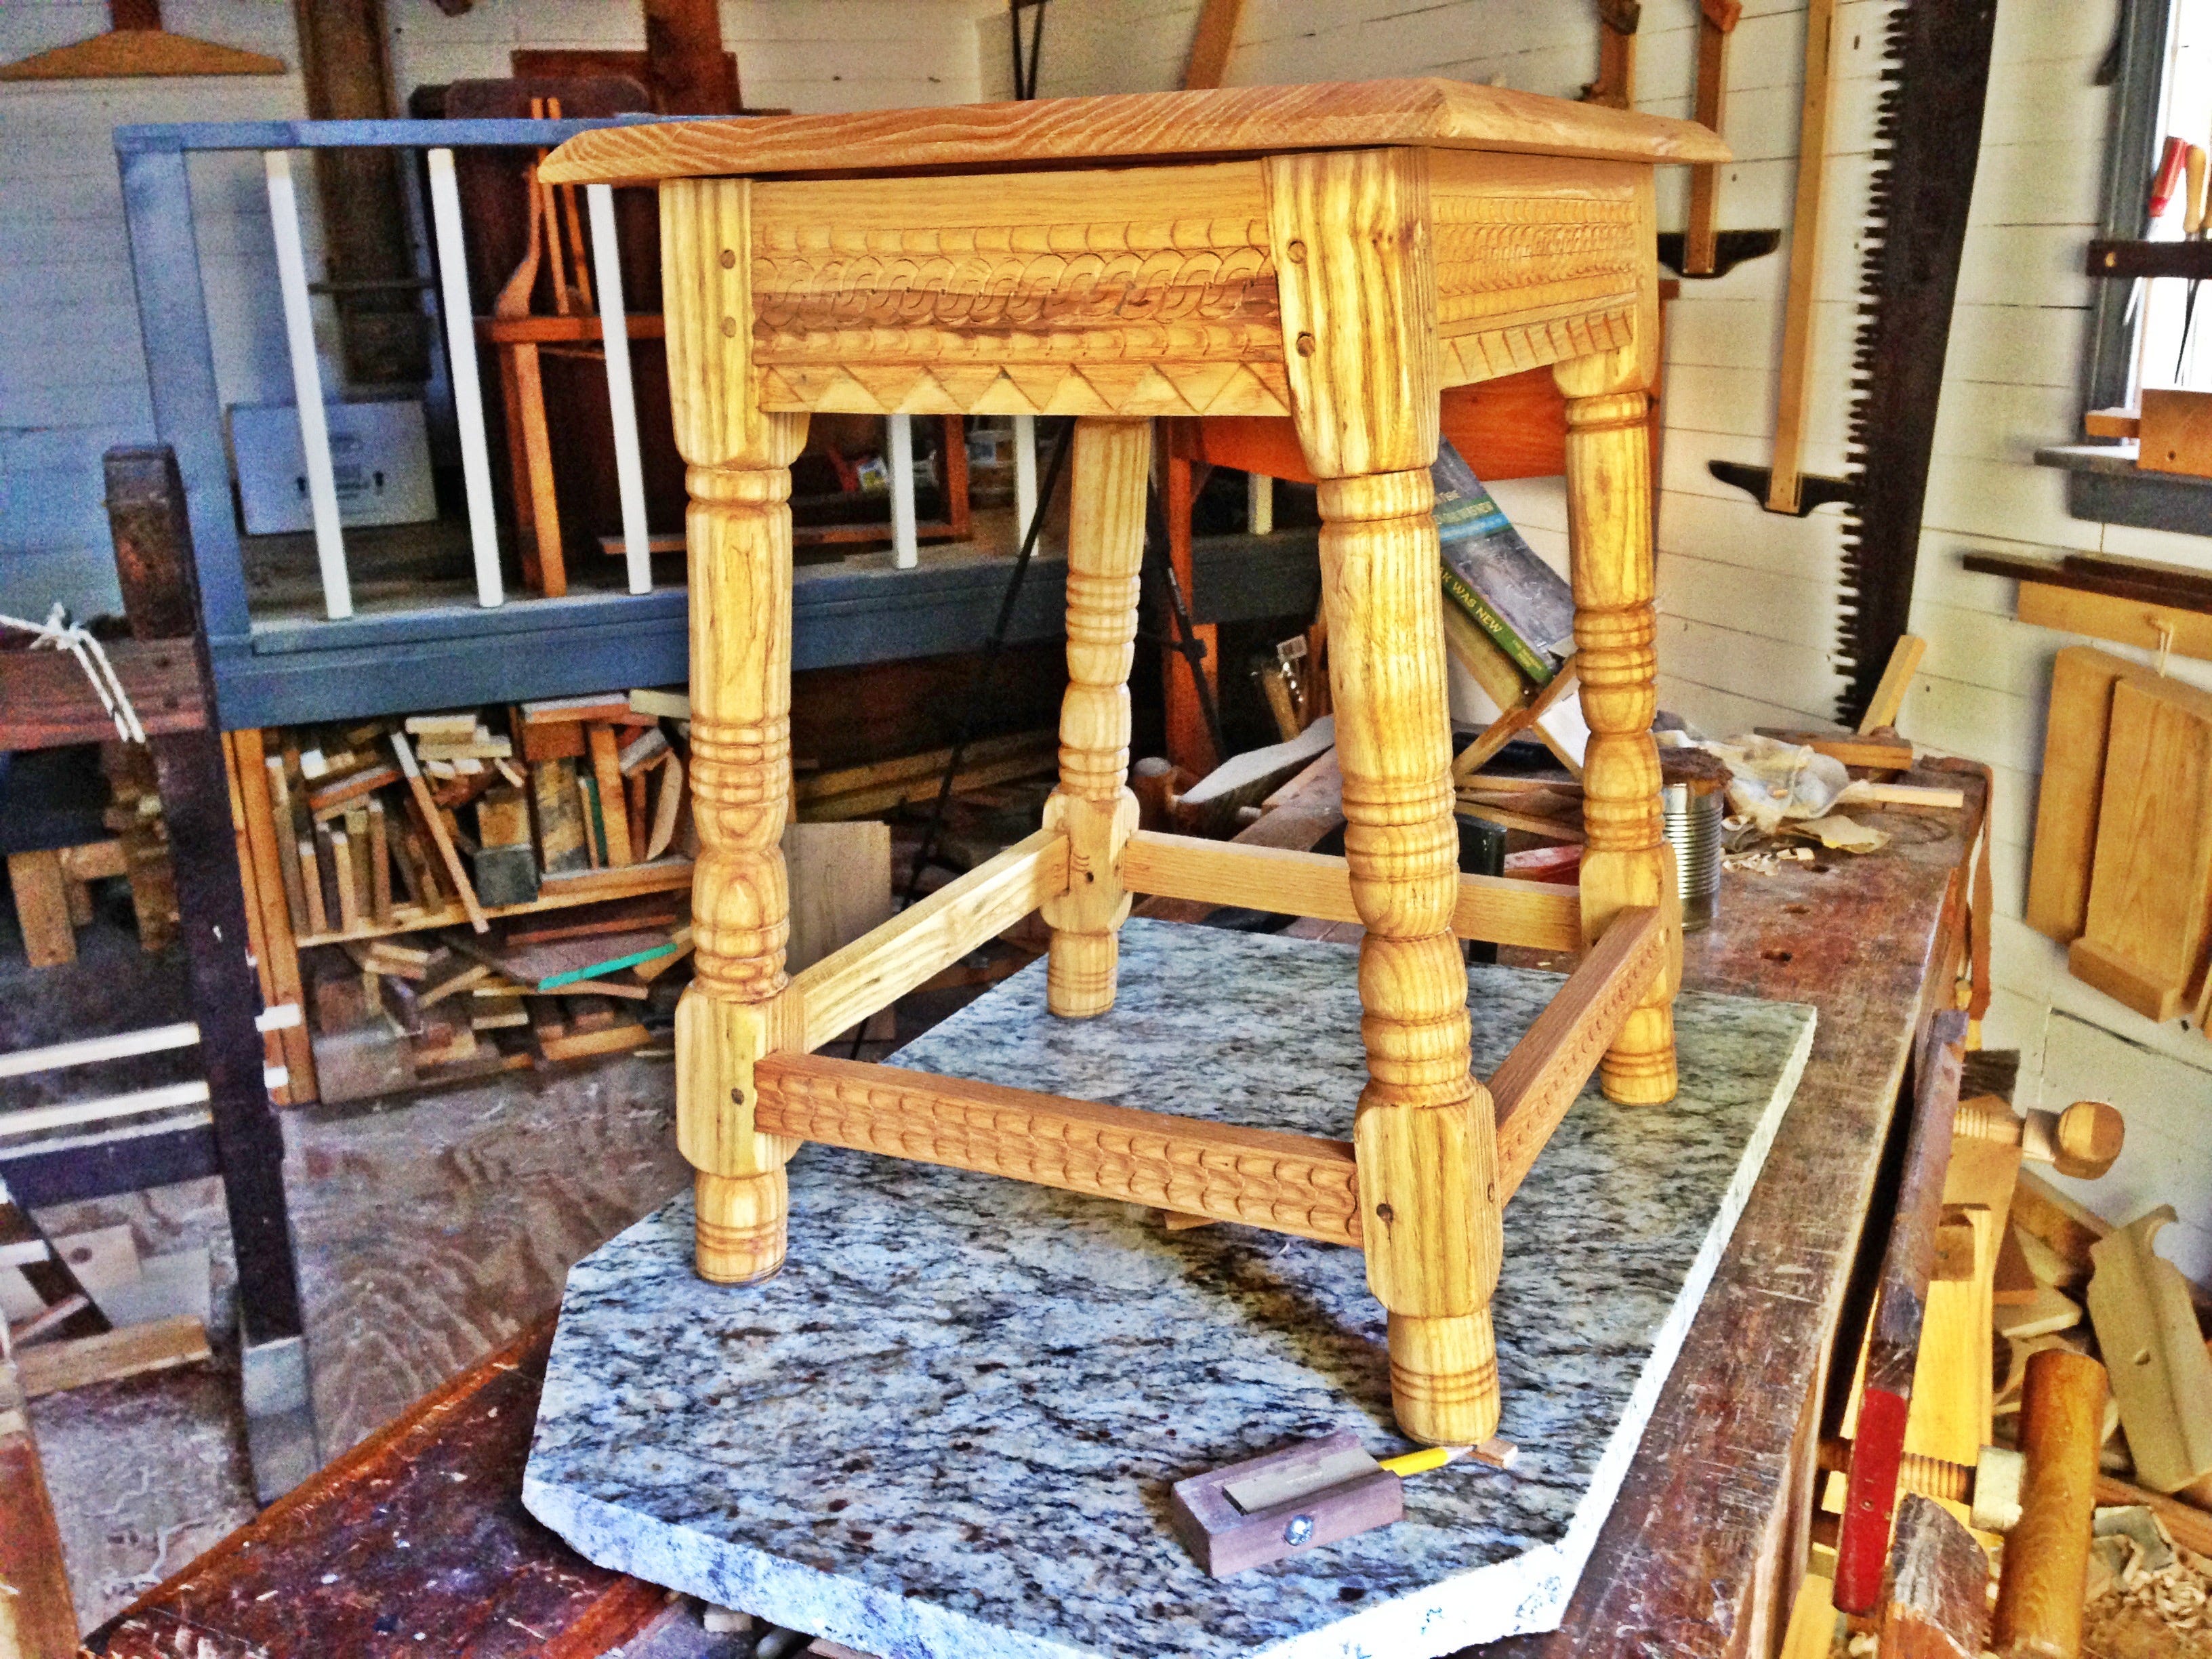
Well, there you have it. A joined stool in white ash and northern red oak.
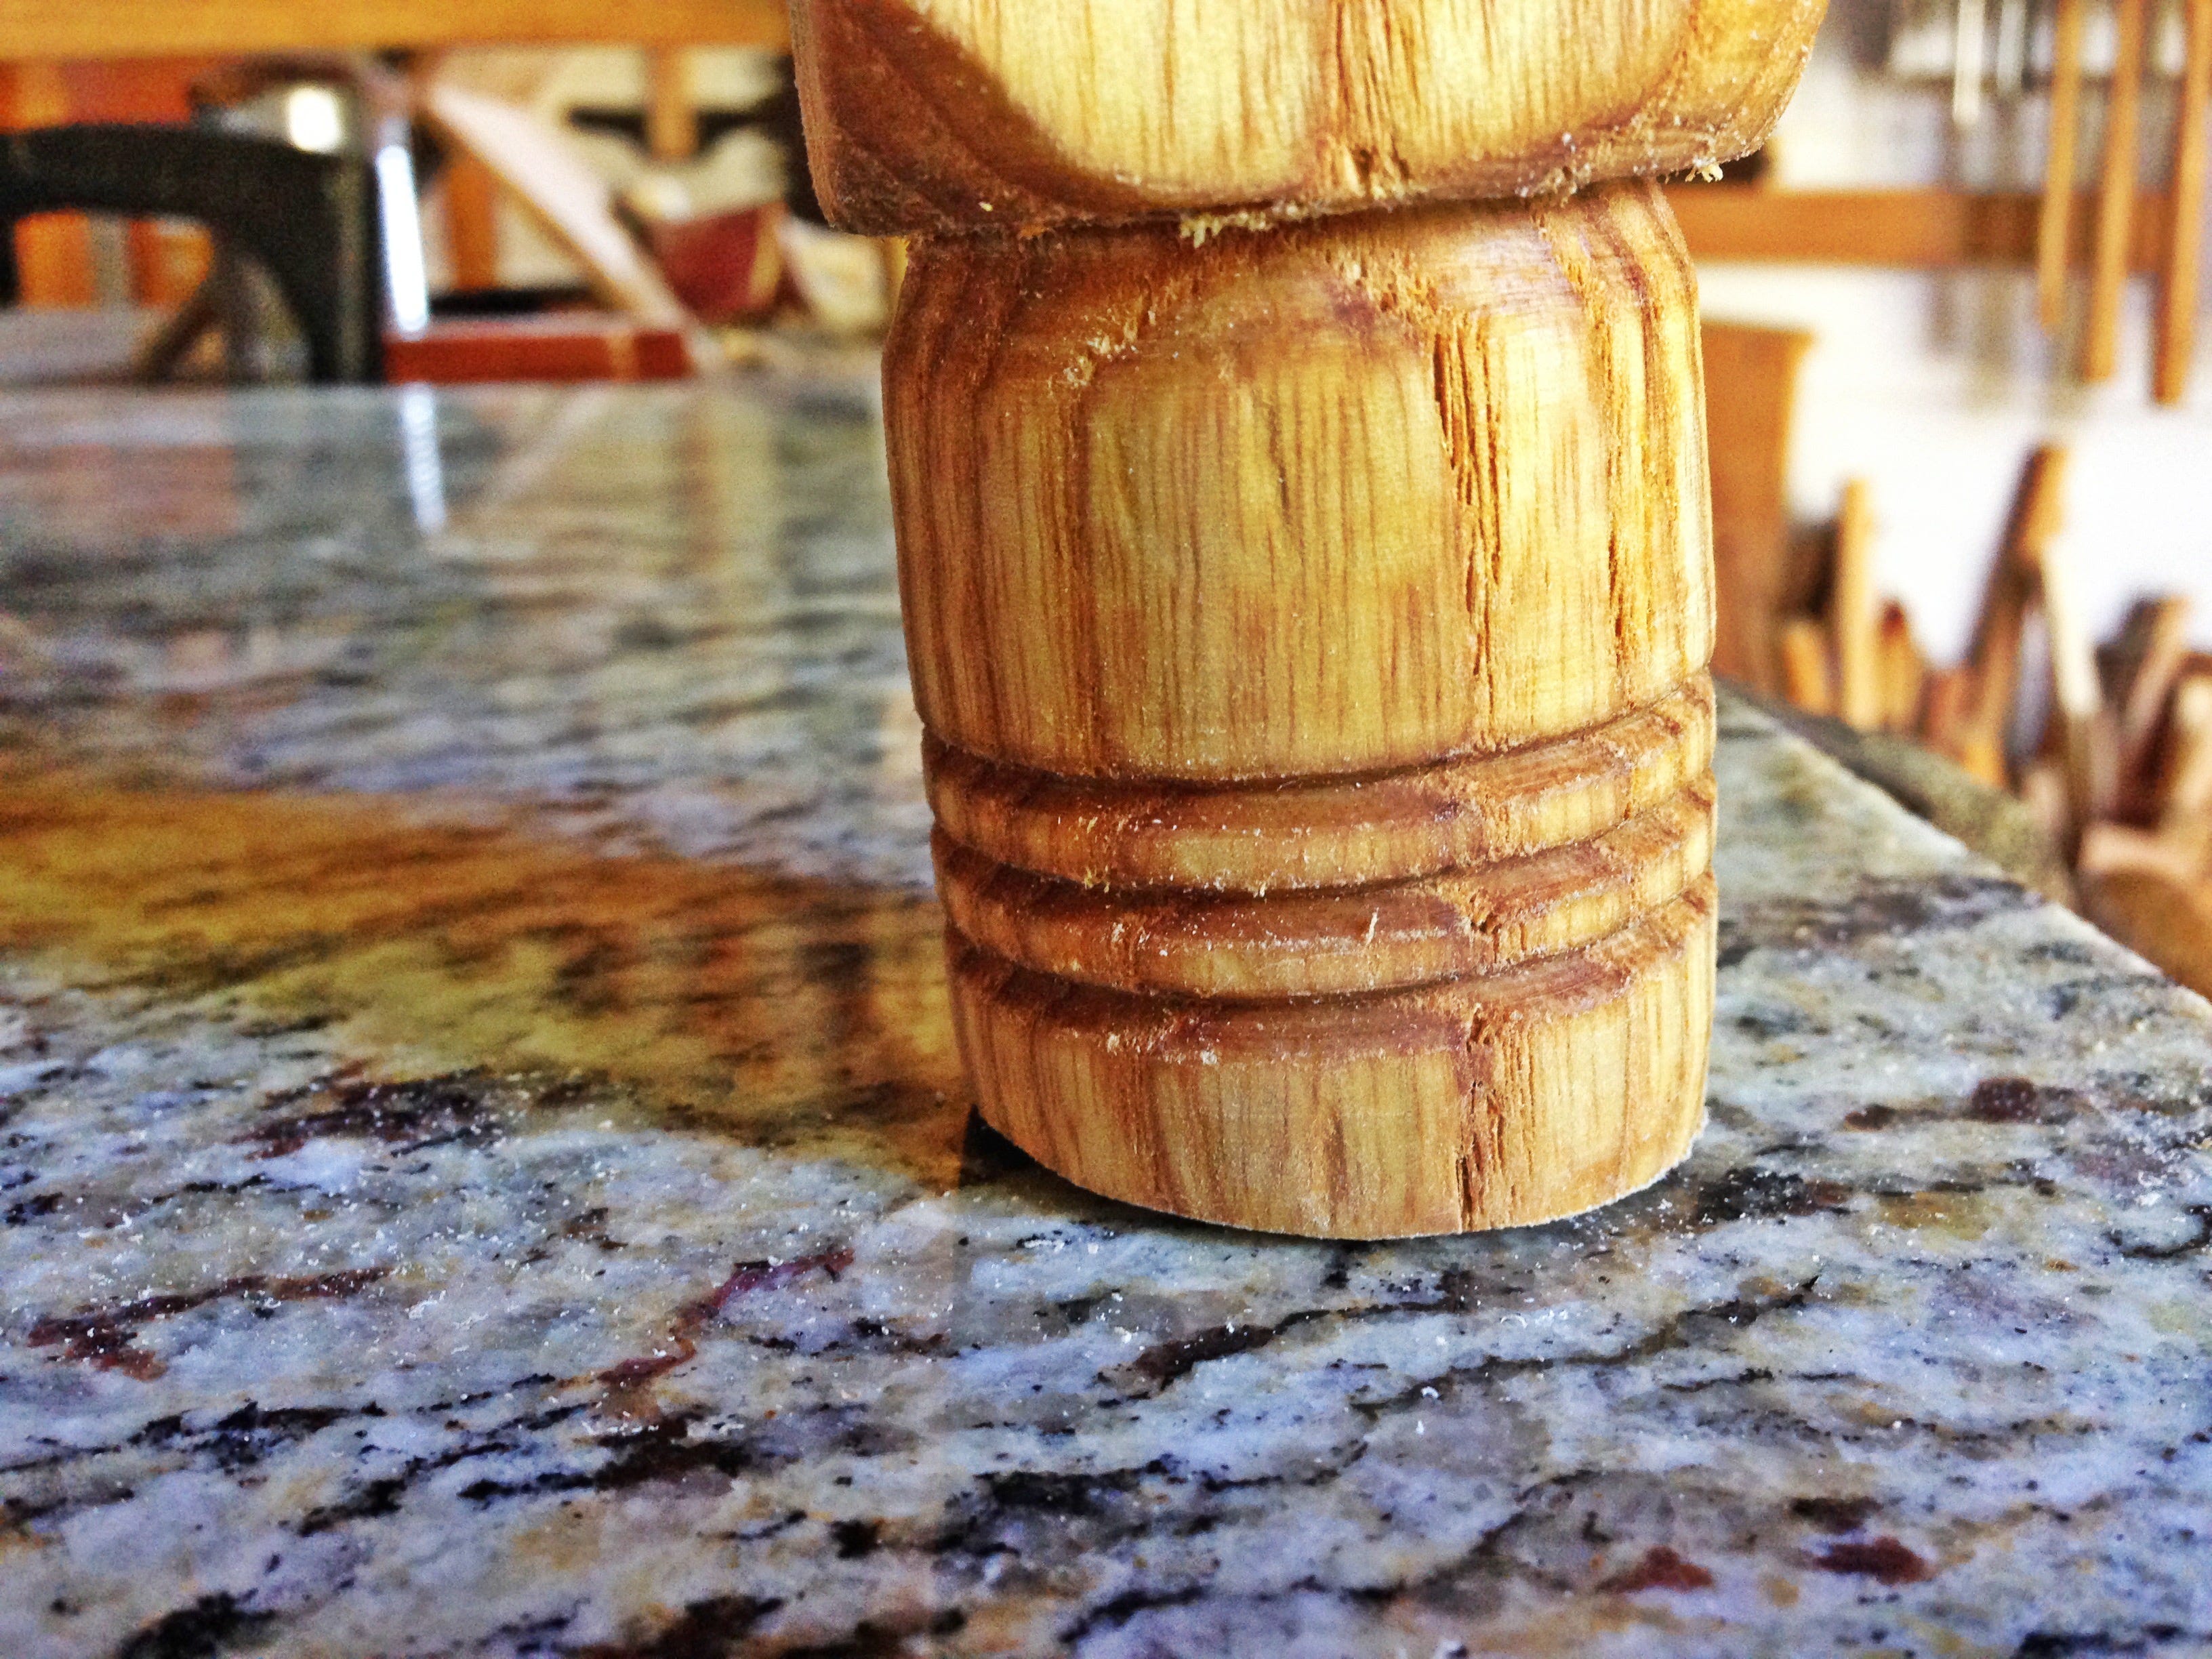
After a few coats of boiled linseed oil and turpentine, and thenallowing the stool to sit idle for a season, I noticed that it had developed a slight wobble. So armed with a few wooden wedges, and a flat surface, I began correcting the problem.
Once the wobble was corrected, and I was satisfied with the way the stool sat, I used a shop-made scriber to place a line around the shorter of the four feet, about 1/8″ above the highest point.
I then marked a line with the scriber around the remaining feet. Then using a saw, I cut to the scribed line. A file was used to perfect each foot.
Now depending on the floor this stool might sit on, it should sit nice and even.
Keep up great work
What about you lathe? Pictures?